Besides creating advanced filters, the FilterPro app also brings you a smart and useful search bar. By using advanced and modern technologies, this app will make customers search faster and easier than ever.
(1) Instant Search
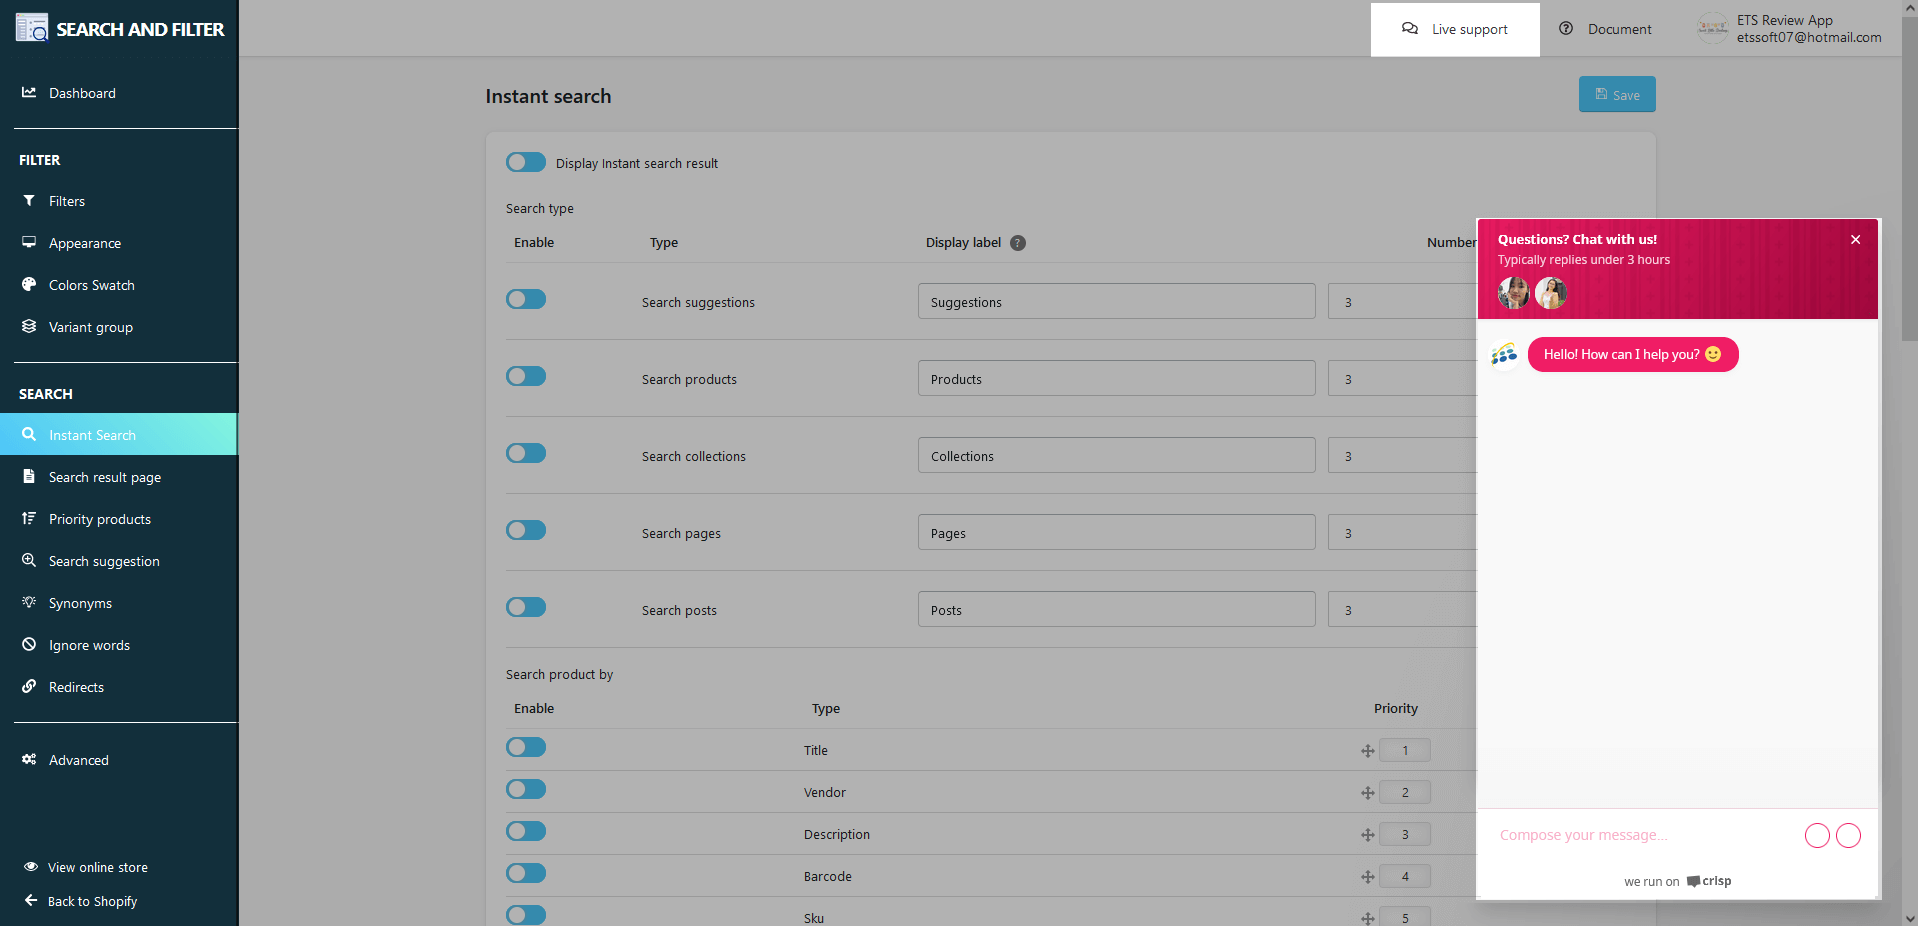
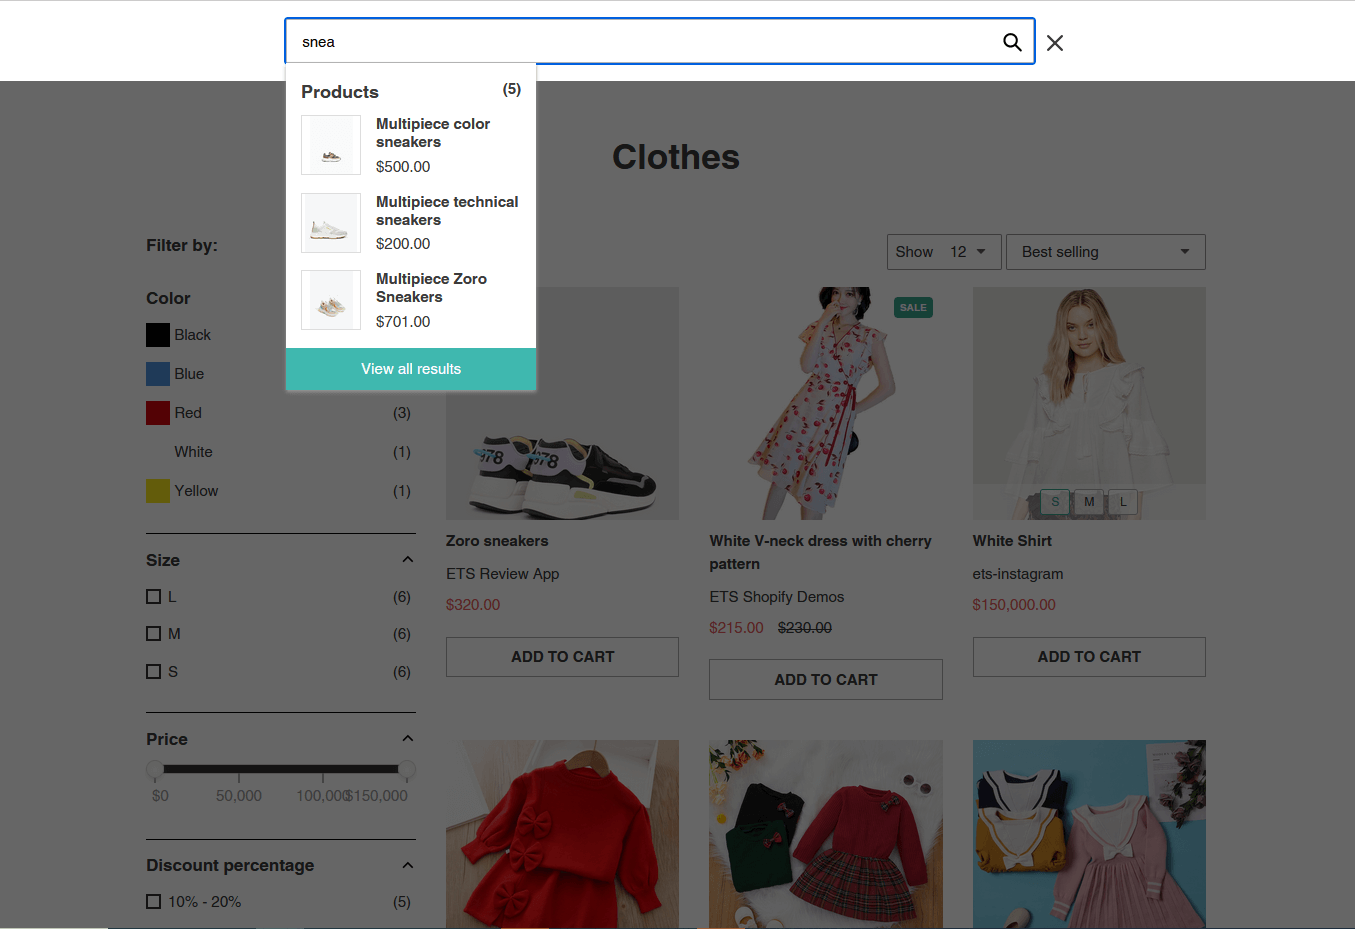
Customers do not need to enter all the keywords they want to search for. With Ajax technology integrated with the app, the customer’s search experience will be significantly improved. Matching results and suggestions will be displayed as the customer is typing.
On the “Instant Search” page you can set up the number of search results displayed on the storefront for each search type (search suggestions, search products, search collections, search pages, search posts).
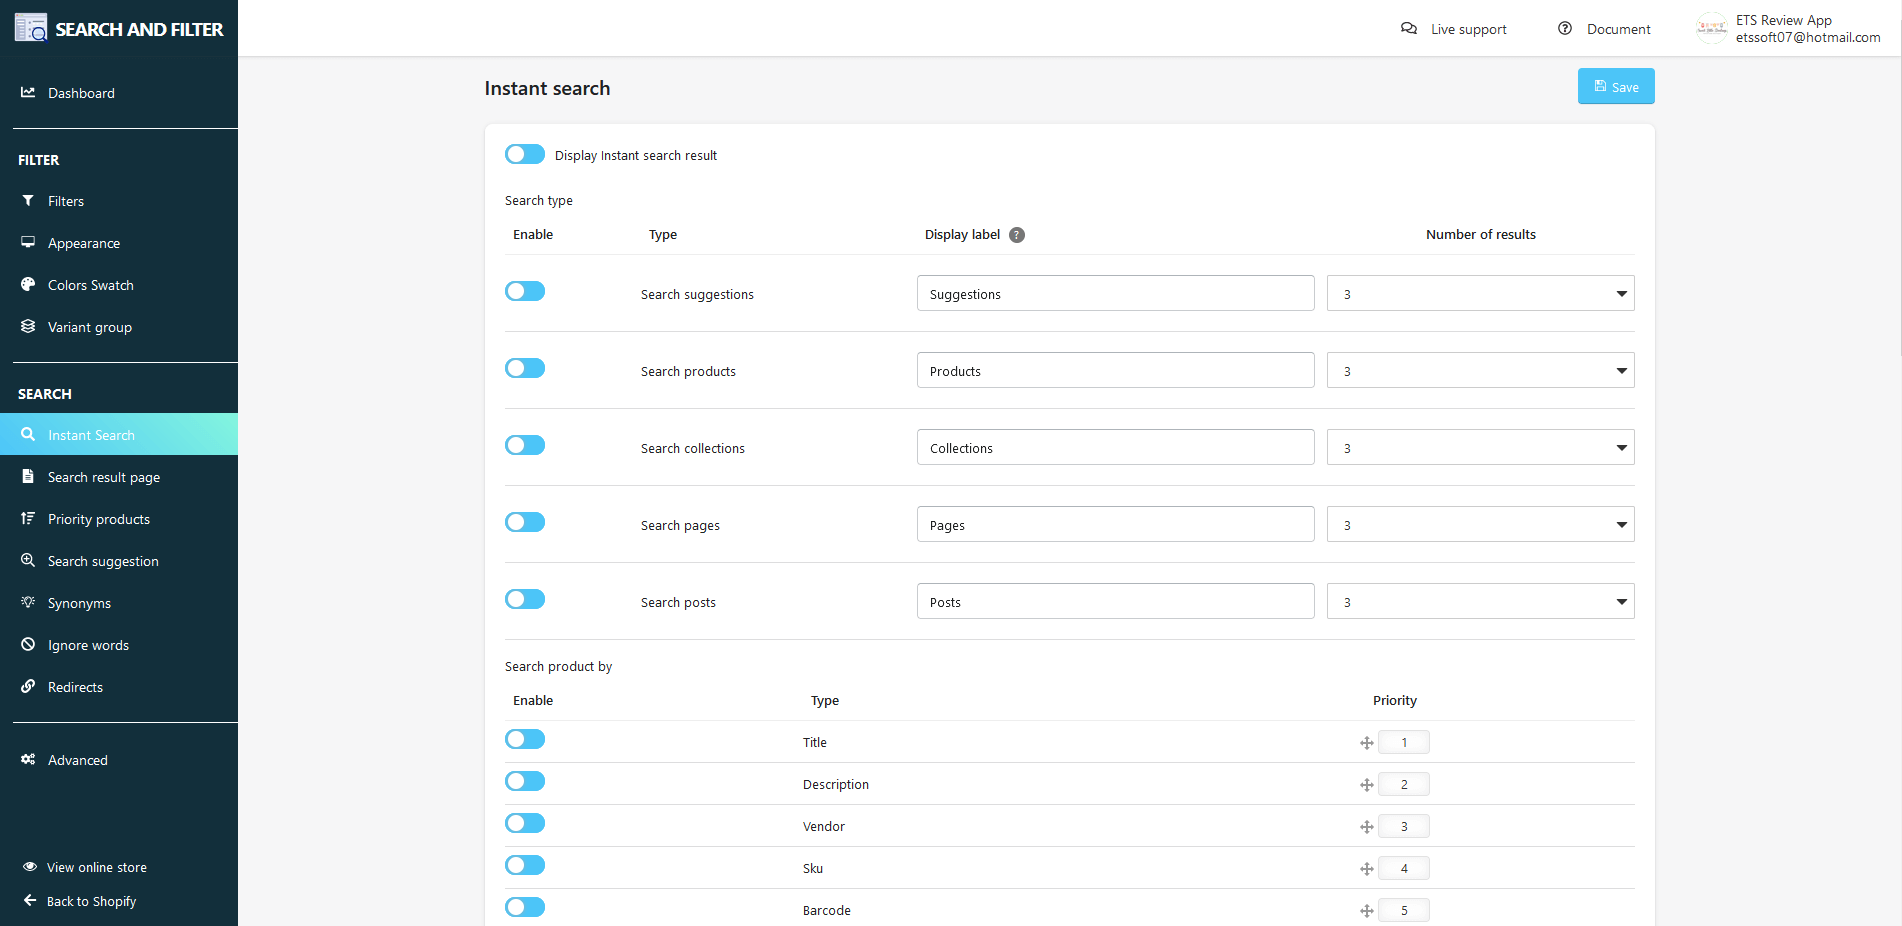
For example, you prioritize the title in the first position, then the description. So, when customers search for the keyword “Laptop”, the products containing the keyword “laptop” in the title will be displayed first on the search results, then the products containing this keyword in the description.

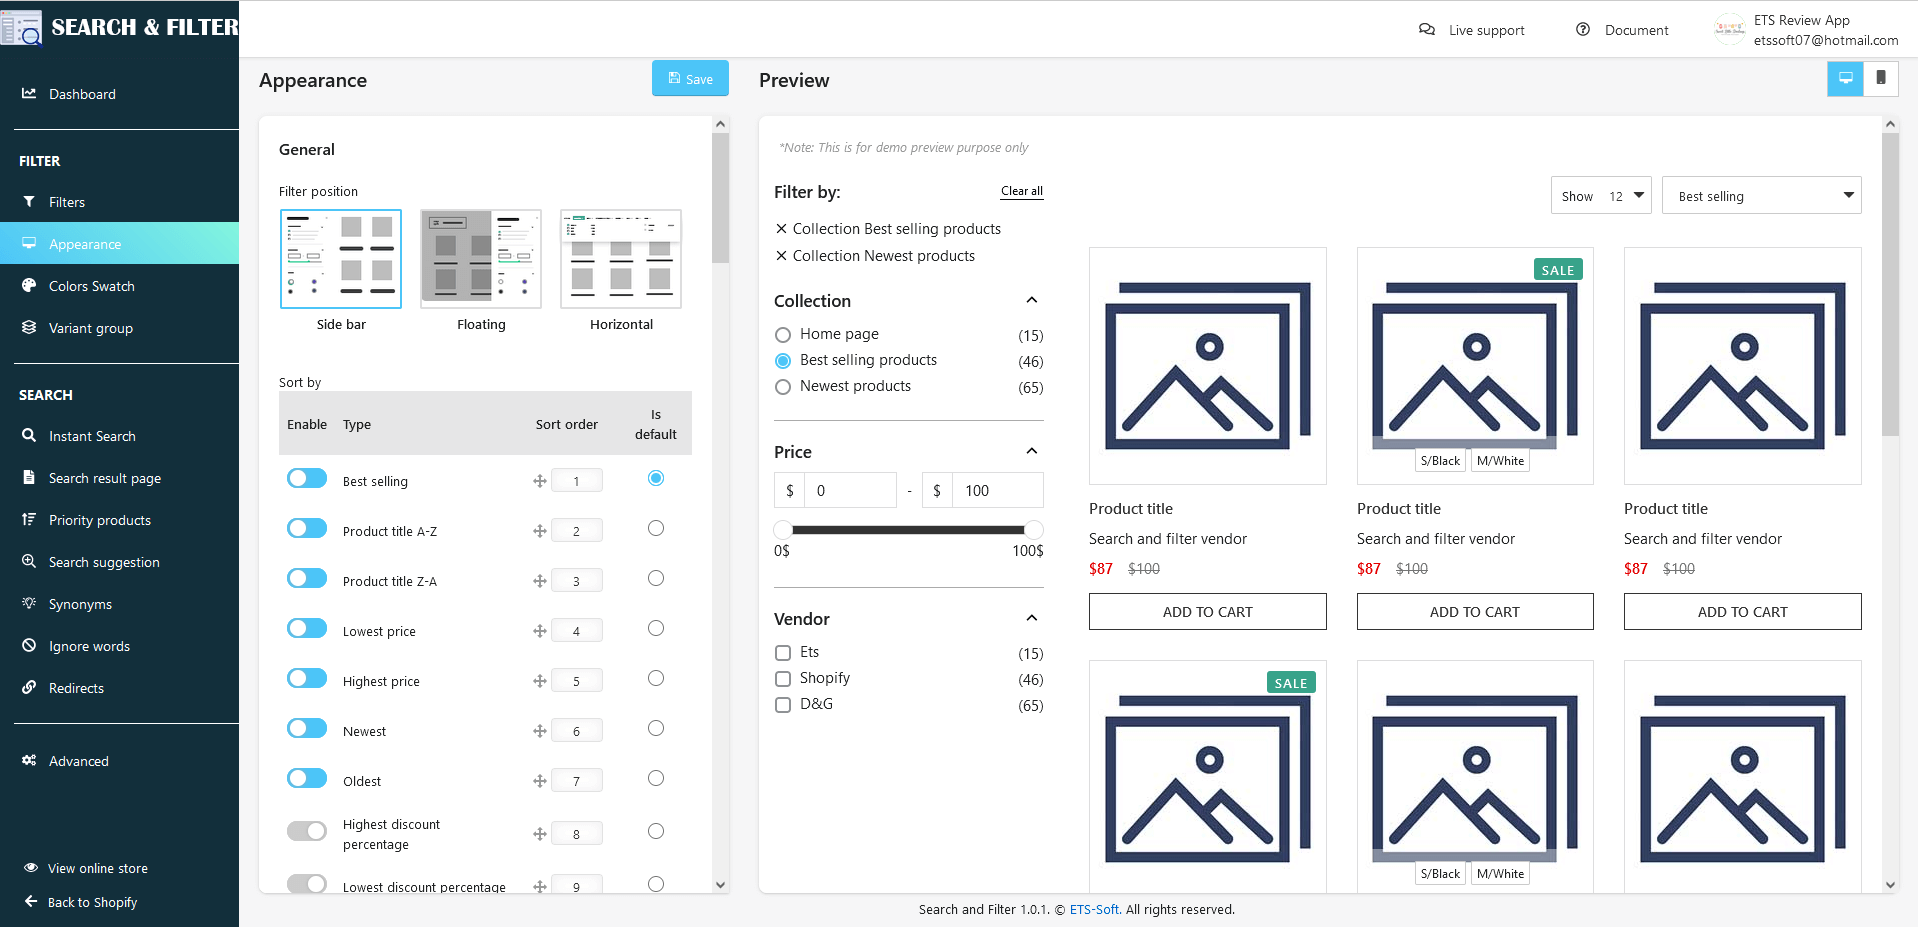
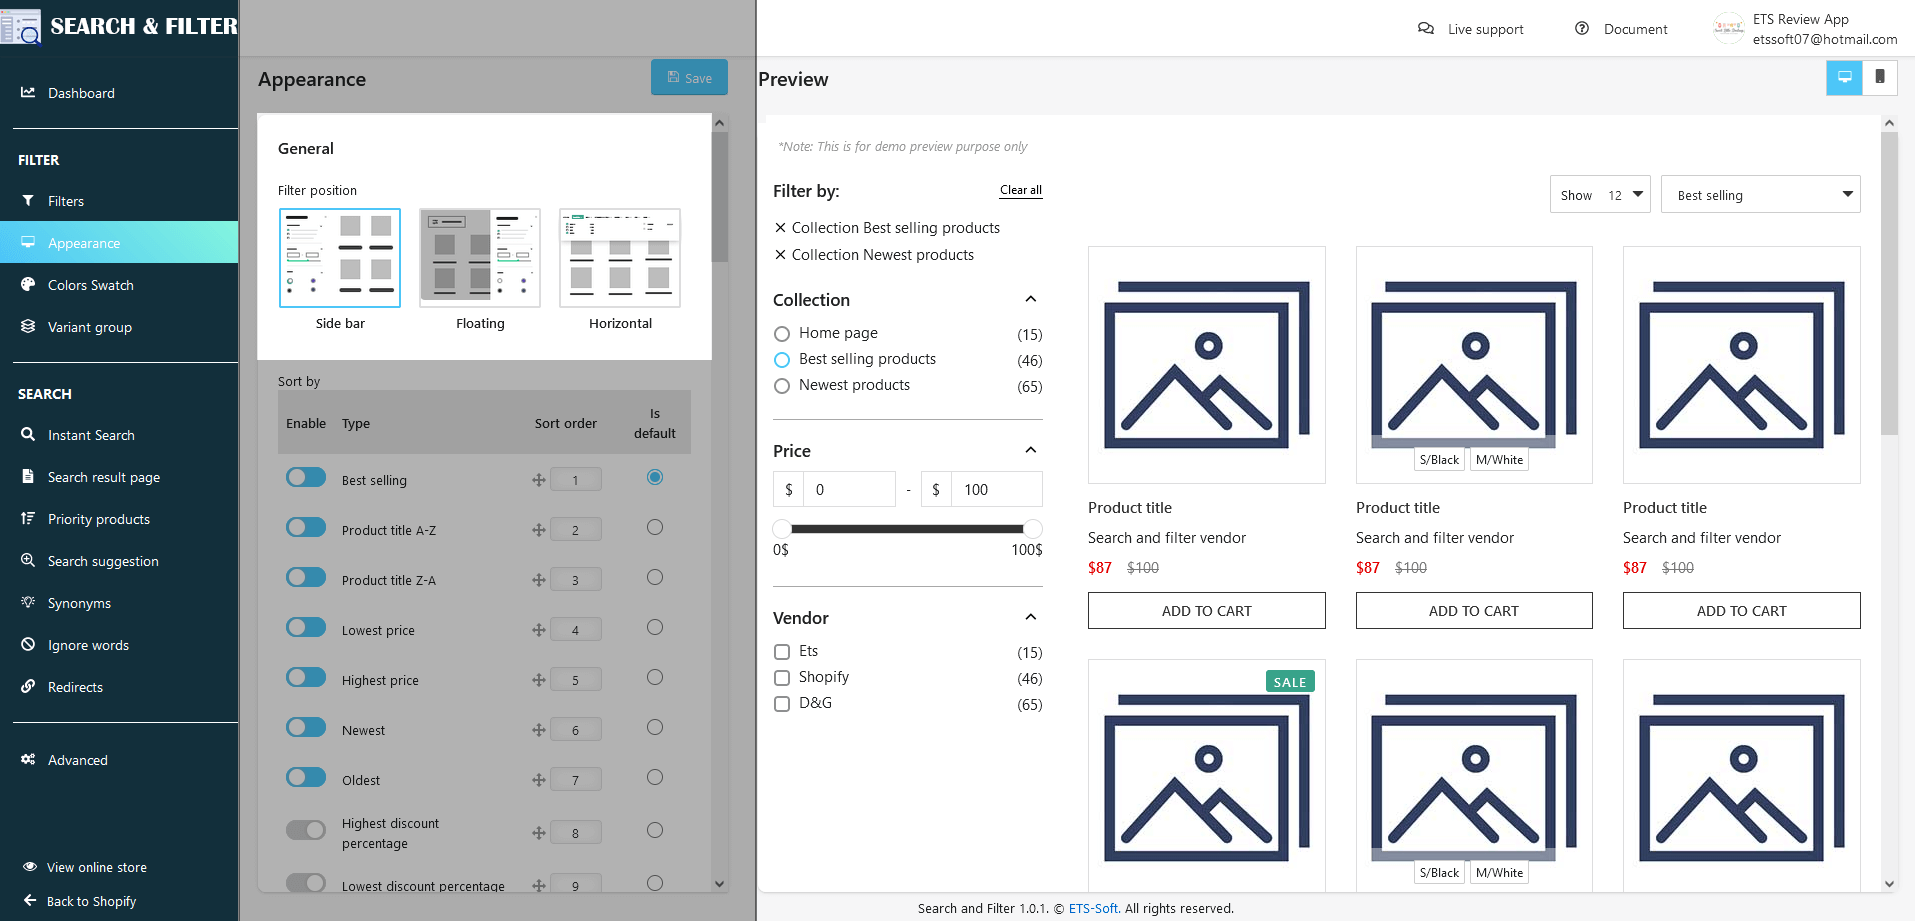
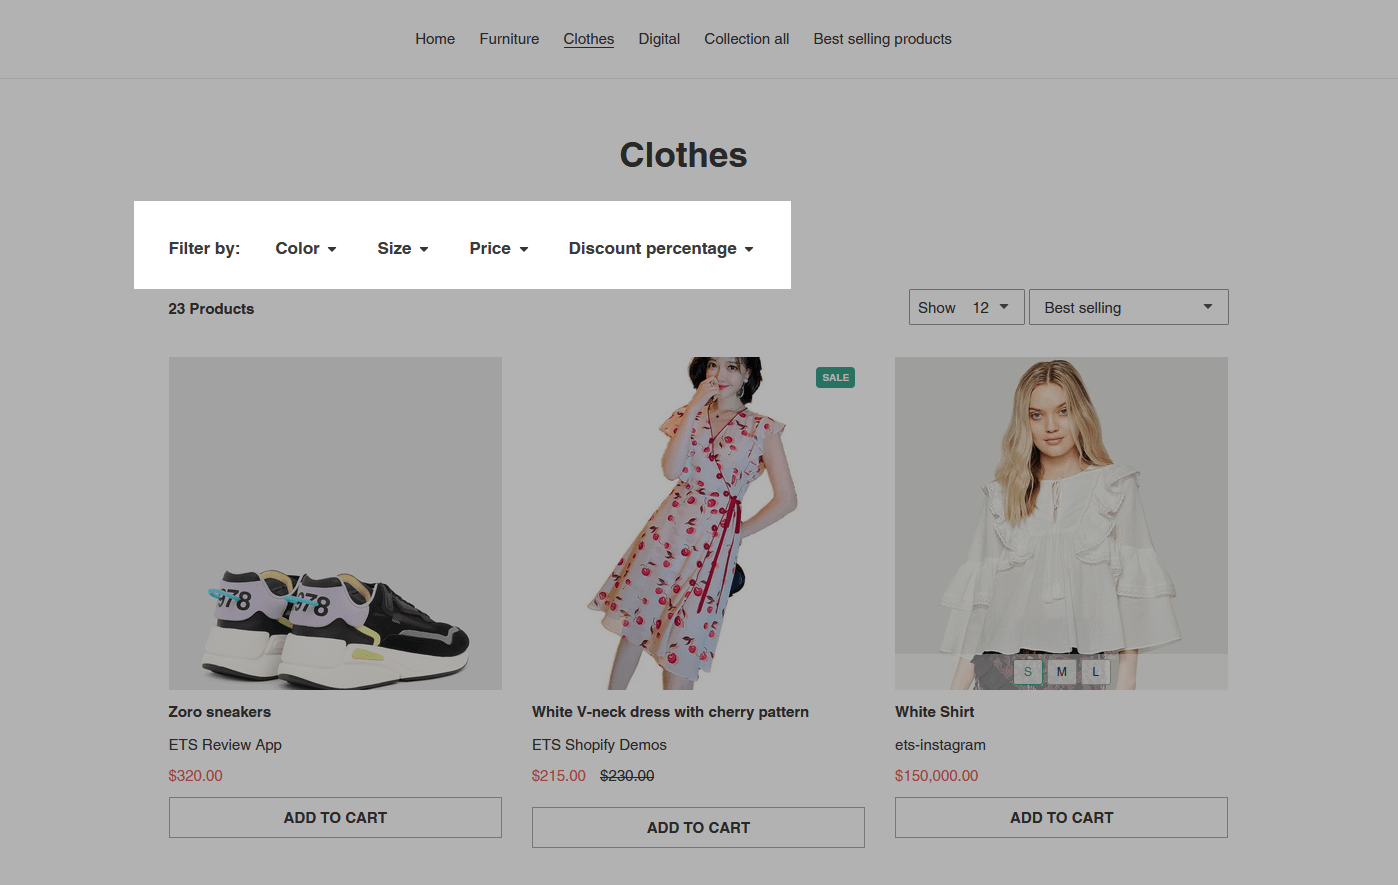
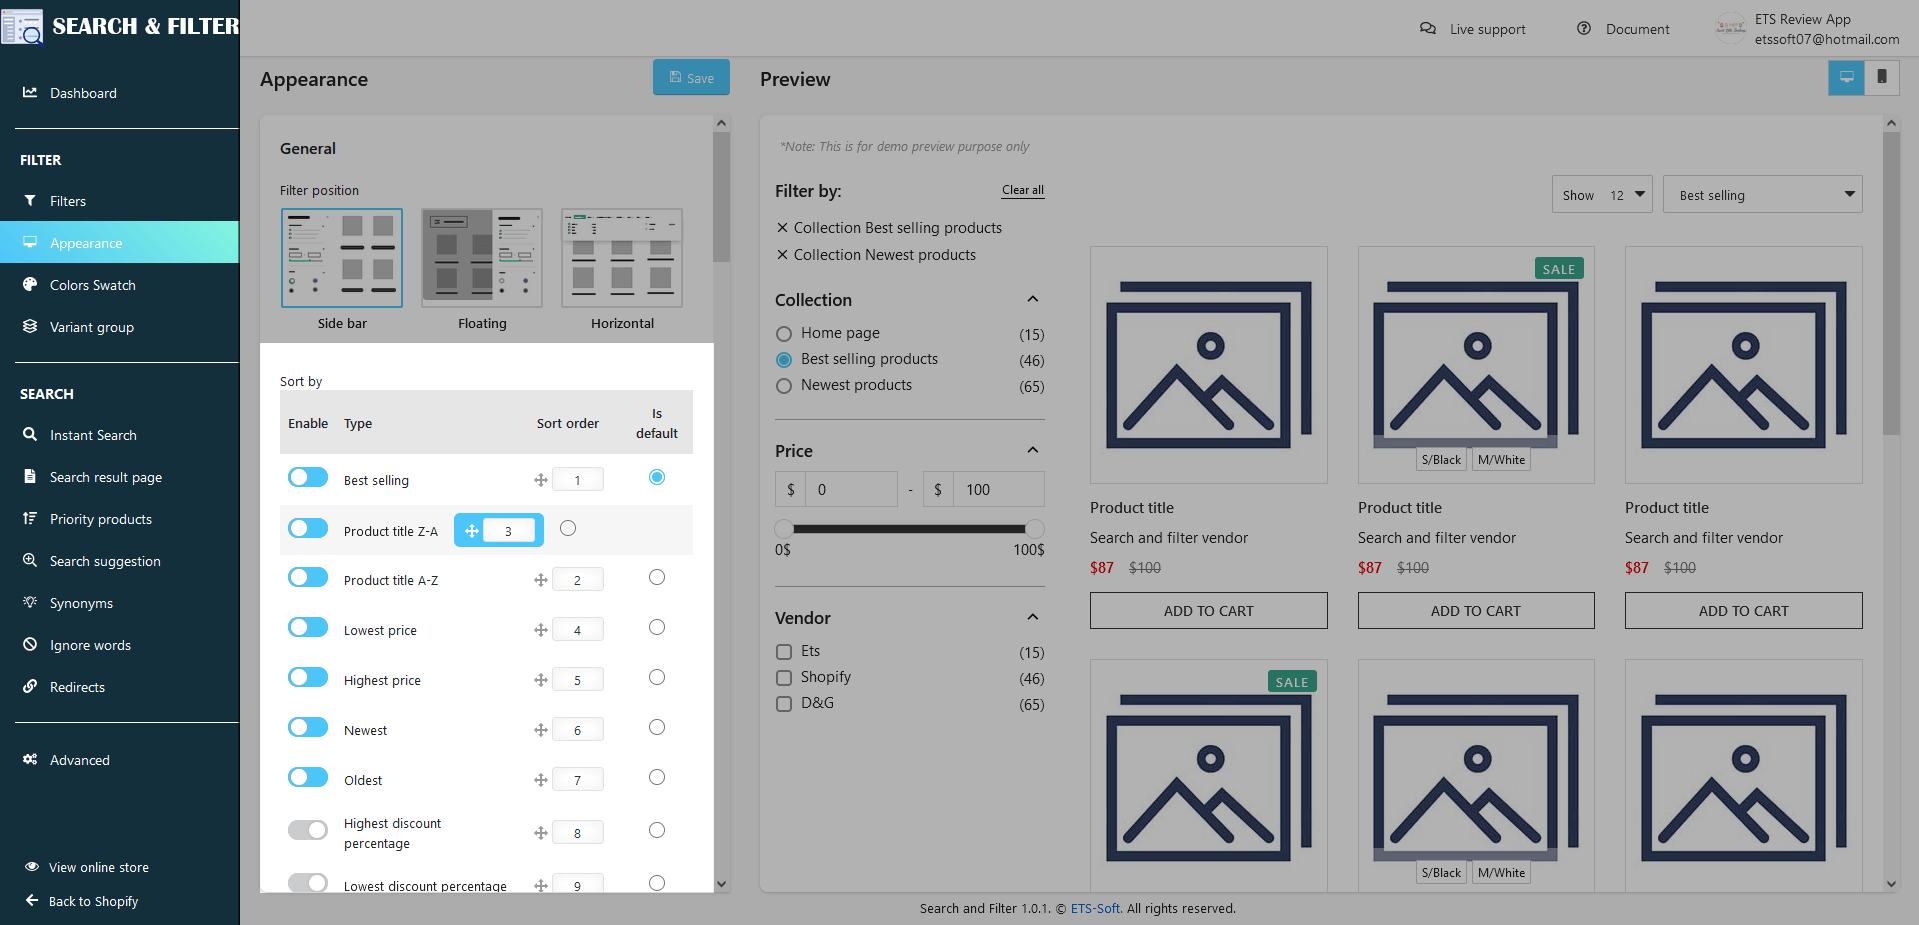
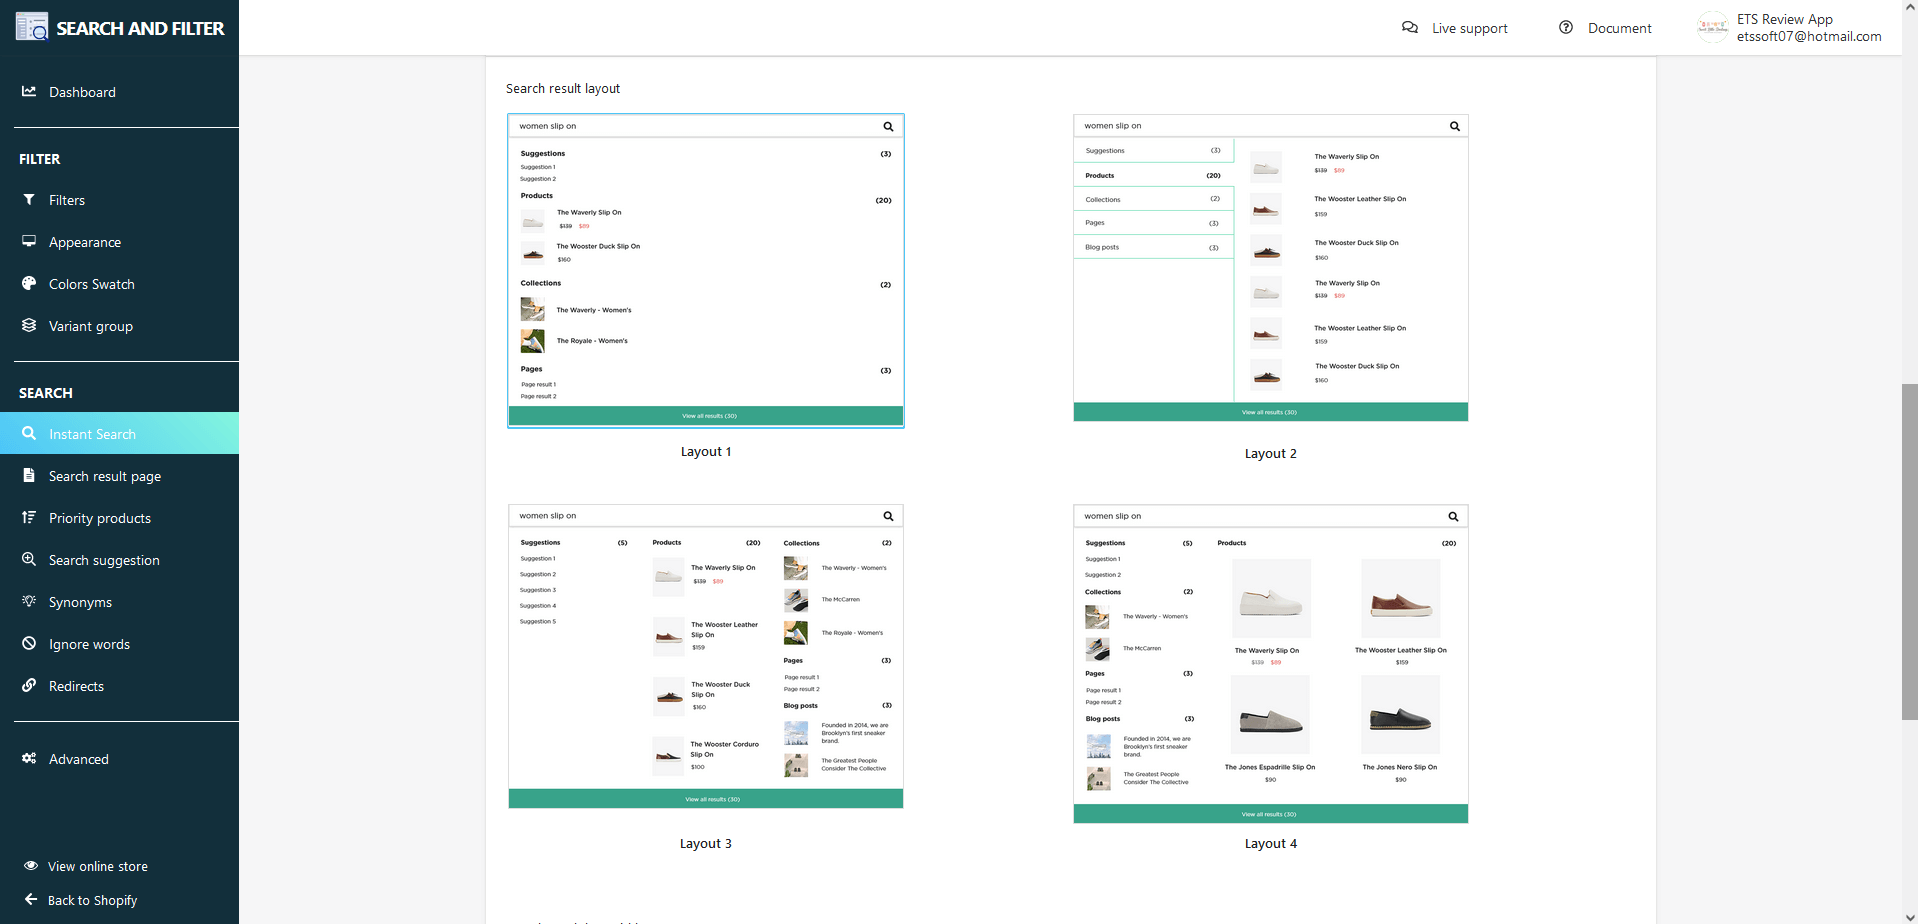
The app provides 4 types of search result layouts with an eye-catching designs for you to choose from:
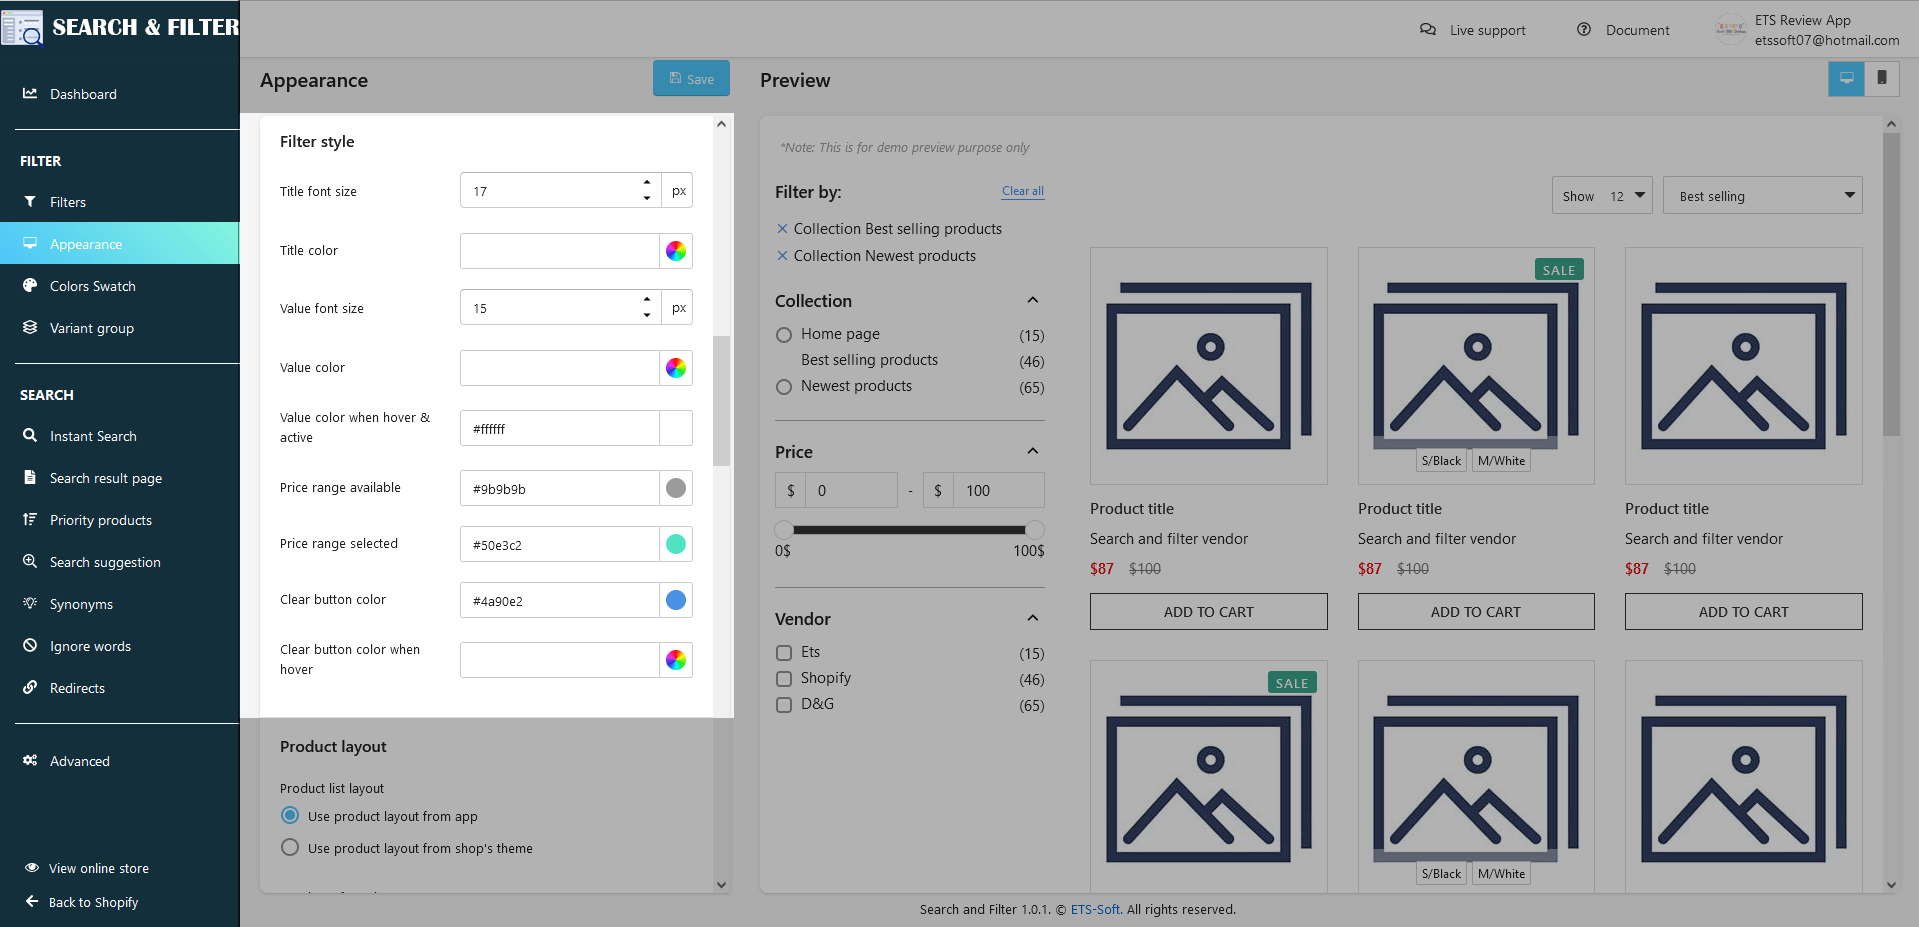
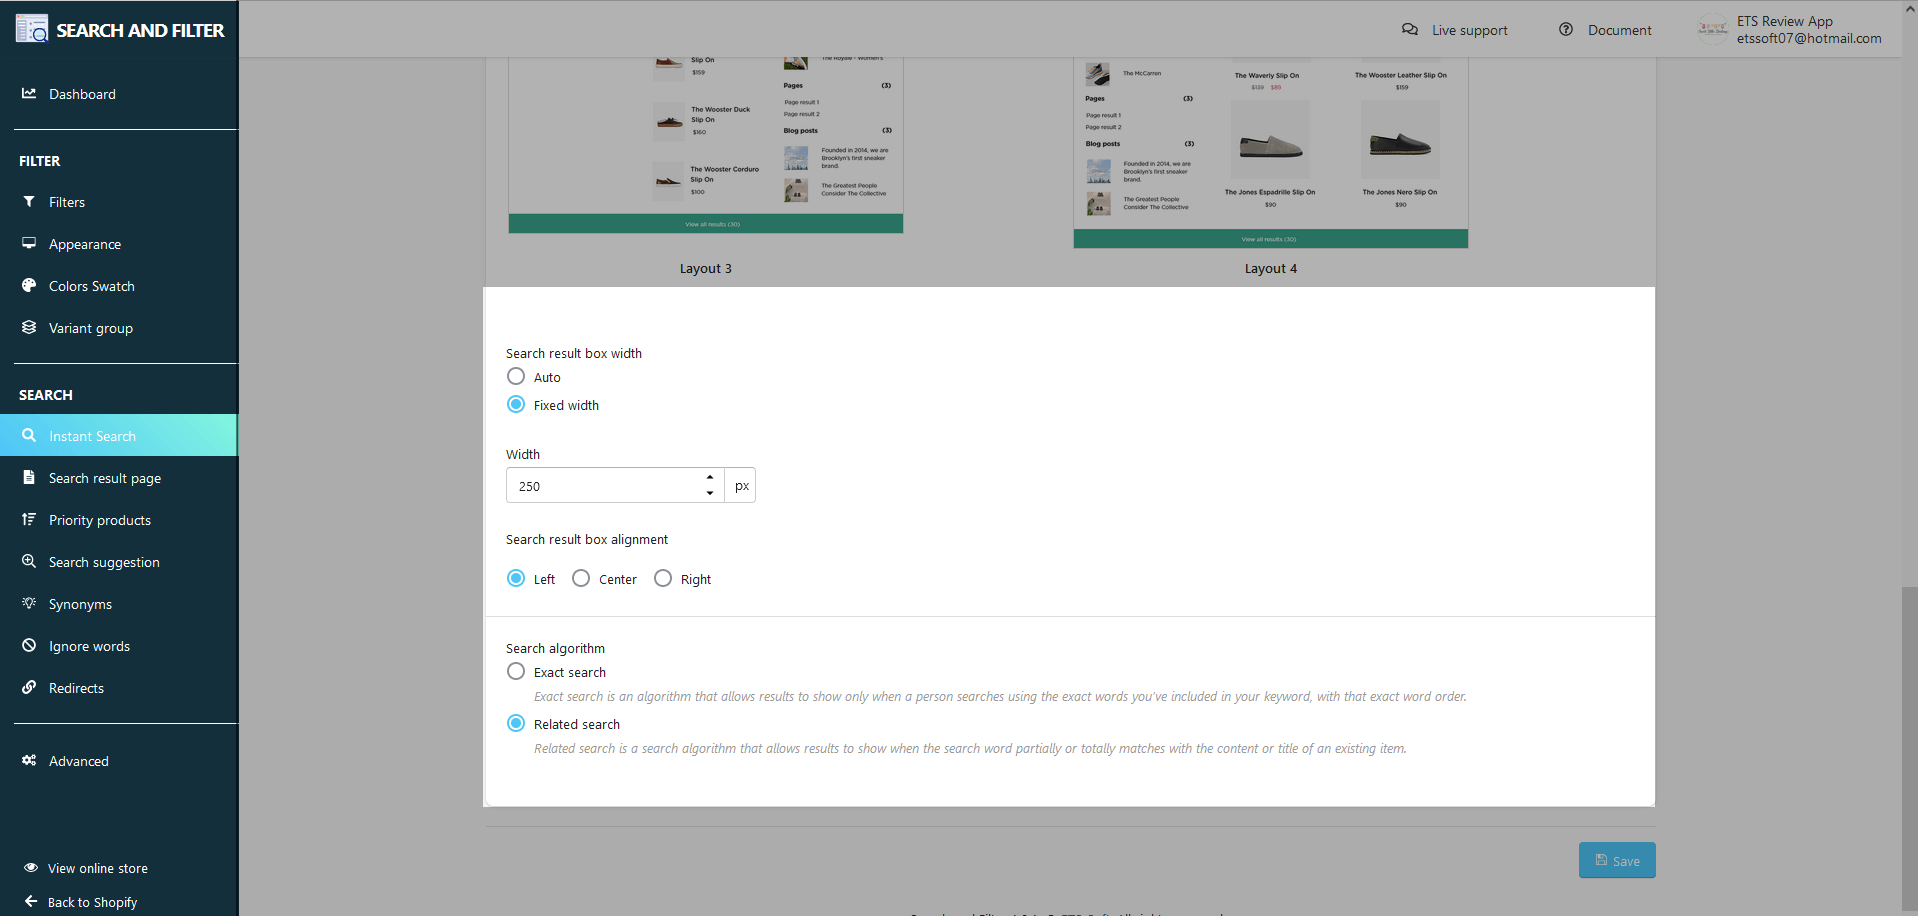
You are also allowed to customize the search result box width, align the search result box, and select the search algorithm used in your store.
(2) Page Result
The FilterPro app provides a separate results page. You can completely configure the display of the results page on the storefront.
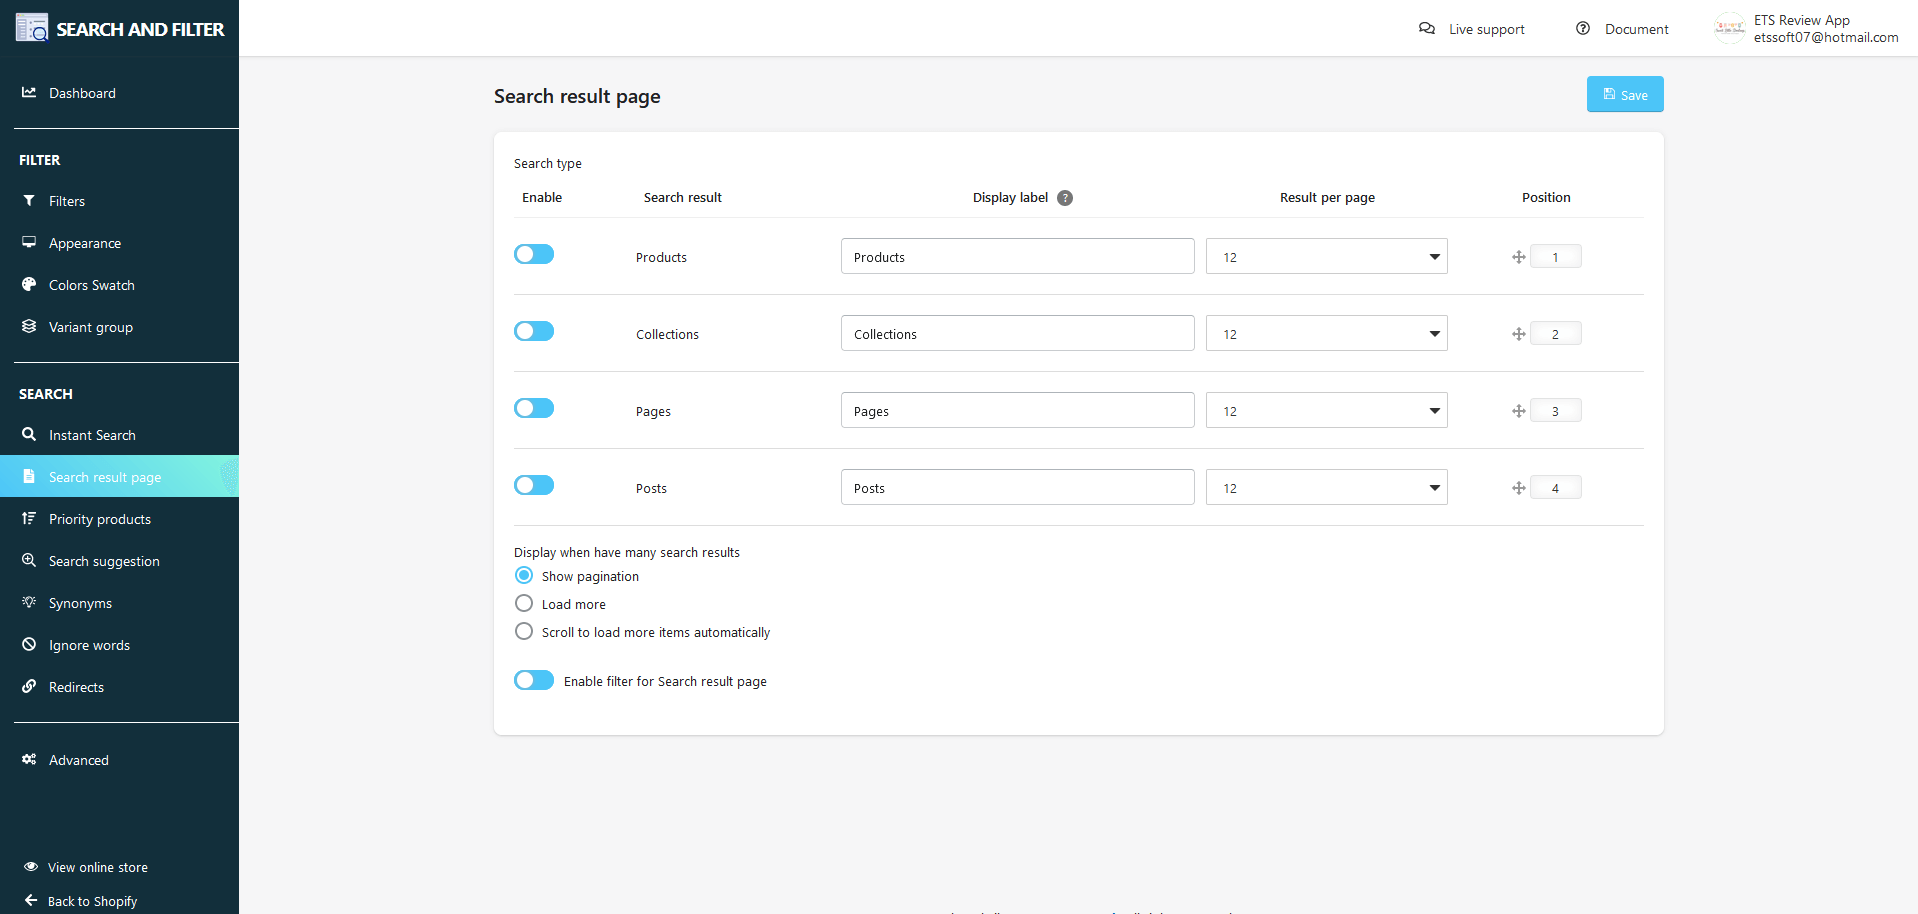
- Enable the search result type you want to show on the result page.
- Enter display label.
- Enter the quantity of each type of result that you want to show on the results page.
- Choose how to display on the results page when there are so many products.
- Sort the order of priority to display search results by dragging and dropping.
- Enable filter for result page and “Save”
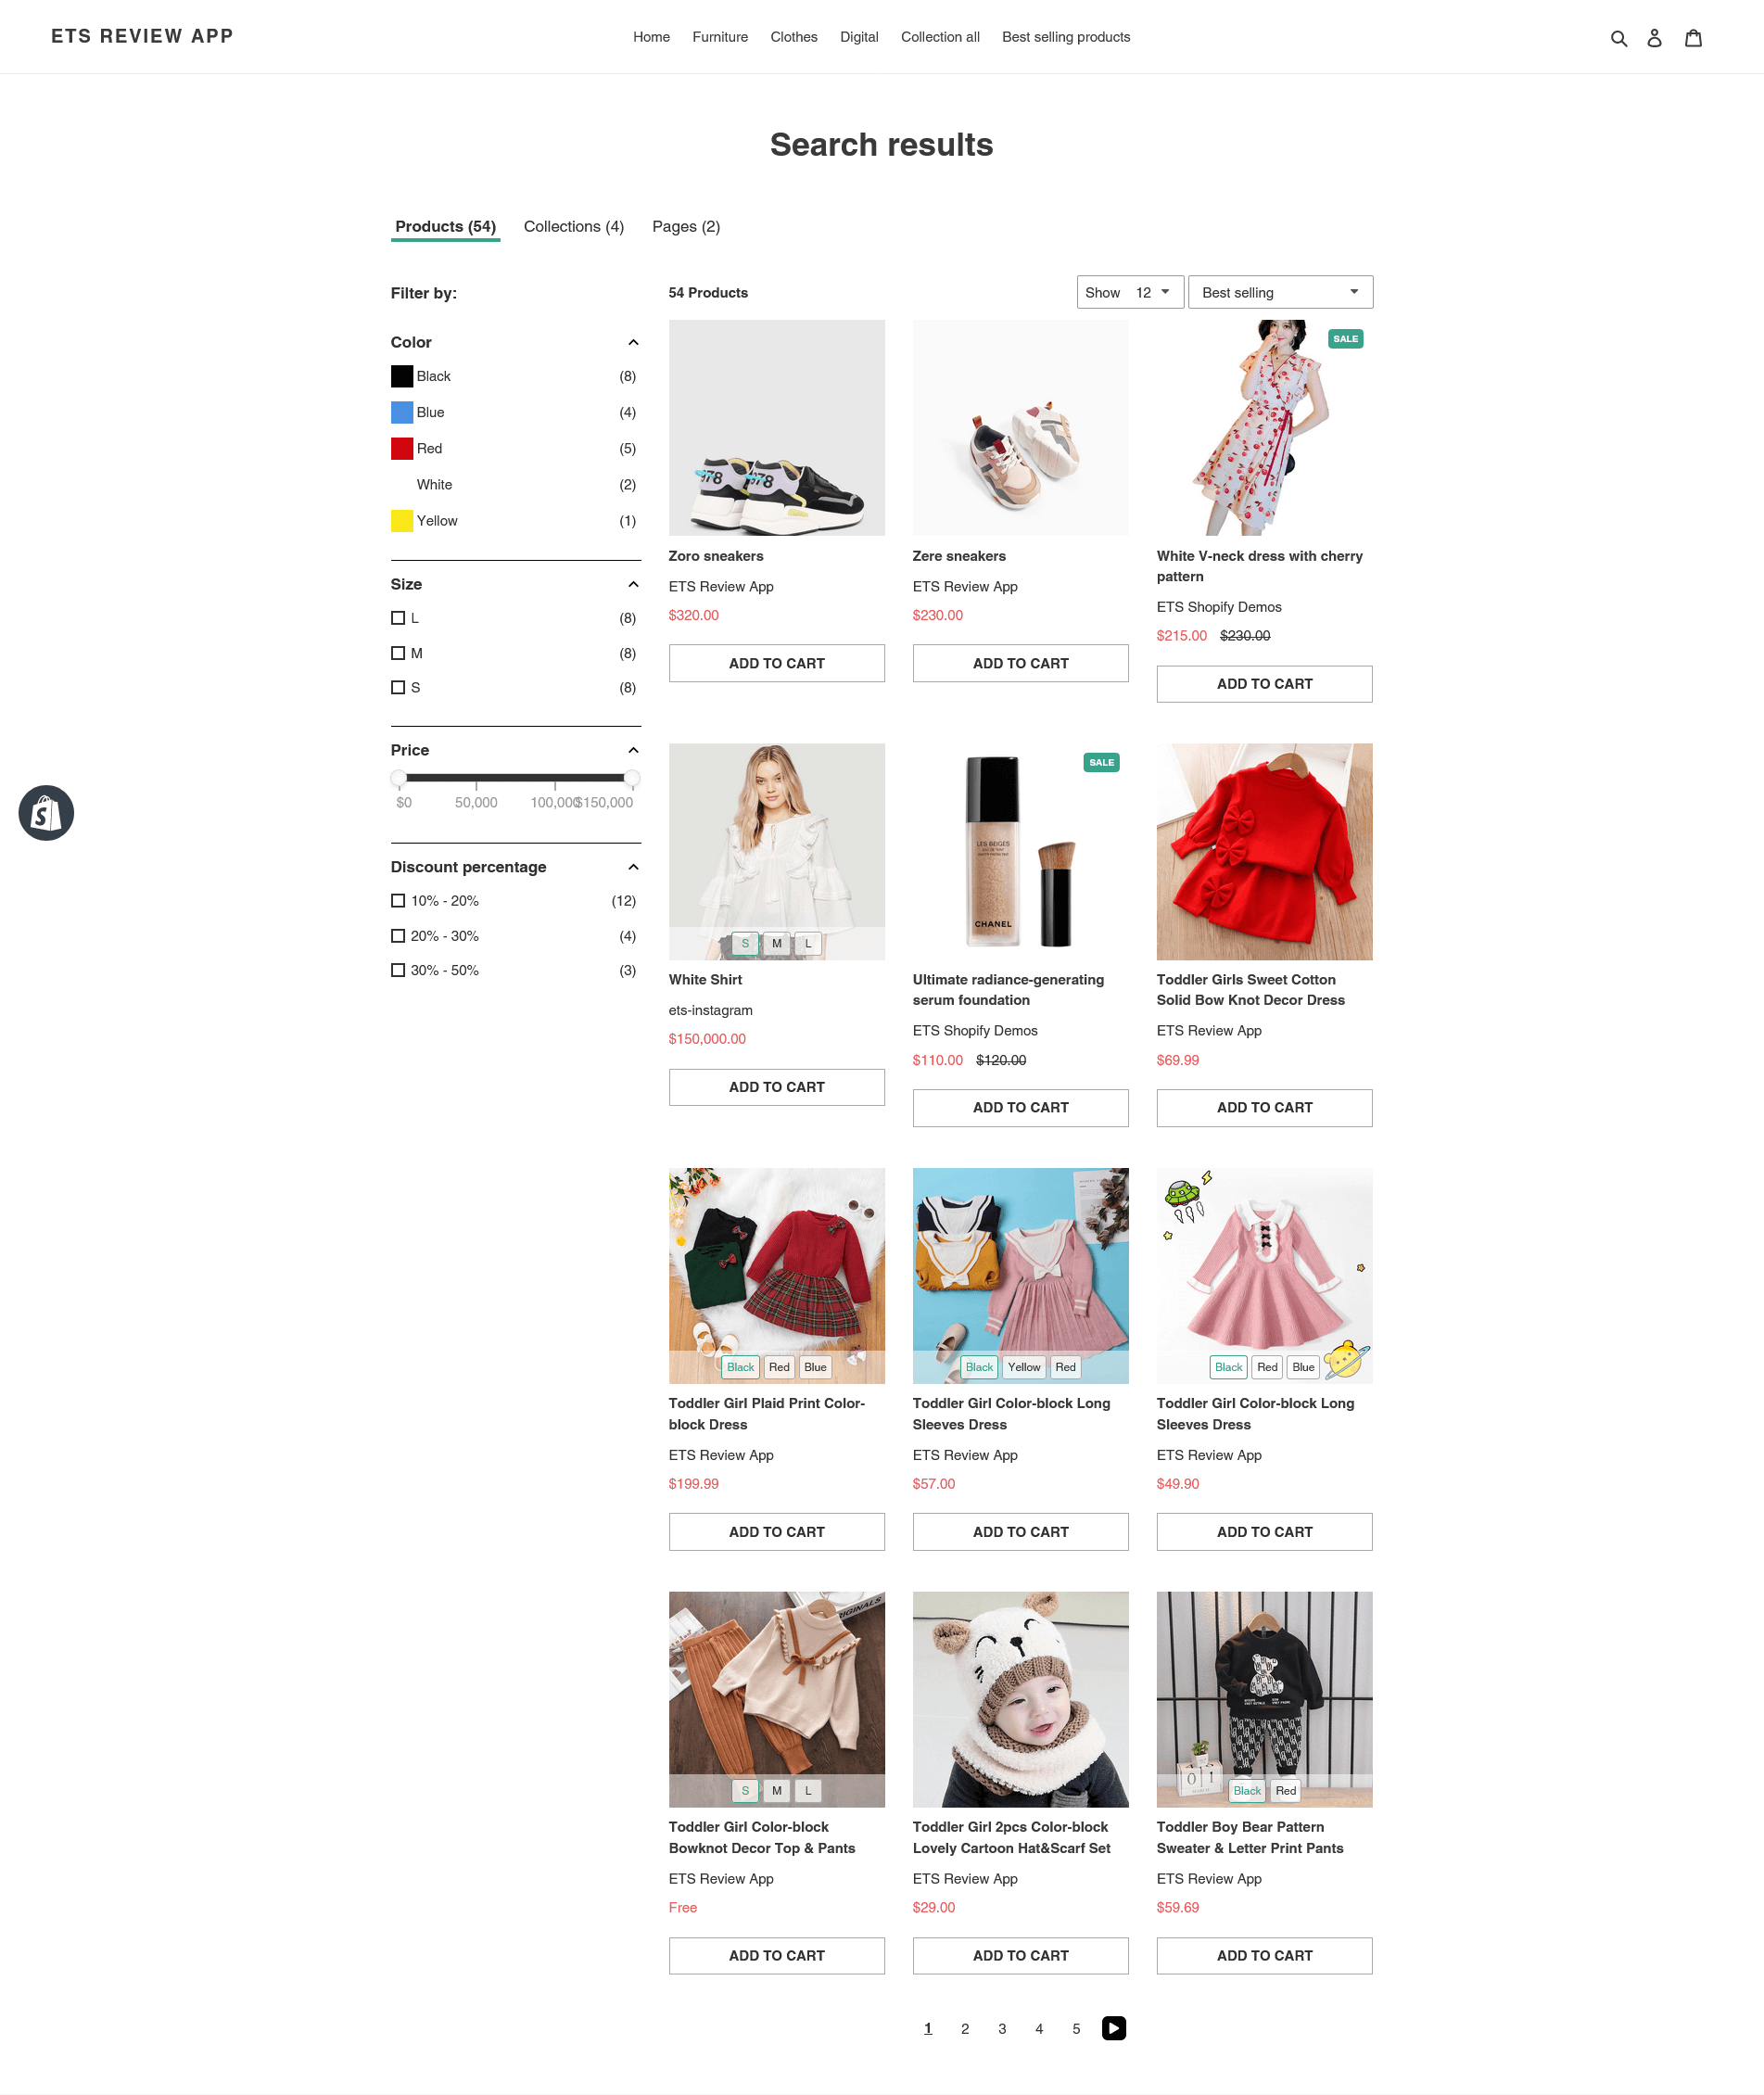
Search result page when there are so many results:
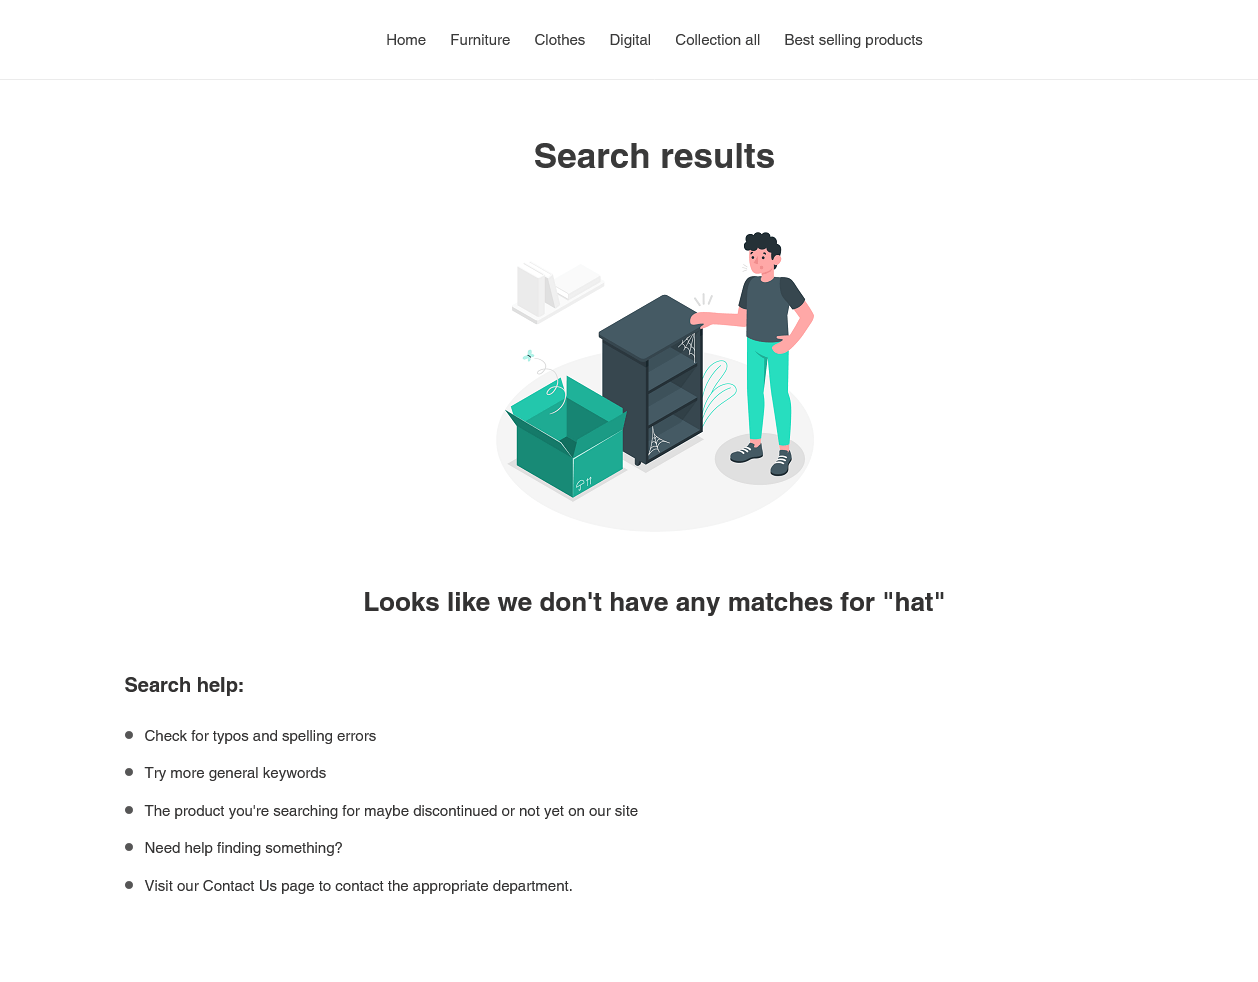
Search result page when there is no result:
(3) Priority Product
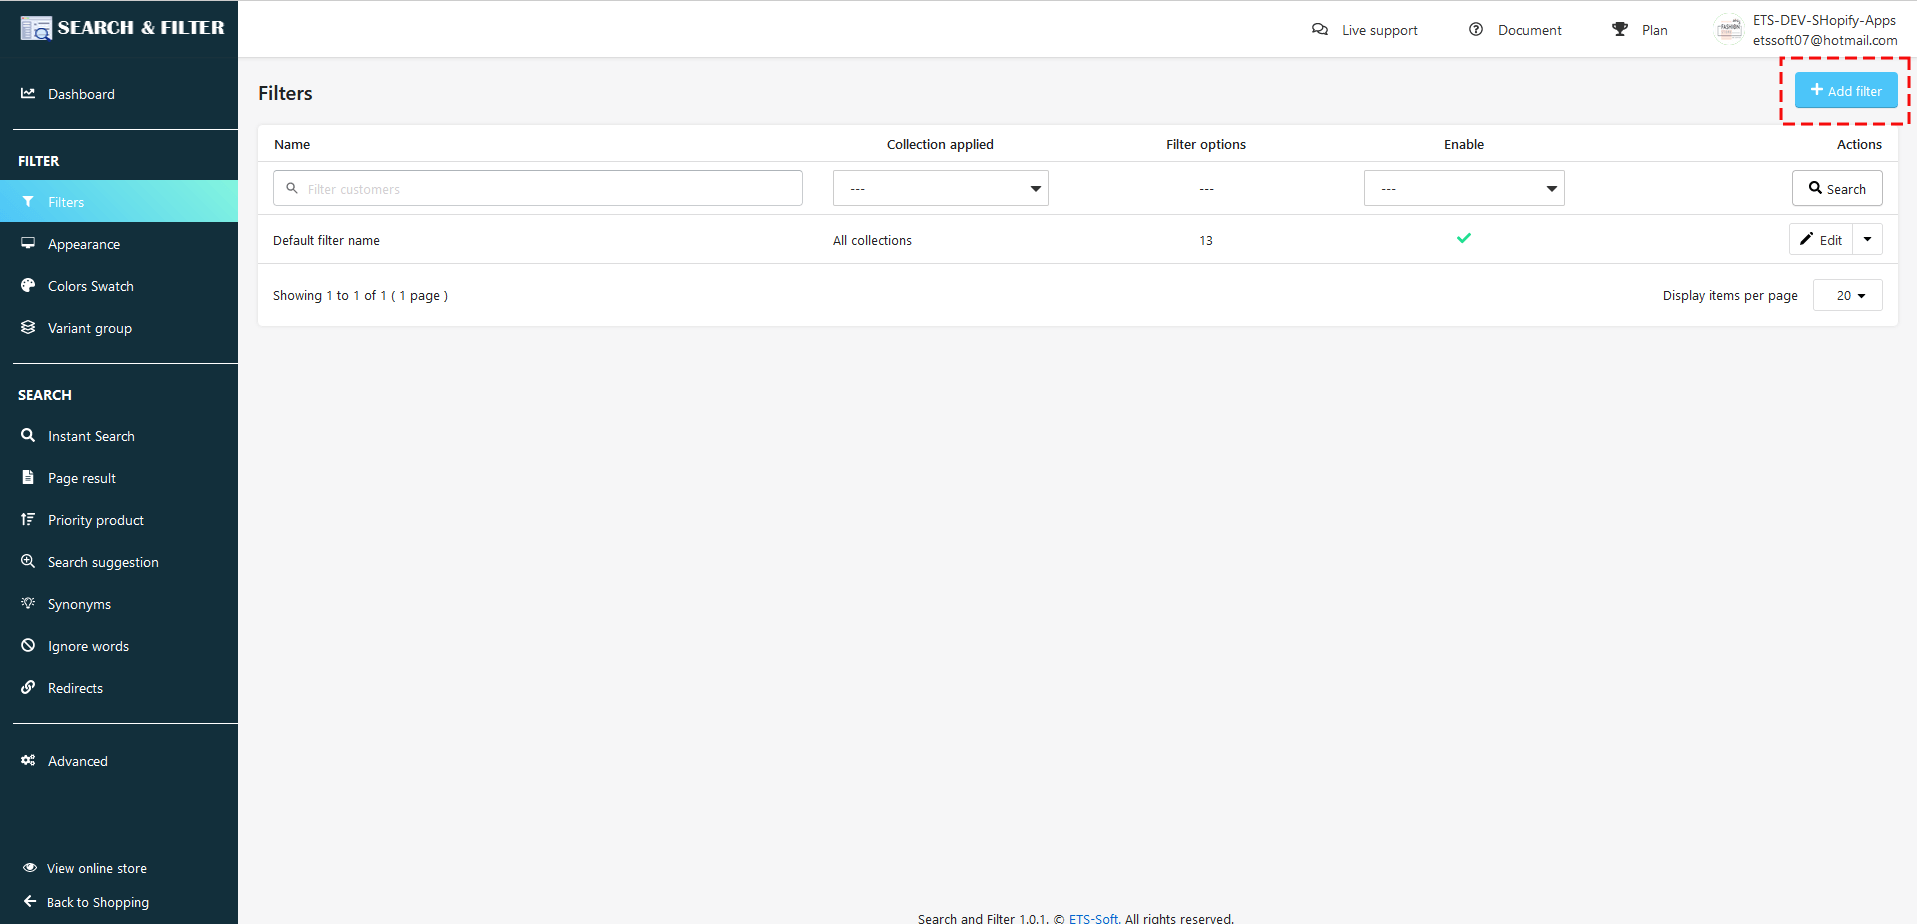
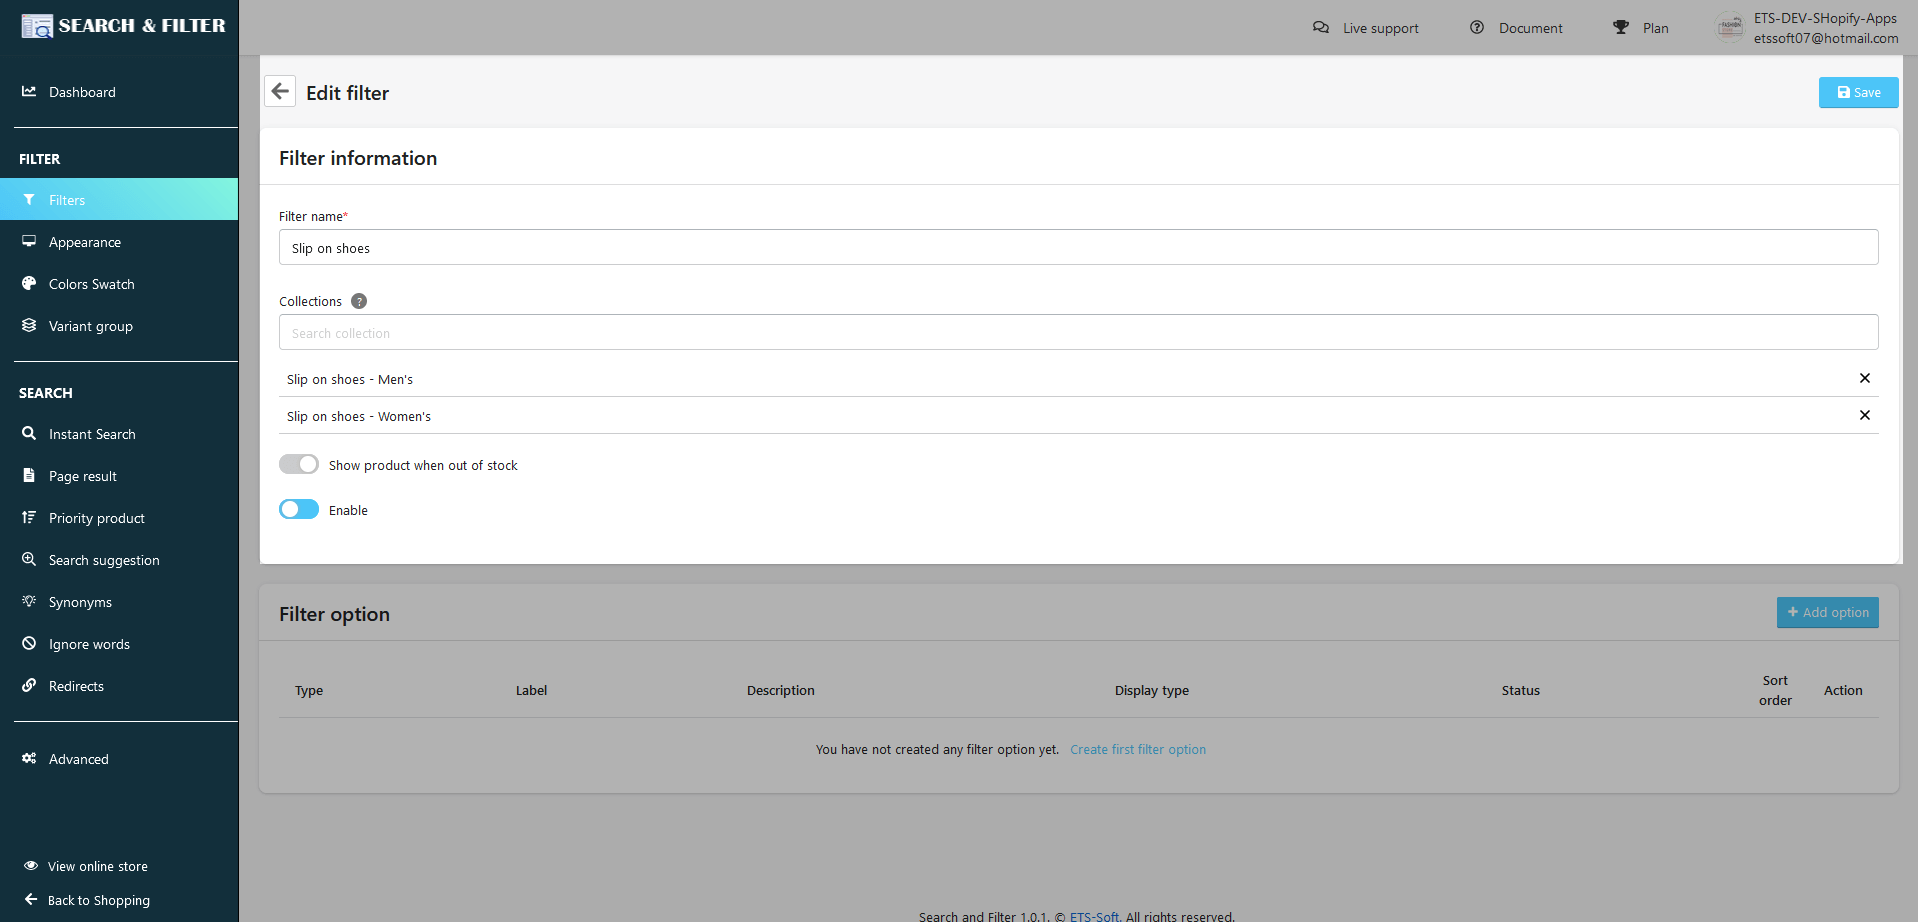
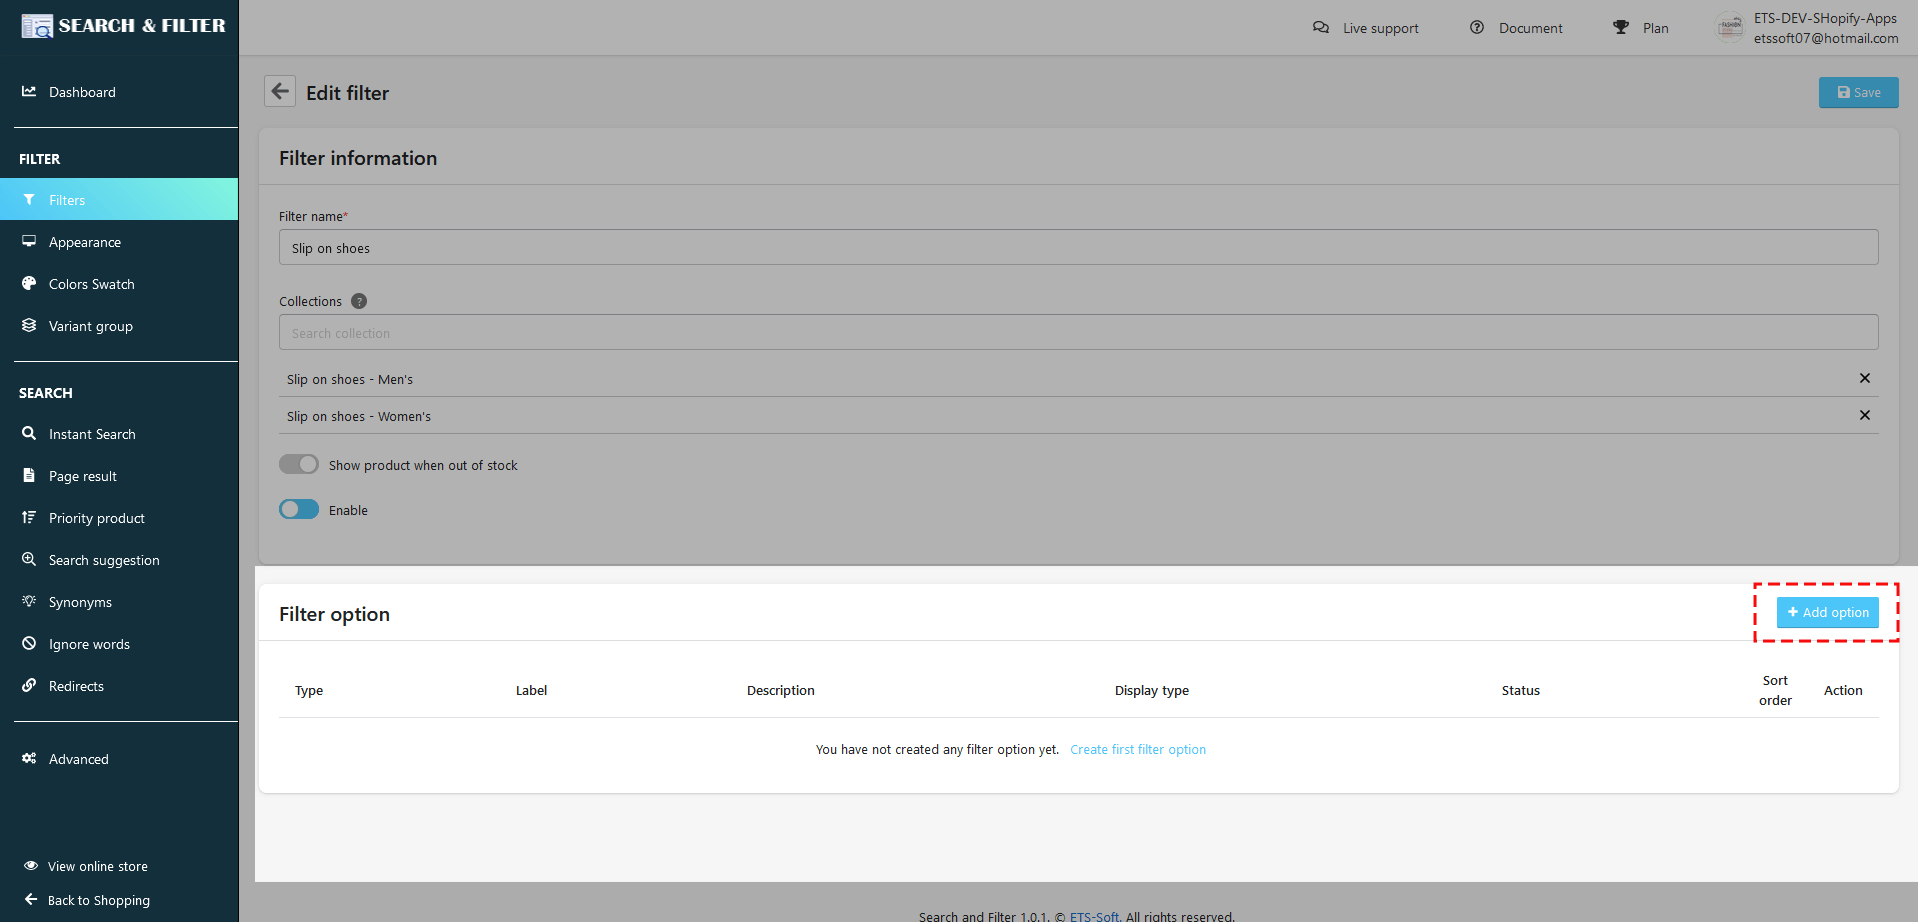
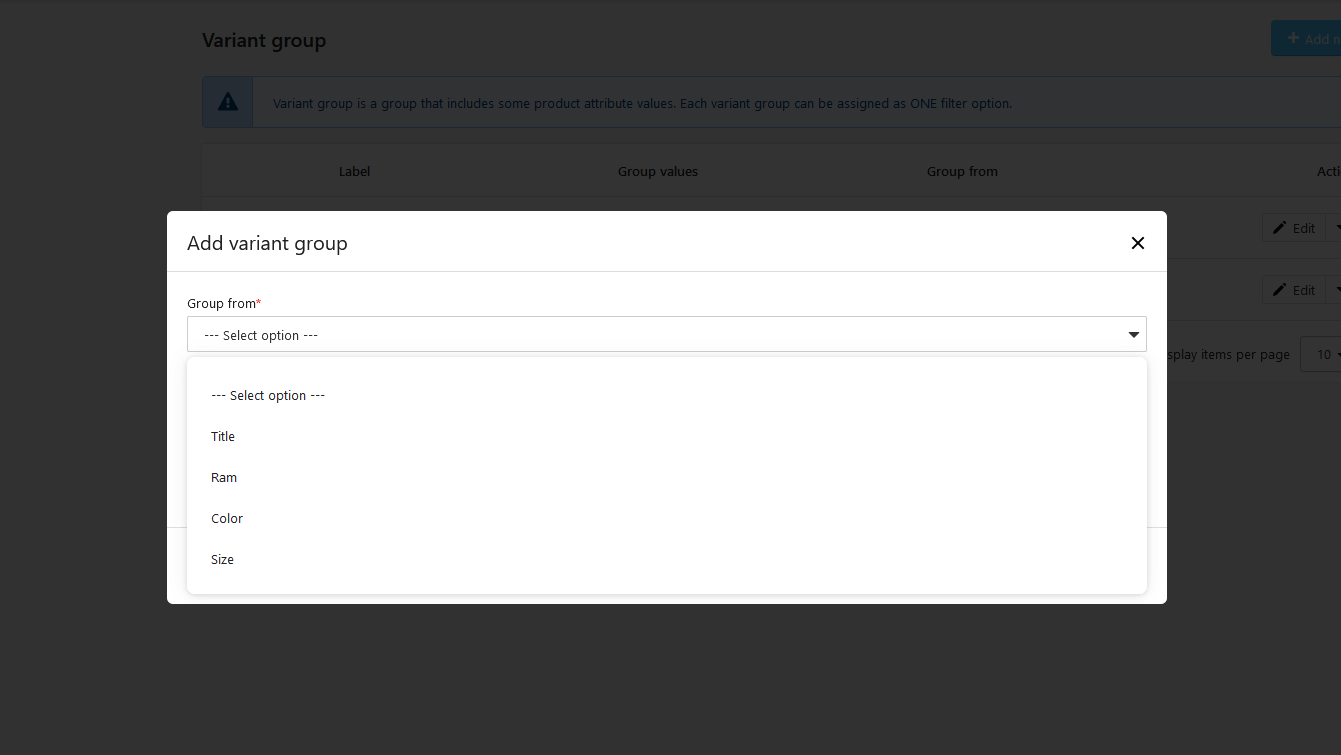
Moreover, the app allows you to display priority products on the search result with just a few simple settings!
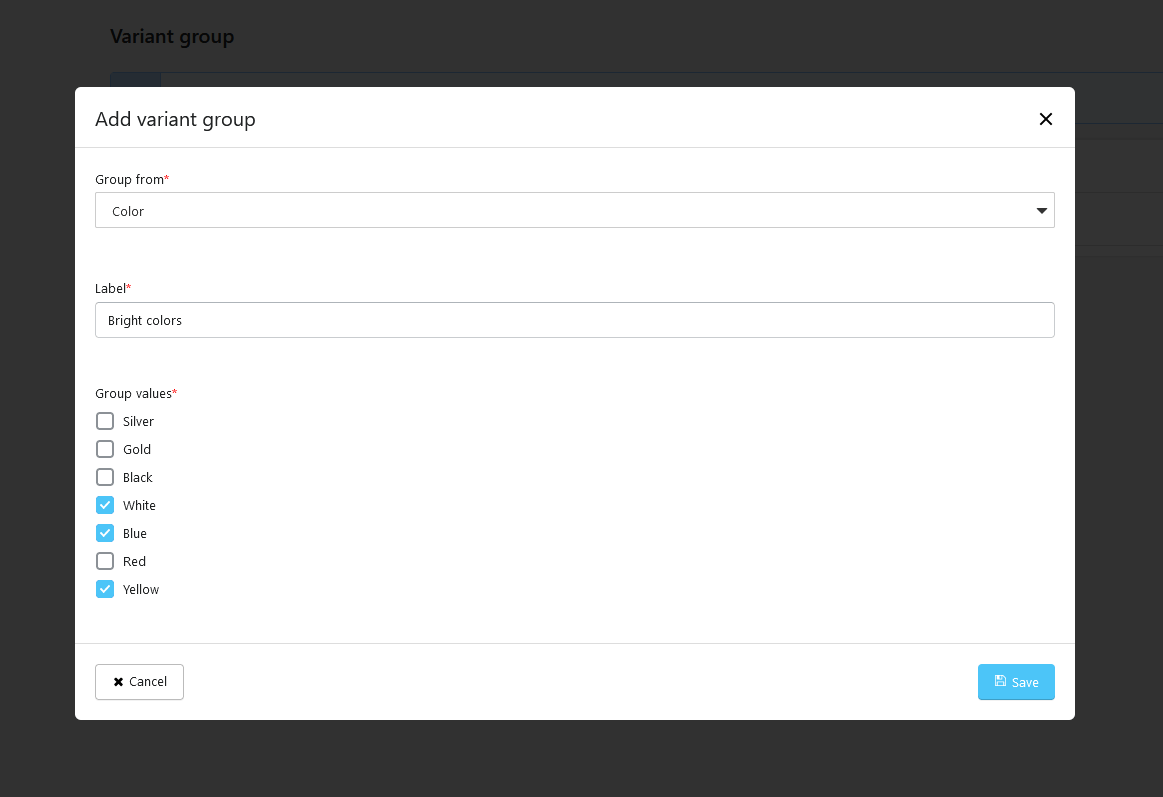
- Click “Add new” to open “Add new priority products for search word” popup.
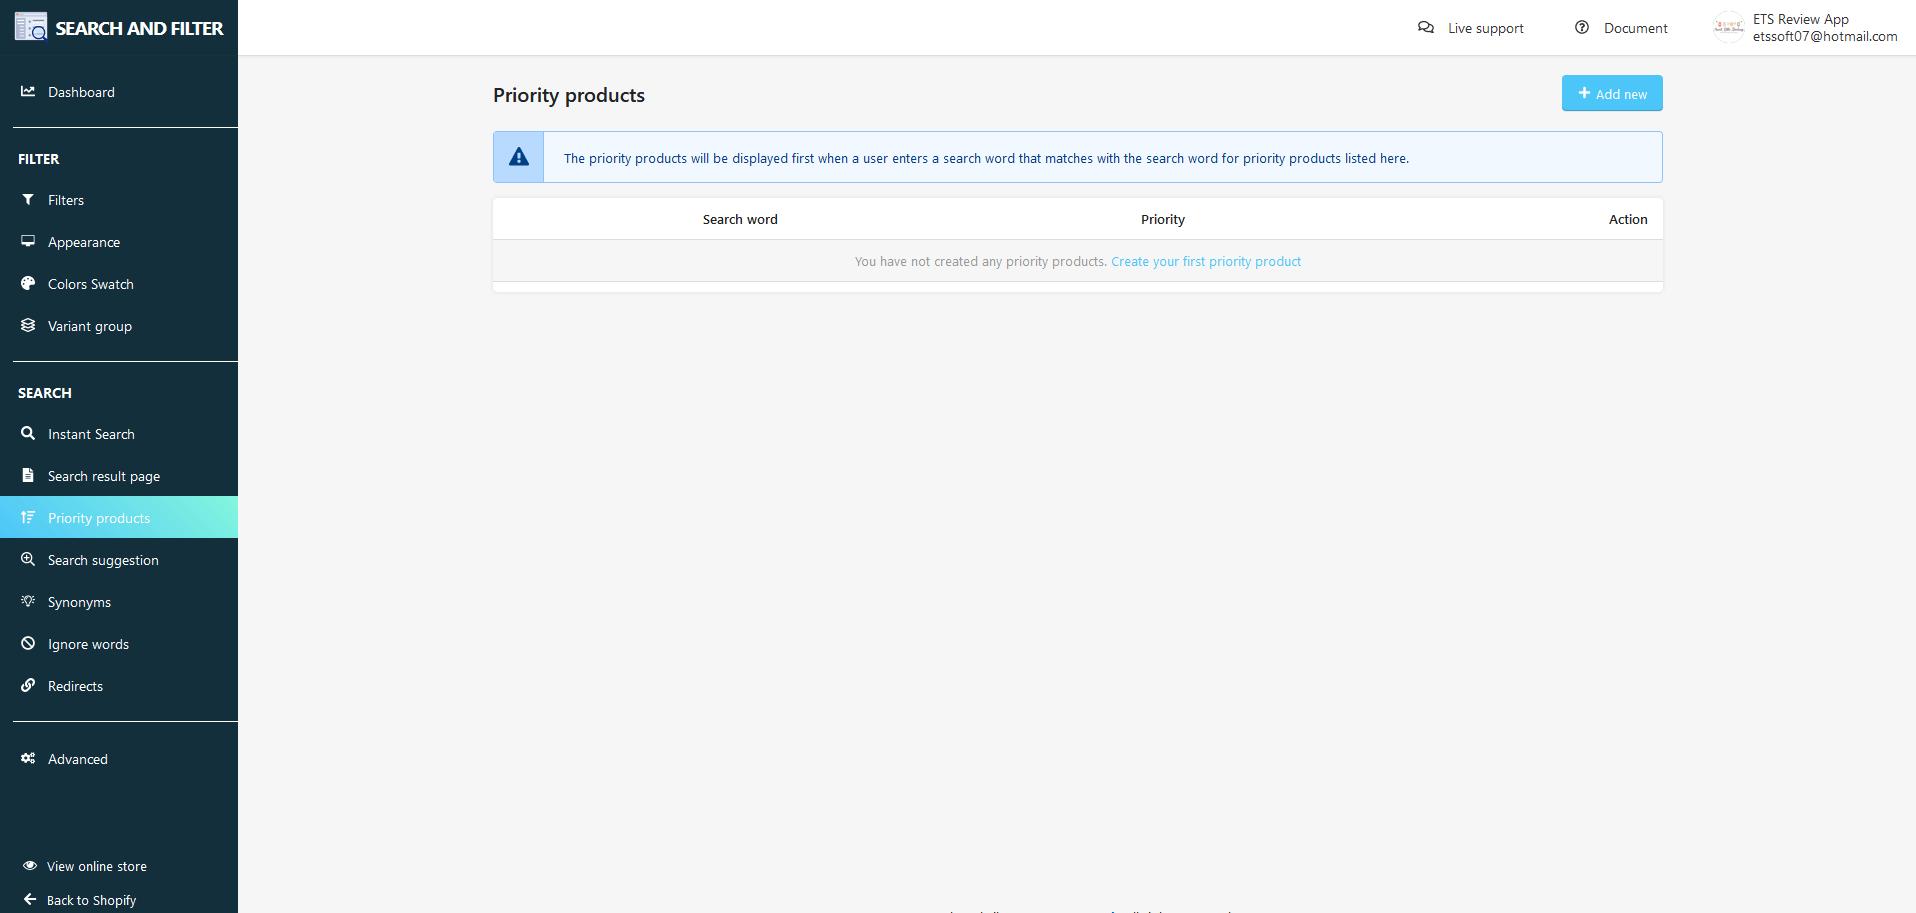
- Enter in the “Search word” field.
- Select priority products and “Save”.
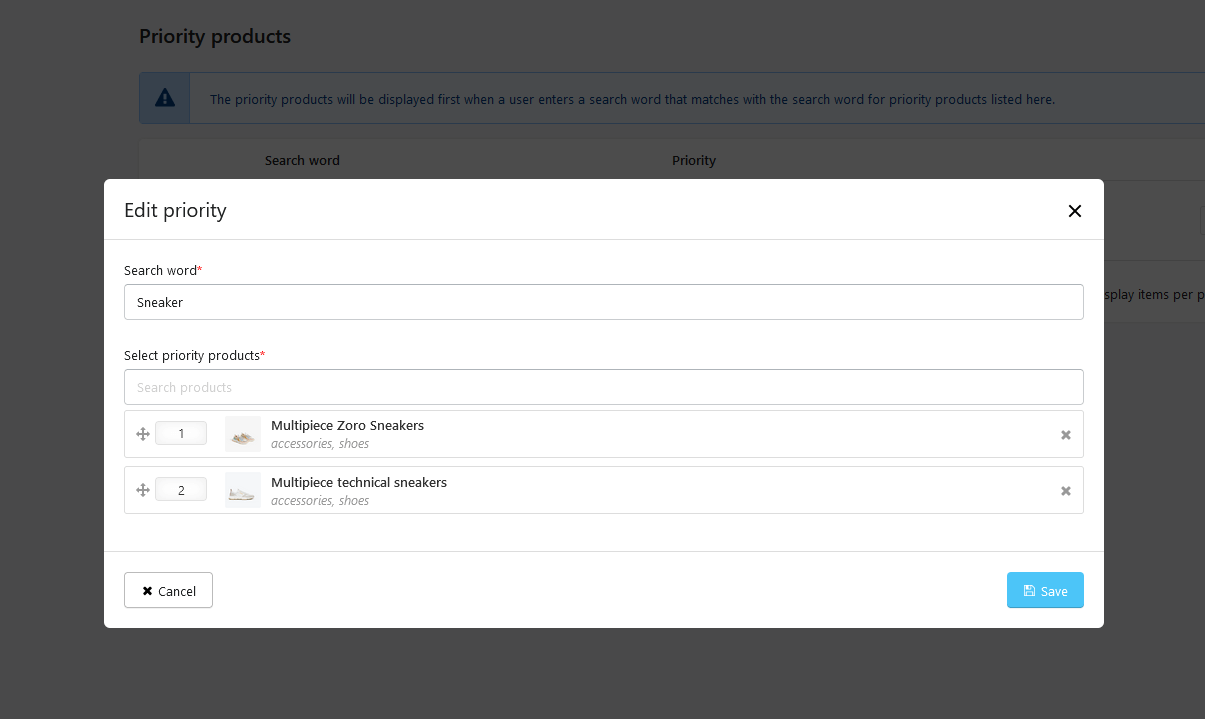
When customers search for words like the ones you fill in the “Search word” field, the app will prioritize displaying the products you have selected in the search results.
(4) Search Suggestion
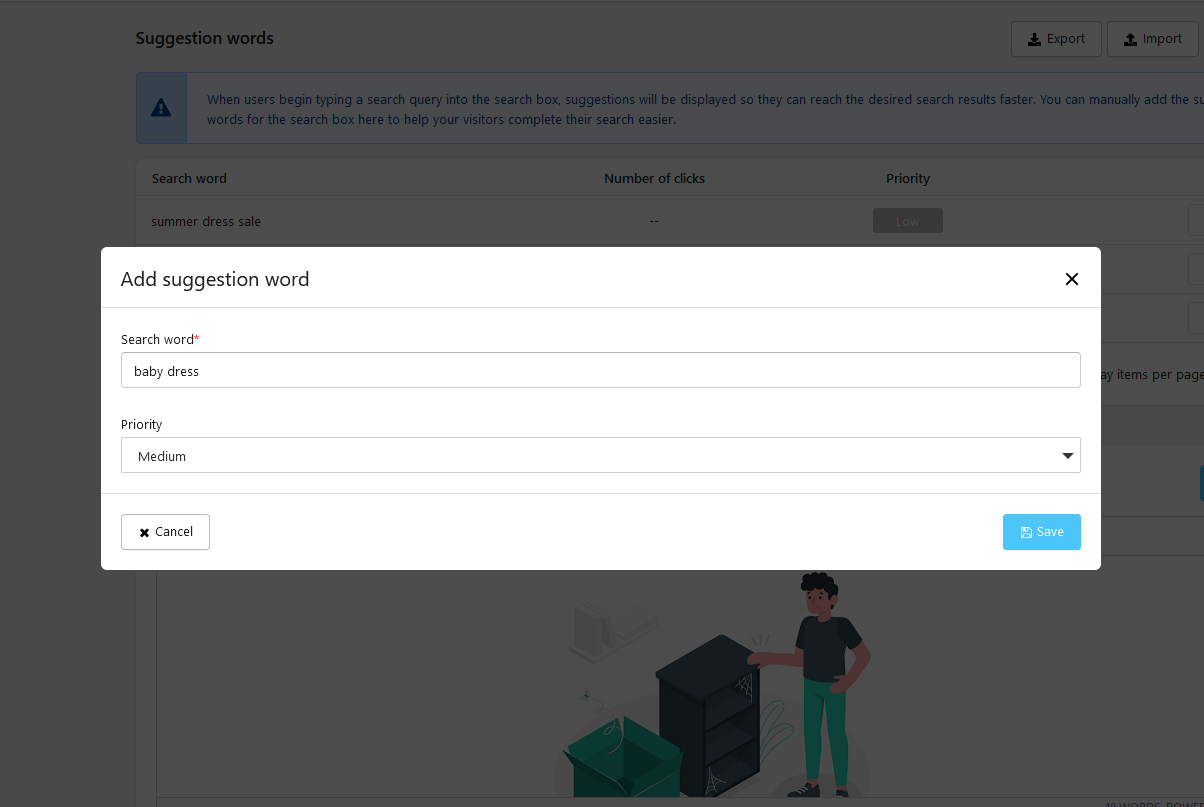
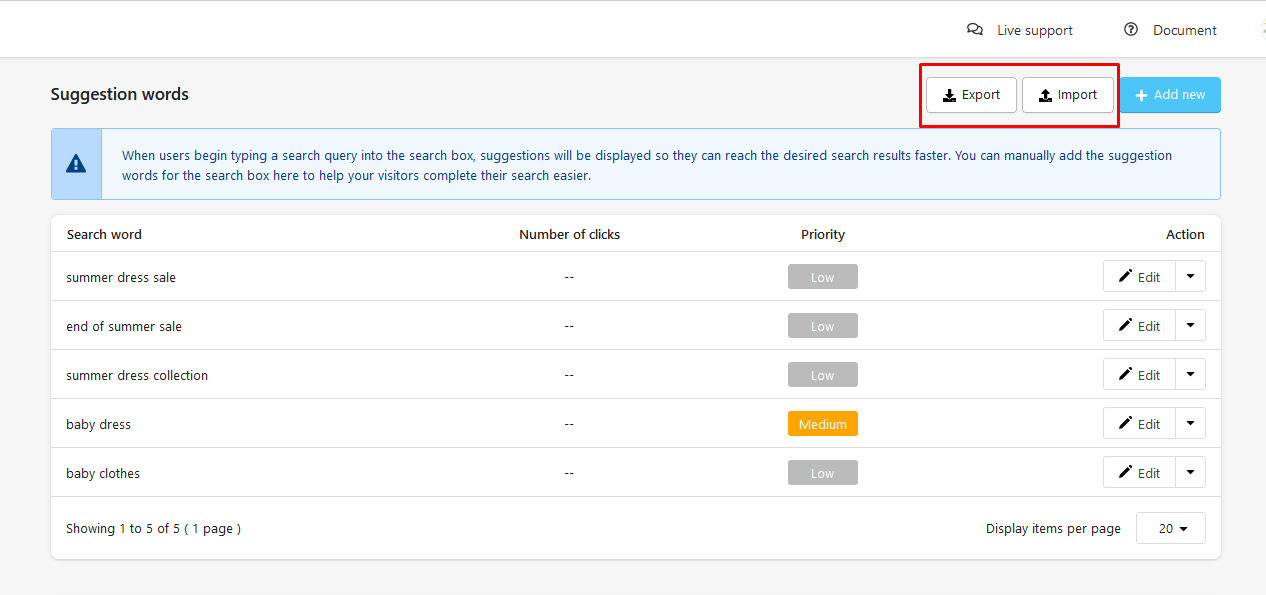
On the Suggestion words section, enter all the words that you want to display on the instant search. Start adding suggested words:
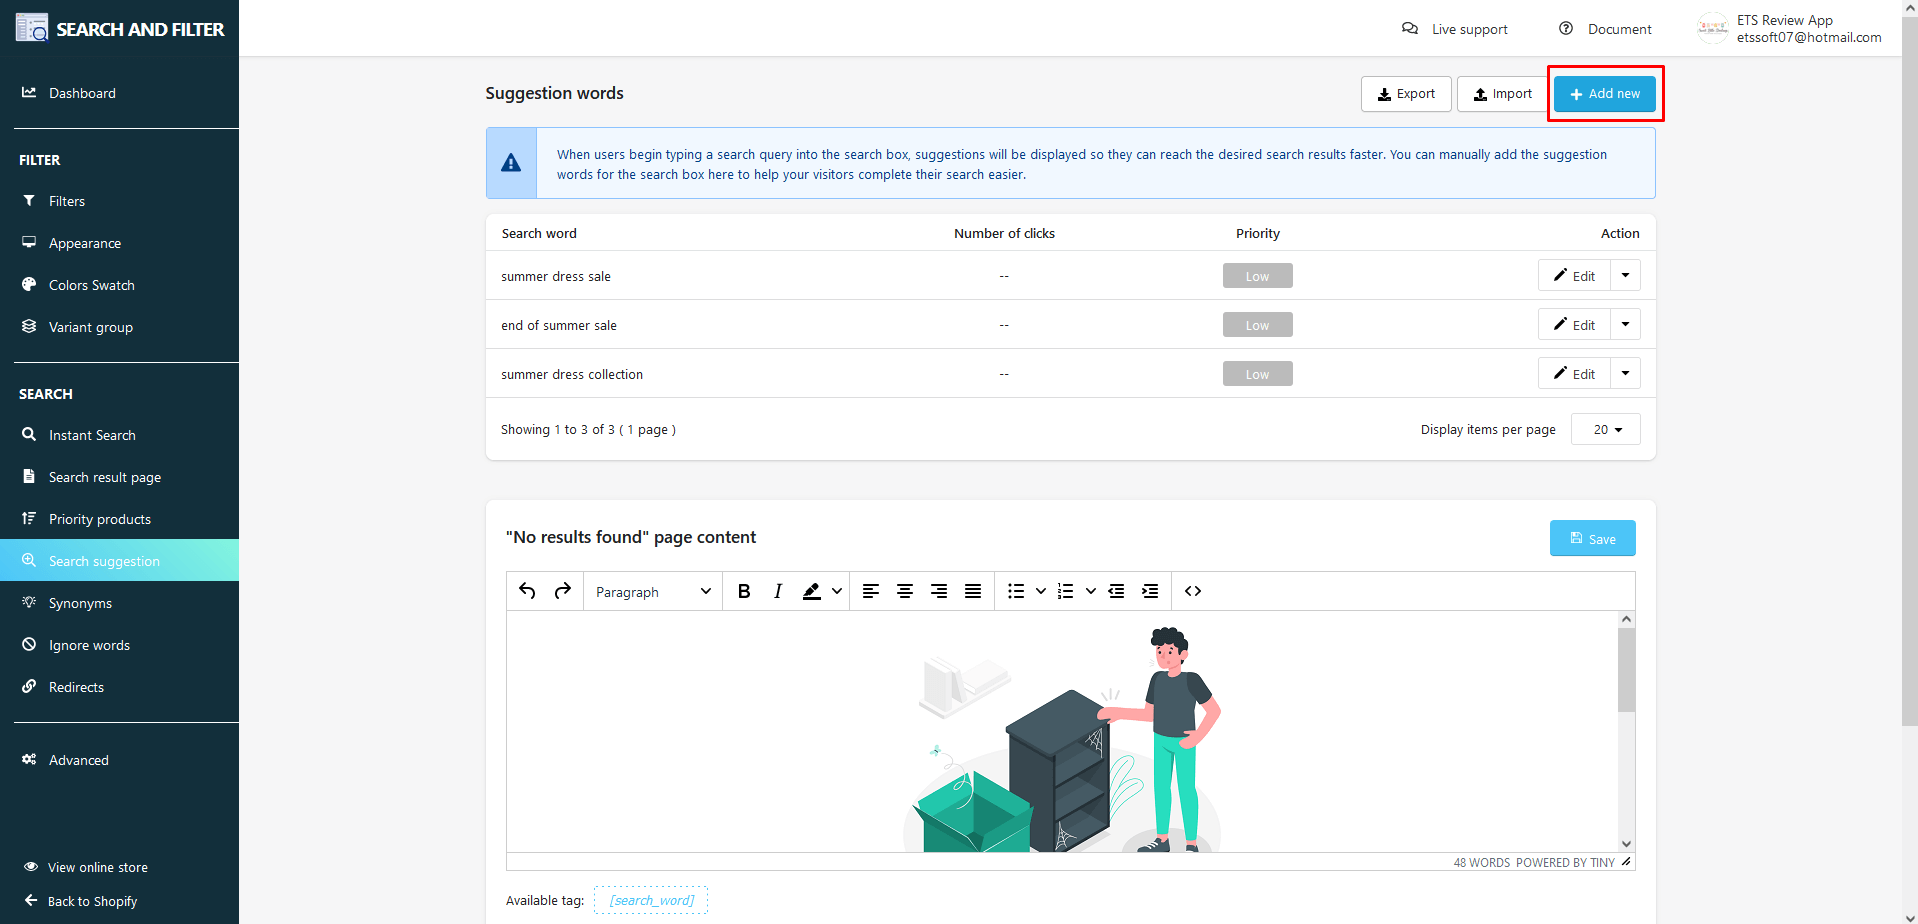
- Click on the “Add new” button
- Fill in the keywords
- Select the priority level and “Save”
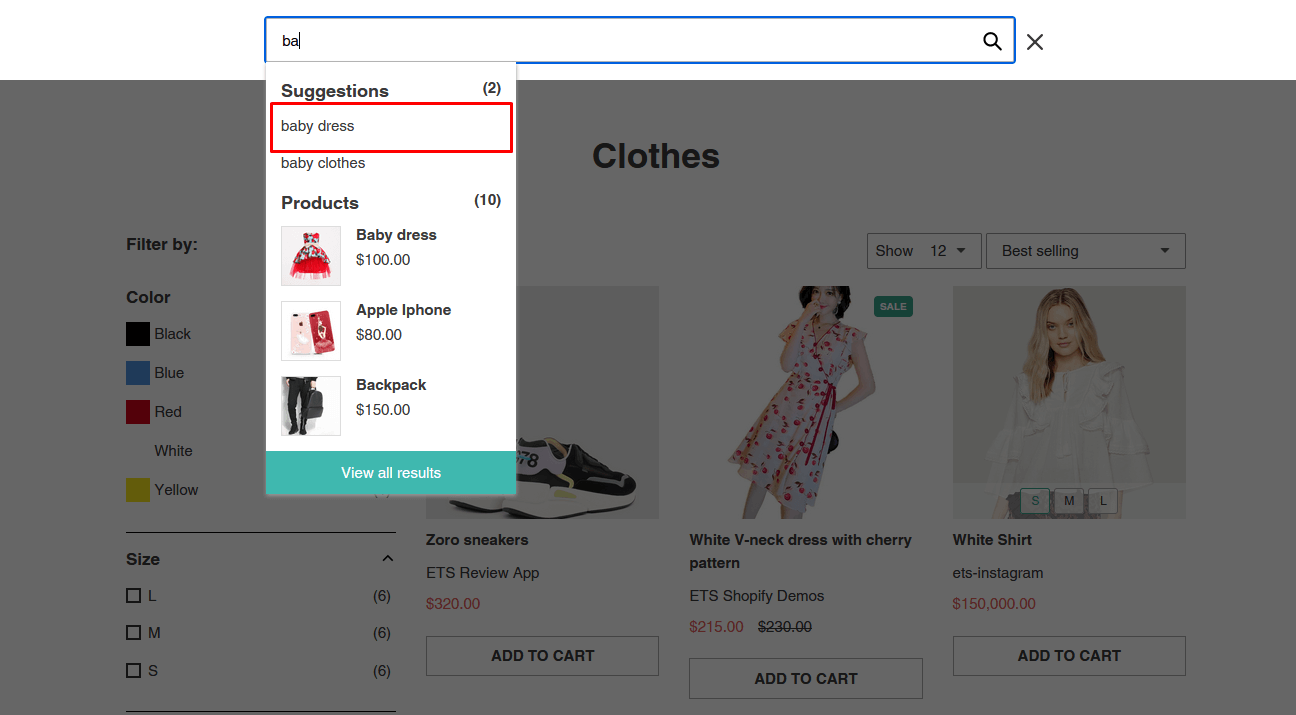
If customers search for words with characters in the suggested word you added, those suggested words will be shown up in the instant search. From there, customers can choose the suggested word without having to keep typing.
Our application also has a feature that allows you to import/export “Suggested word” data to a .csv file for your convenience when migrating store data or making backups.
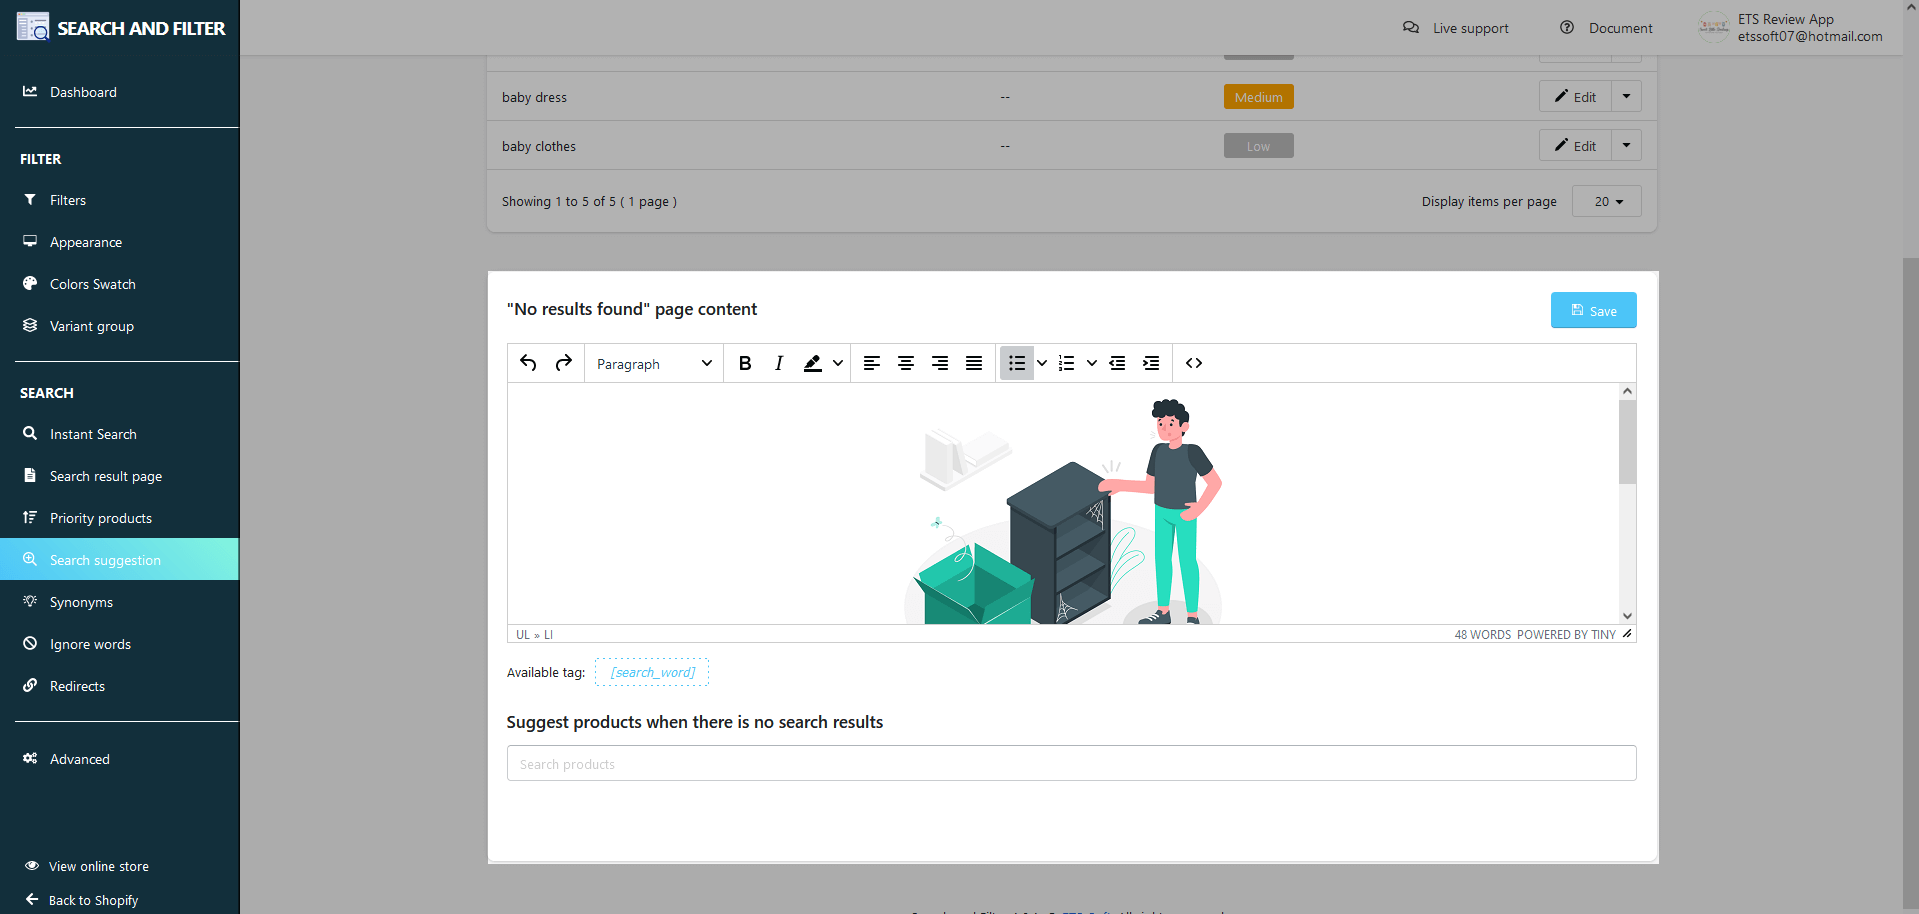
Besides, this module also allows you to customize the search results page content to display when there are no results. There is an available tag that you can use for more convenience.
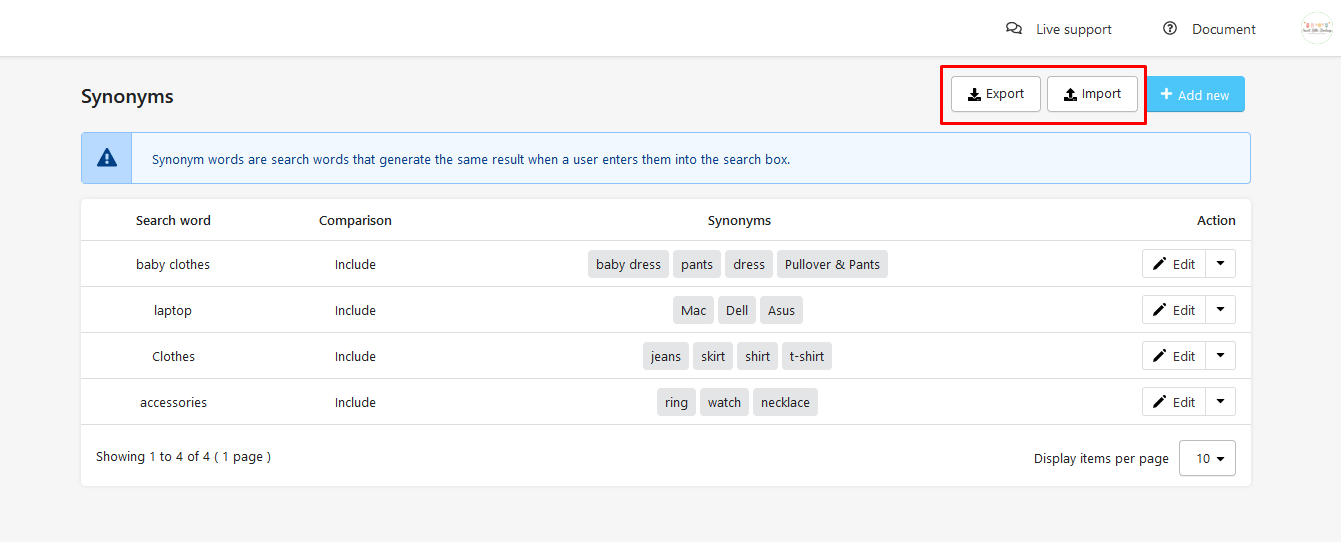
(5) Synonyms
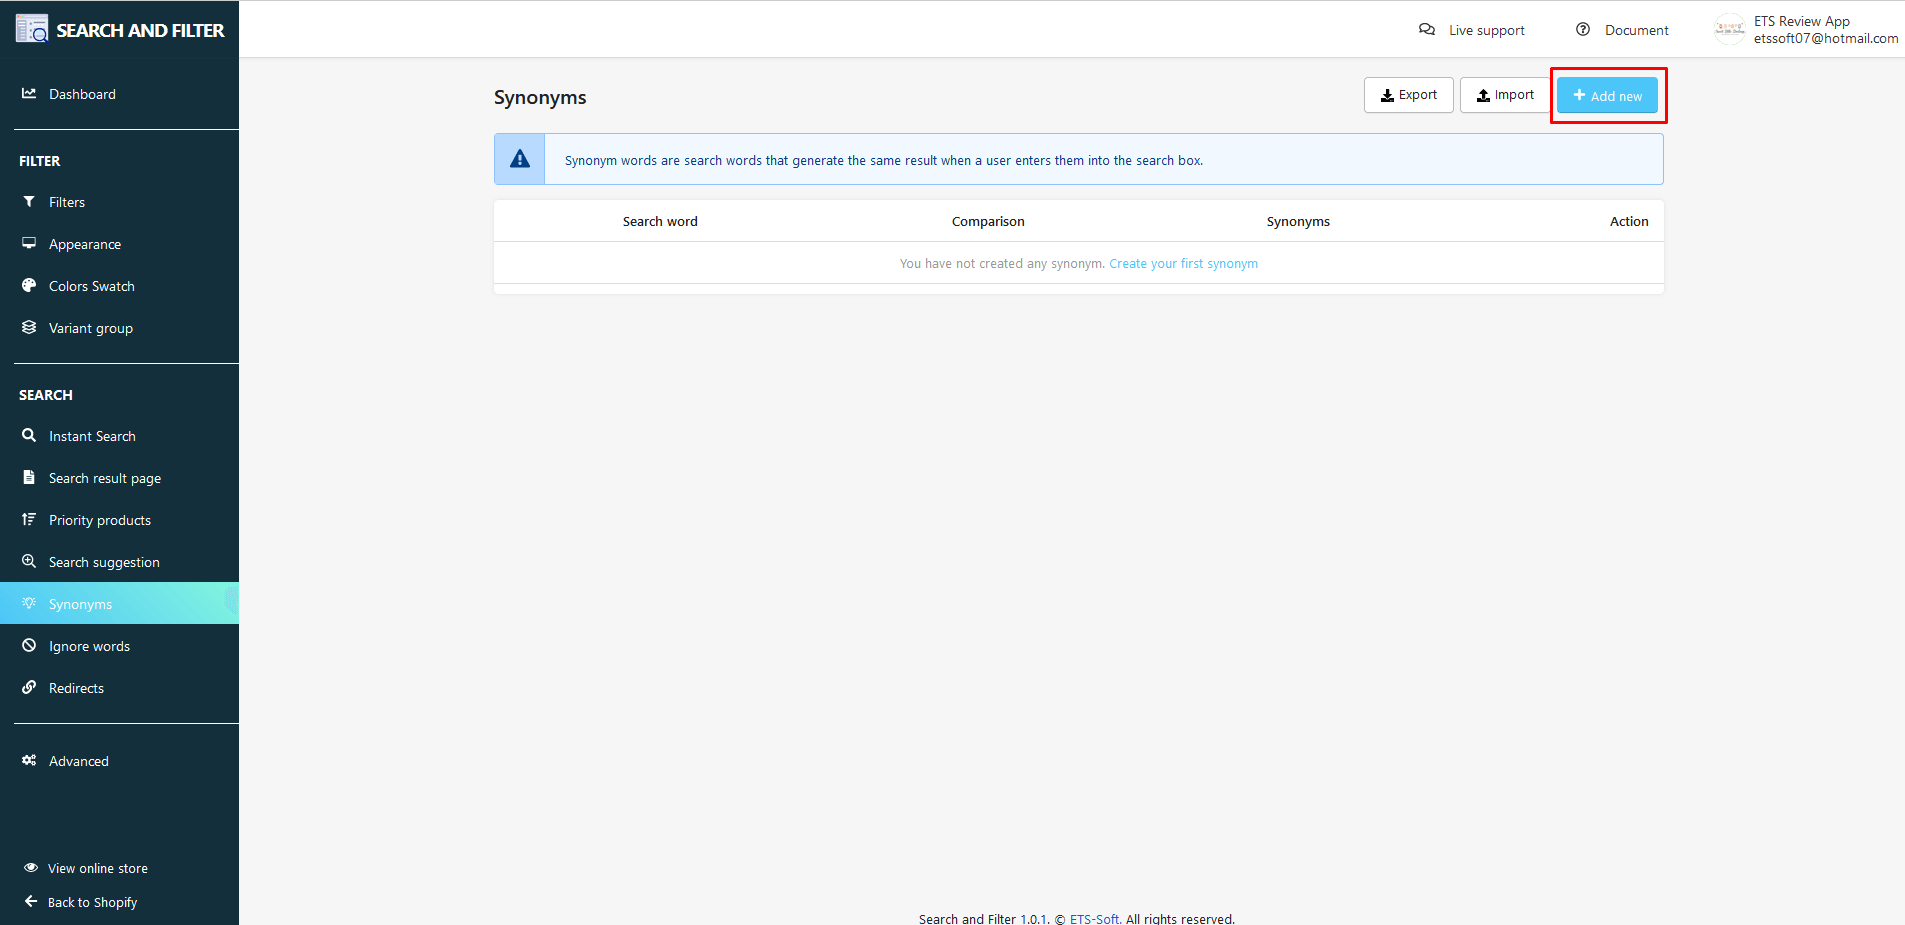
With common keywords that customers often search for, or words with many similar expressions, you can completely set up similar words, synonyms to increase searchability and display results for customers.
Click on the “Add new” button to open “Add new synonyms” popup:
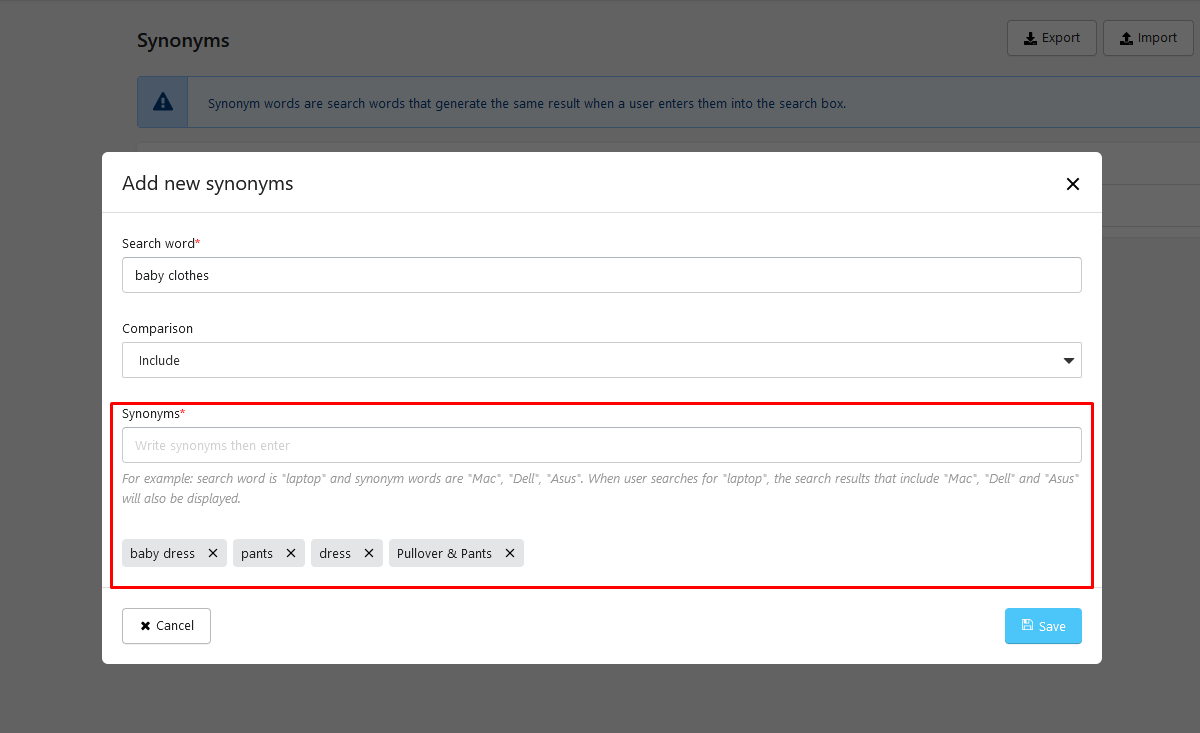
- Enter keywords in the “Search word” field.
- Fill in the synonyms with the keyword in the “Synonyms” field.
- In the “Comparison” field, there are 2 options for you: choose “Include“, this app will search both keywords and synonyms. If you select “Equals“, this app will ignore the keyword and only search by synonyms.
- Click the “Save” button.
All the synonyms you have added will be displayed in a list on the Synonyms configuration page. You also can import/export “Synonyms” data to a .csv file for your convenience.
(6) Ignore words
Enter keywords that you want this app to ignore when customers search. All the ignore words you have added will be displayed in a list on the Ignore words configuration page. You also can import/export “Ignore words” data just like above.

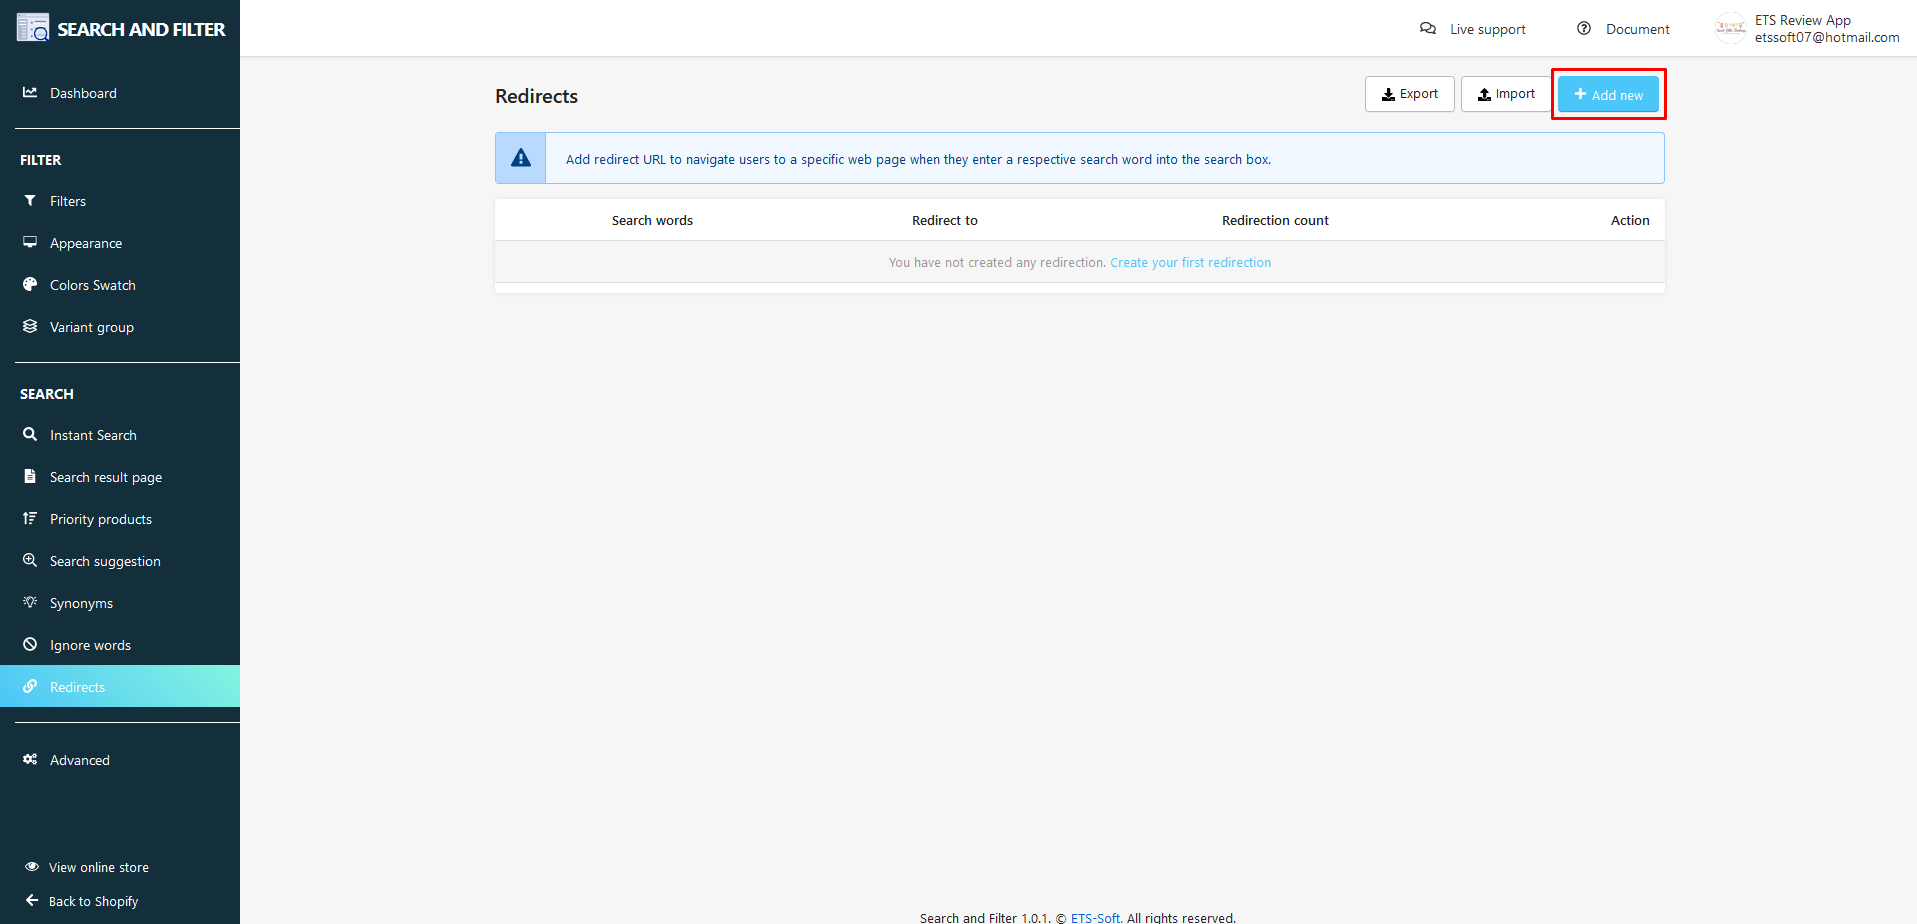
(7) Redirect
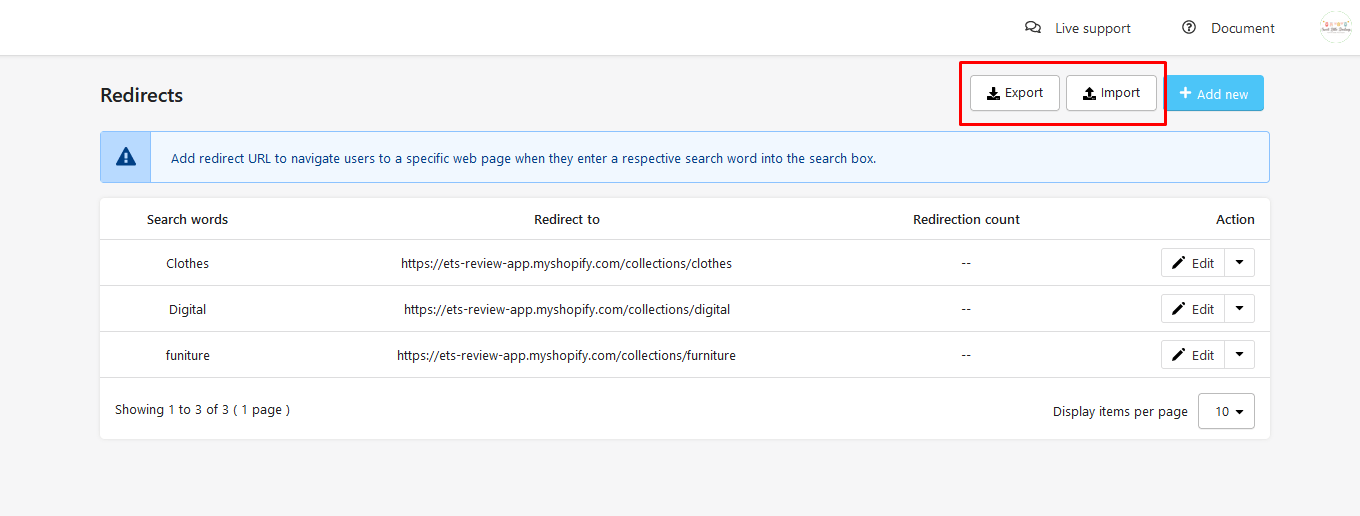
You can add keywords and links to the page you want so that when customers enter the correct keyword you set up and press “enter“, they will be redirected to the link you have installed.
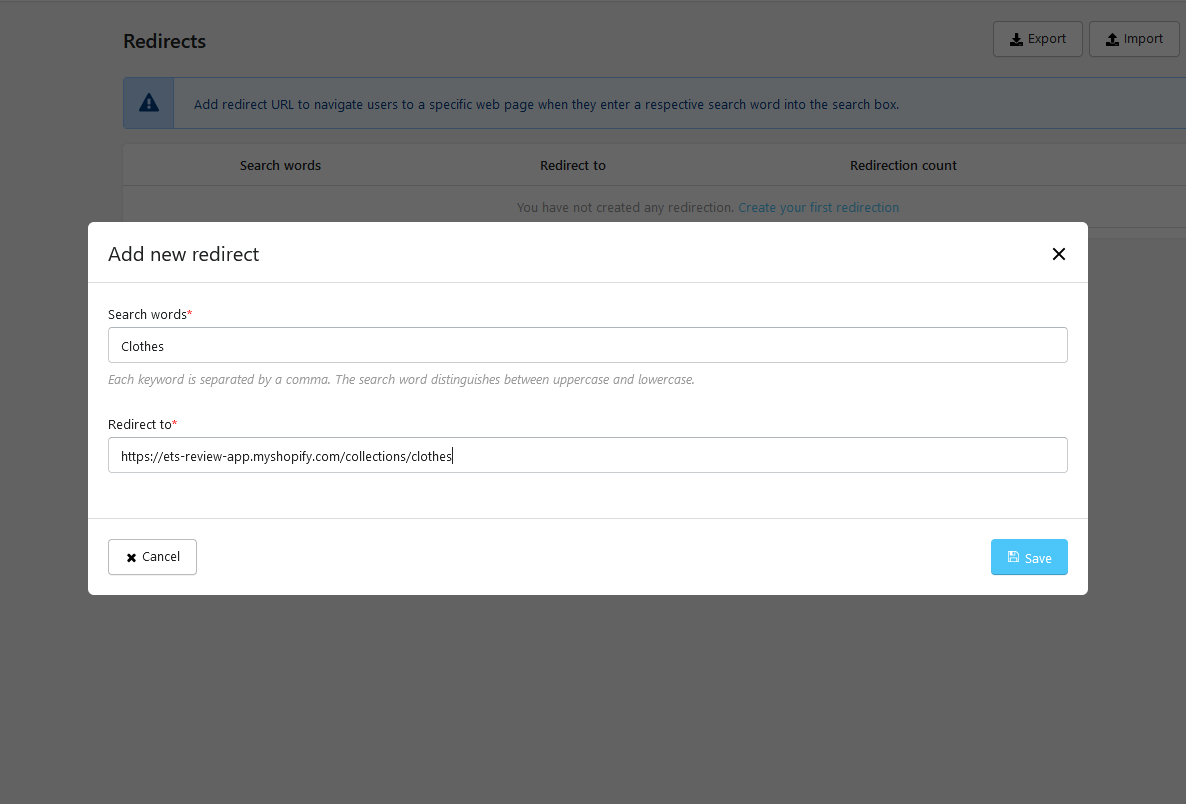
Click on the “Add new” button to start adding a new direct.
- On the “Add new redirect” popup, fill in the keywords on the “Search word” field.
- Enter the link you want customers to be redirected to when they search for the keyword you set up above.
- “Save”
Like “Synonyms” and “Ignore words“, all the data you set up in this section will be listed on the Redirect configuration page and can be imported/exported to the .csv file.