Click on the “Size Charts” tab at the sidebar to navigate to the “Size Charts” listing page.
If you add/edit/delete product(s) of your Shopify store or whenever you see that the size chart does not display properly, please click on “Sync products” button to synchronize products.

Click on the “Add Size Chart” button at the top right corner of the page to open the “Add Size Chart” popup.

You can easily create a new size chart with 5 pre-designed templates or you can create a custom size chart as you want with a blank size chart.
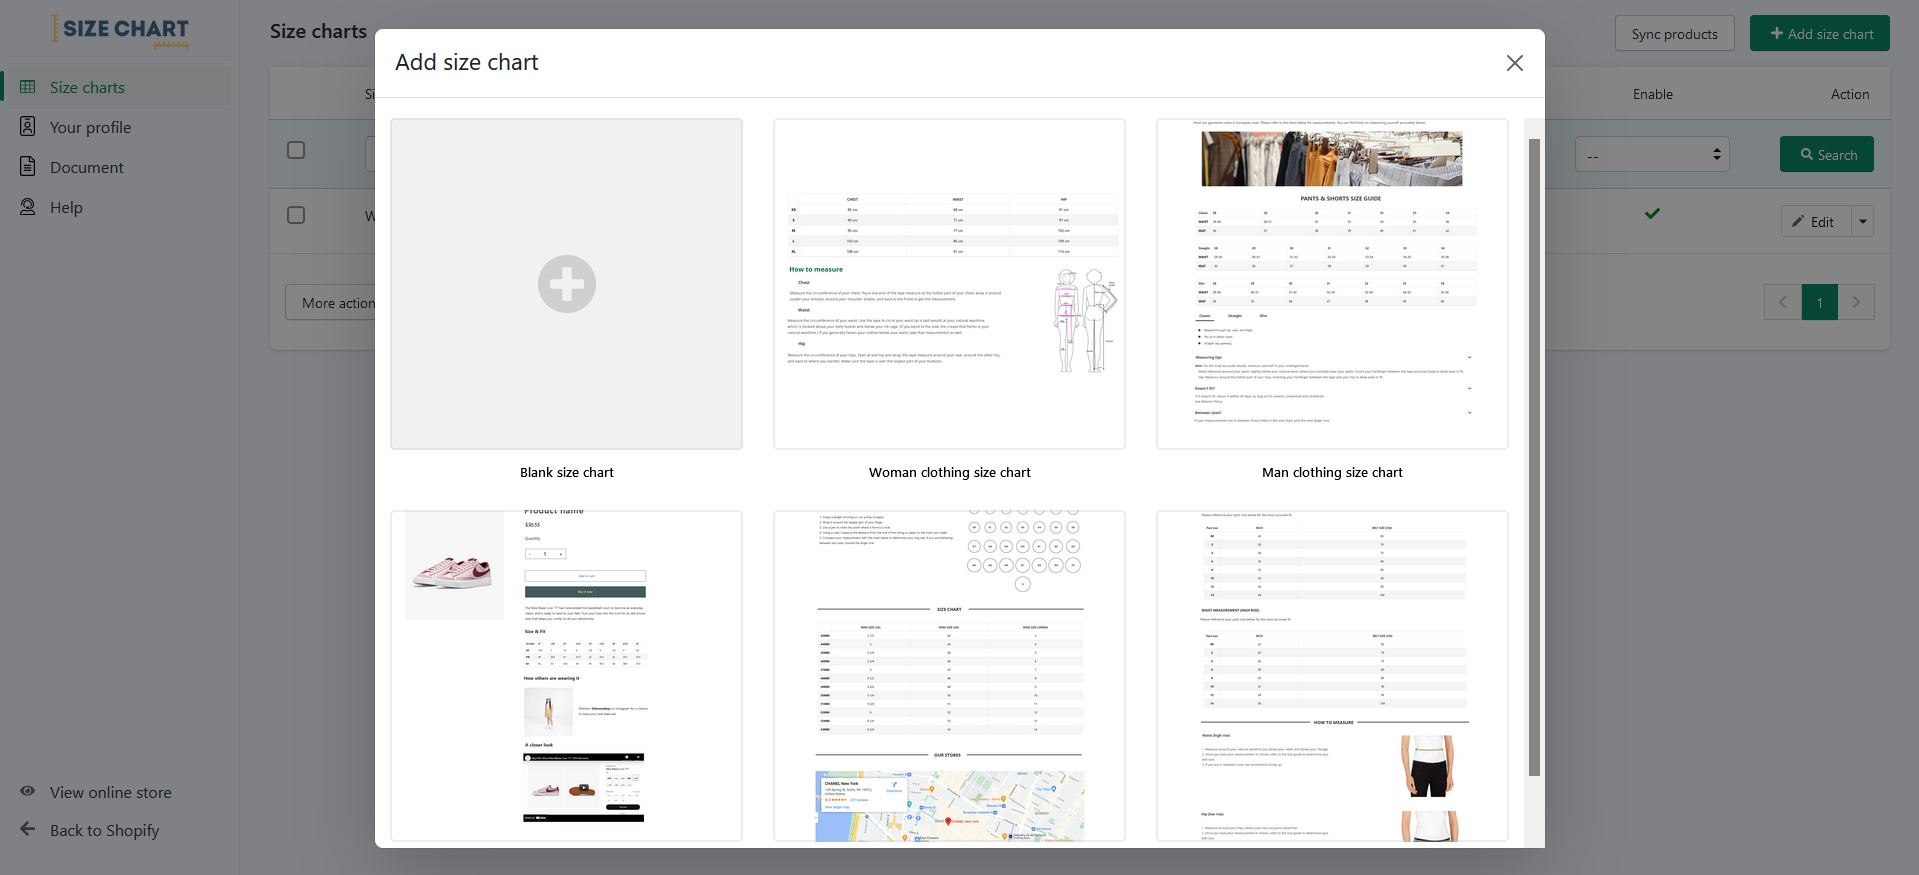
Let’s create a new “Blank Size Chart” for example!
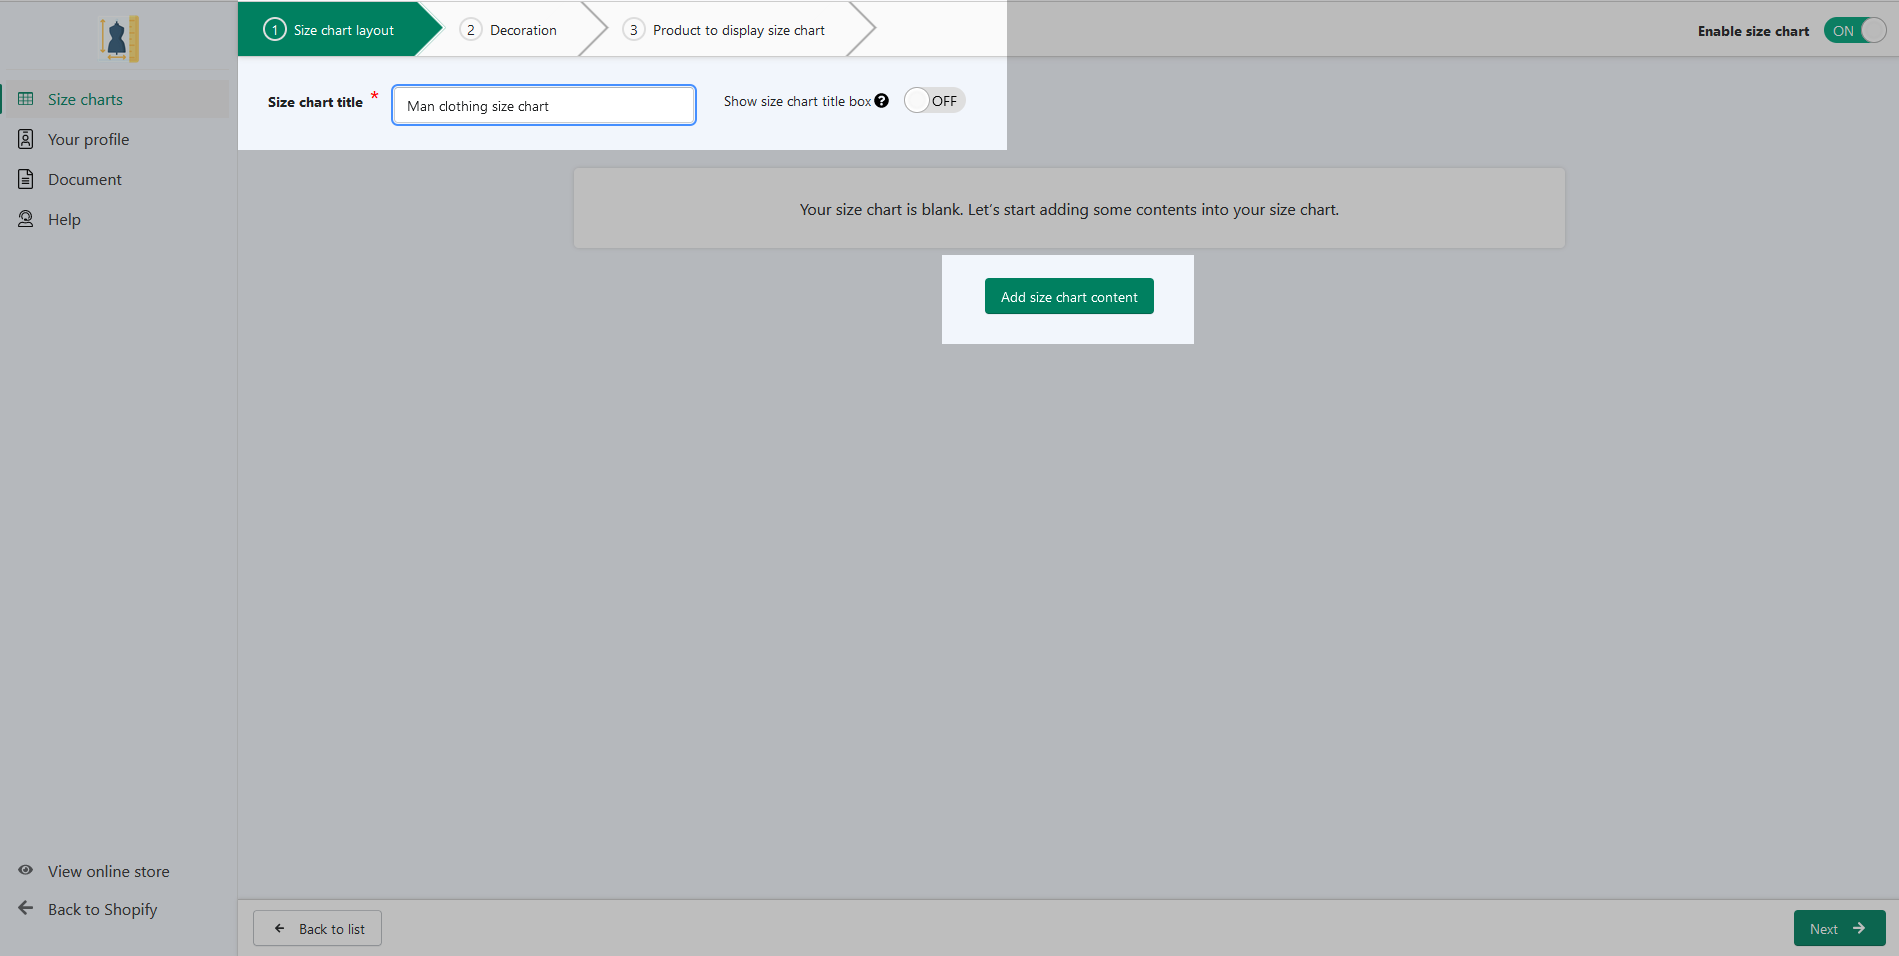
Step 1: Size chart layout
- Fill in the “Size chart title”. Enable “Show size chart title” if you want to display this title on the storefront.
- Click on the button “Add size chart content”.
- Select content type: there are 12 types of chart content and presentation styles for you to choose from table, title, text, image and text, 2 images, single image, video, to space, divider, tabs, accordion, HTML.

- You can delete, duplicate or edit the chart content as you wish.
- Continue adding chart content and customize its elements until you complete your size chart.
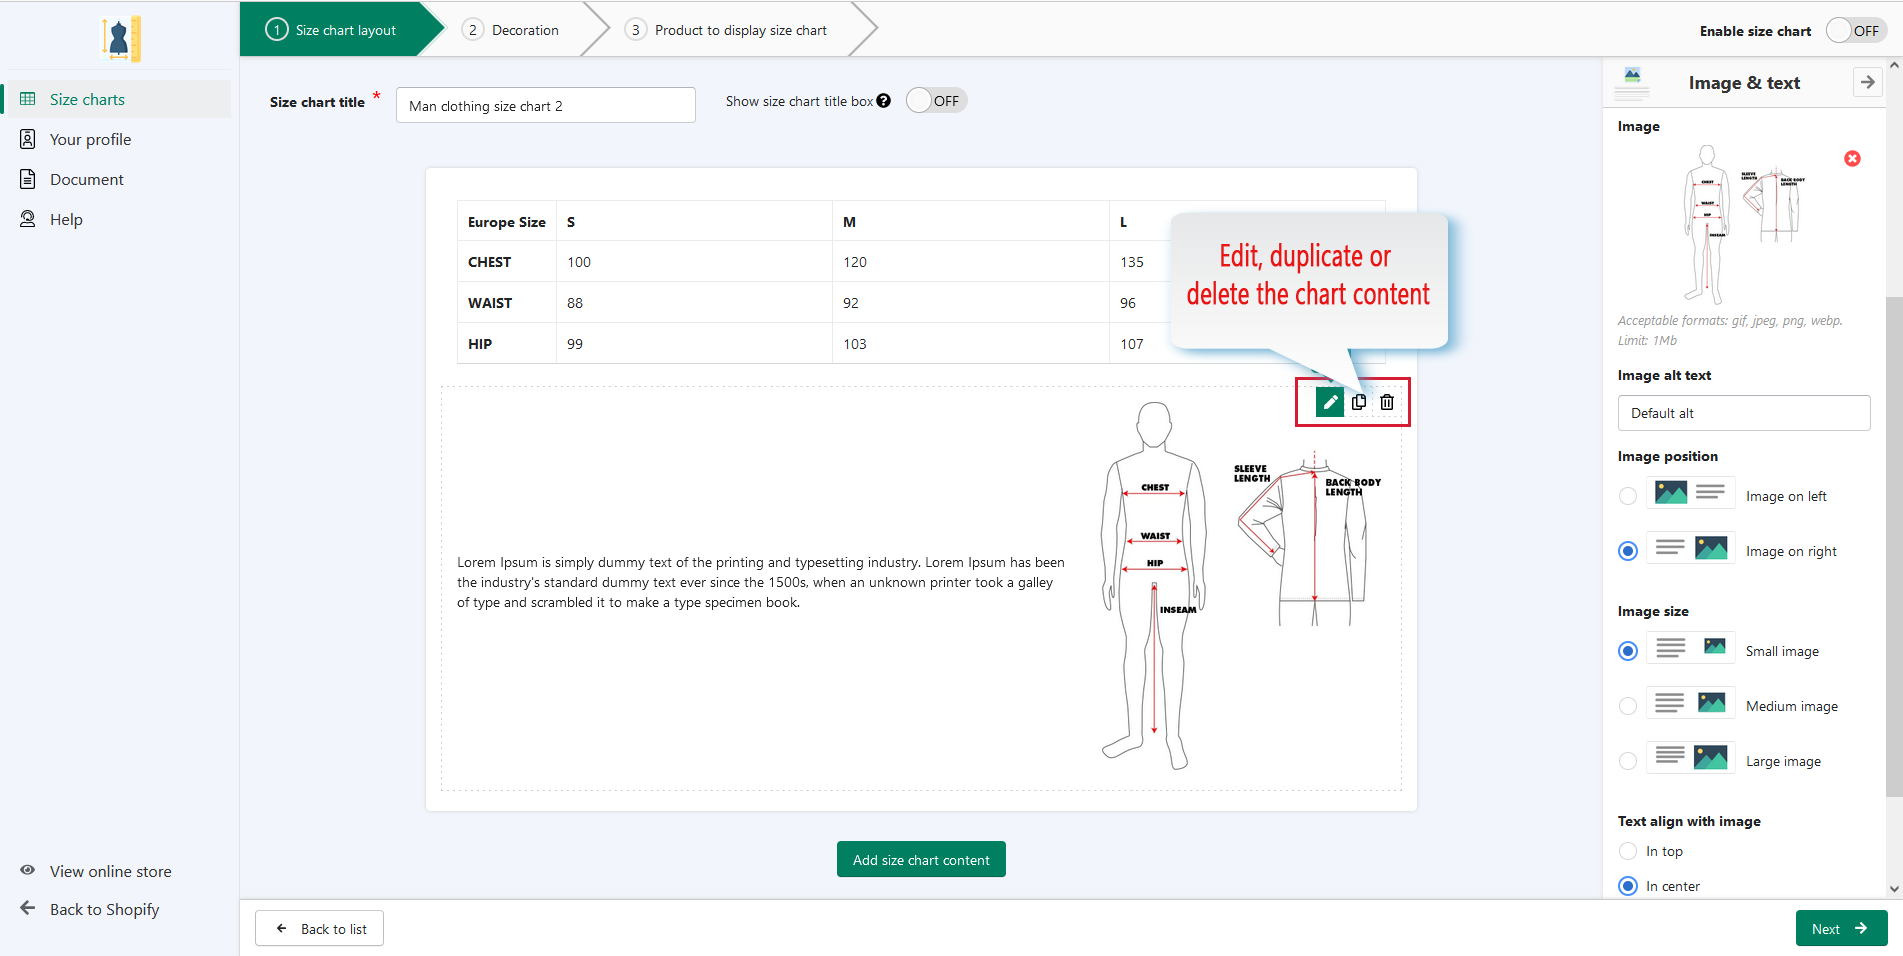
- Click “Next” to move to the next step.
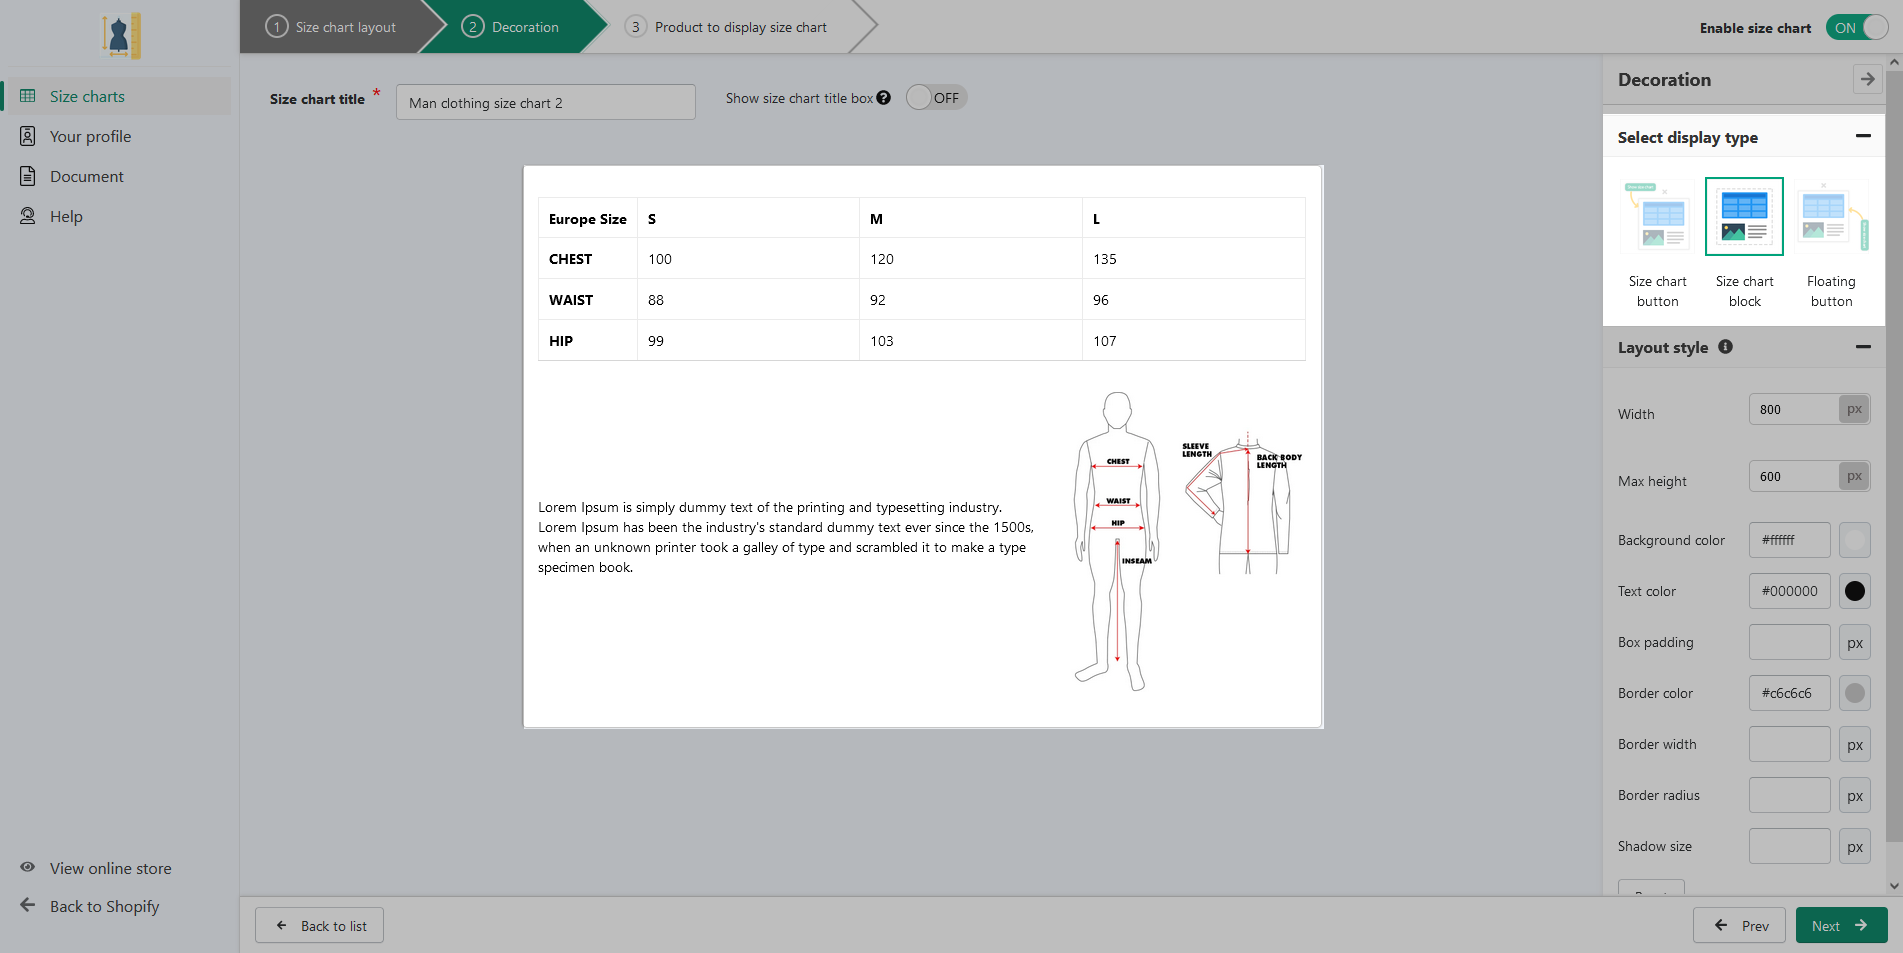
Step 2: Decoration
(1) Select display type:
The app provides 3 different display styles for the size chart: Size chart button, Size chart block, and Floating button. When you click on each type, you can see its display preview, then choose the display type that matches the size chart and product for the best effect.
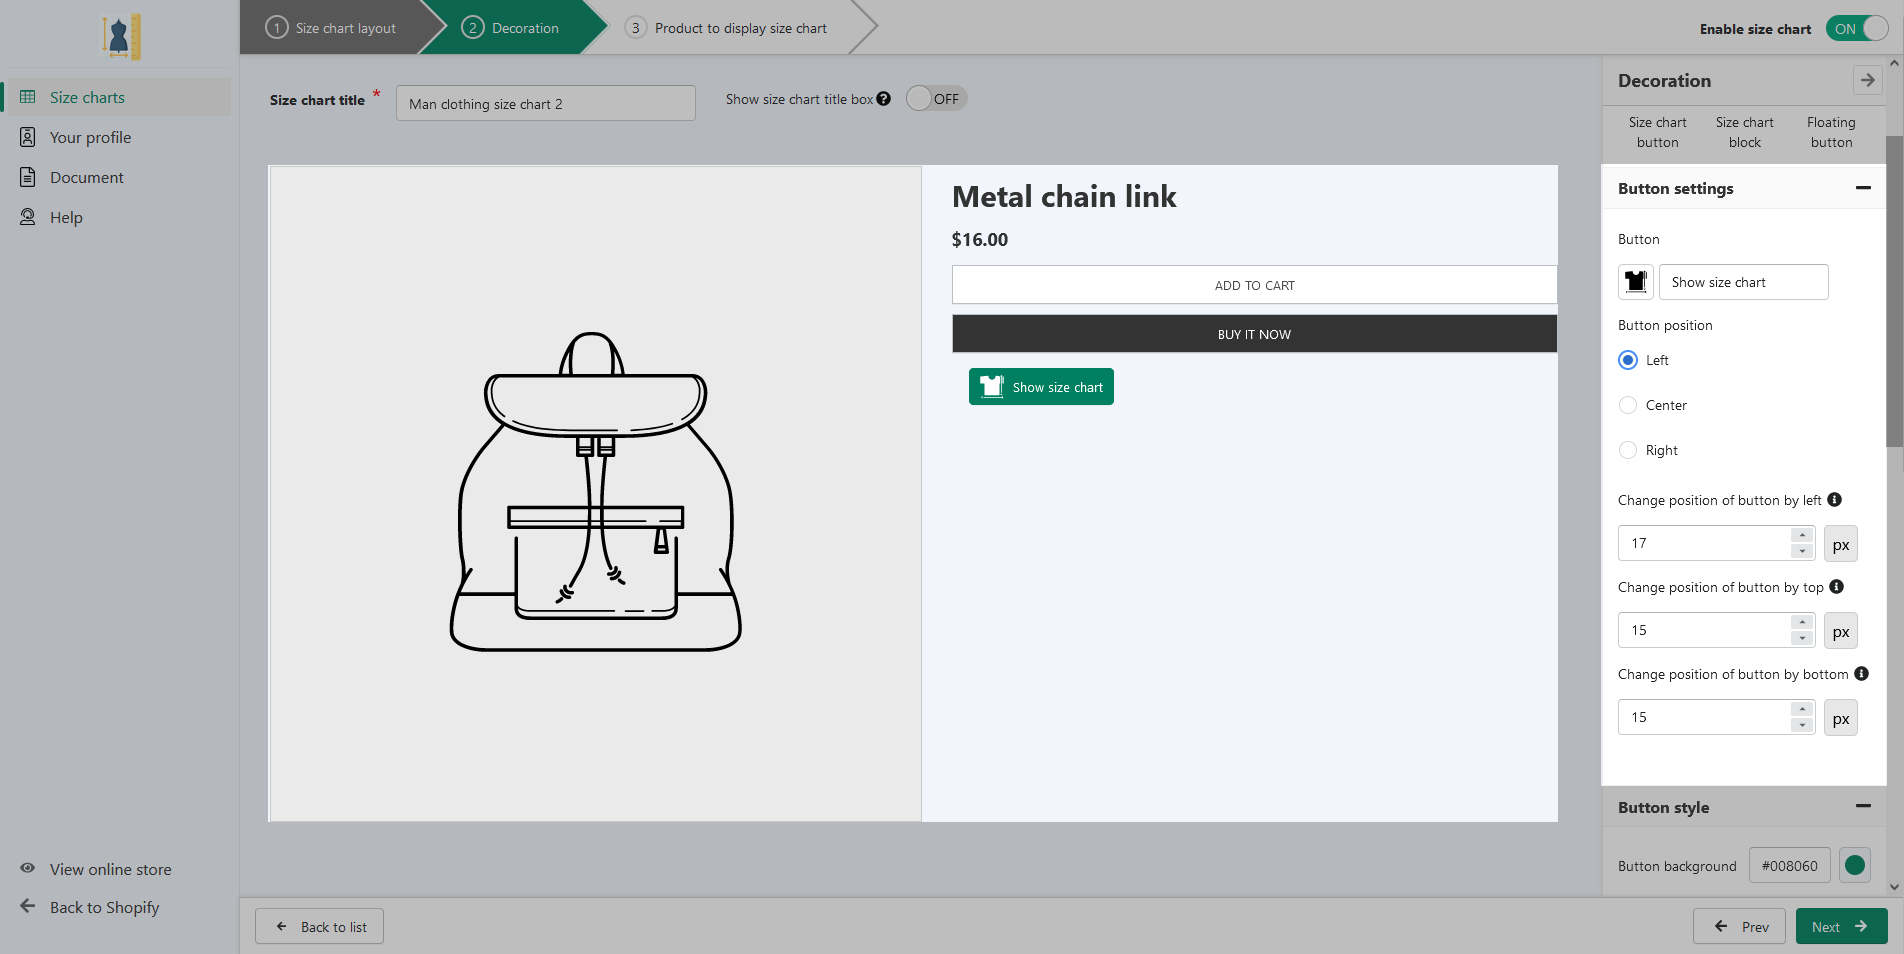
(2) Button setting:
- You can customize the label of the size chart button and choose an icon for it from the 5 provided icons or custom icons by uploading files.
- Select a position for the button.
- You also can change the position of the button by filling the distance you want on the input fields.
(3) Button style:
You can freely customize the color for every size chart button element in this section, for example, button background, button border, button text & icon, etc.
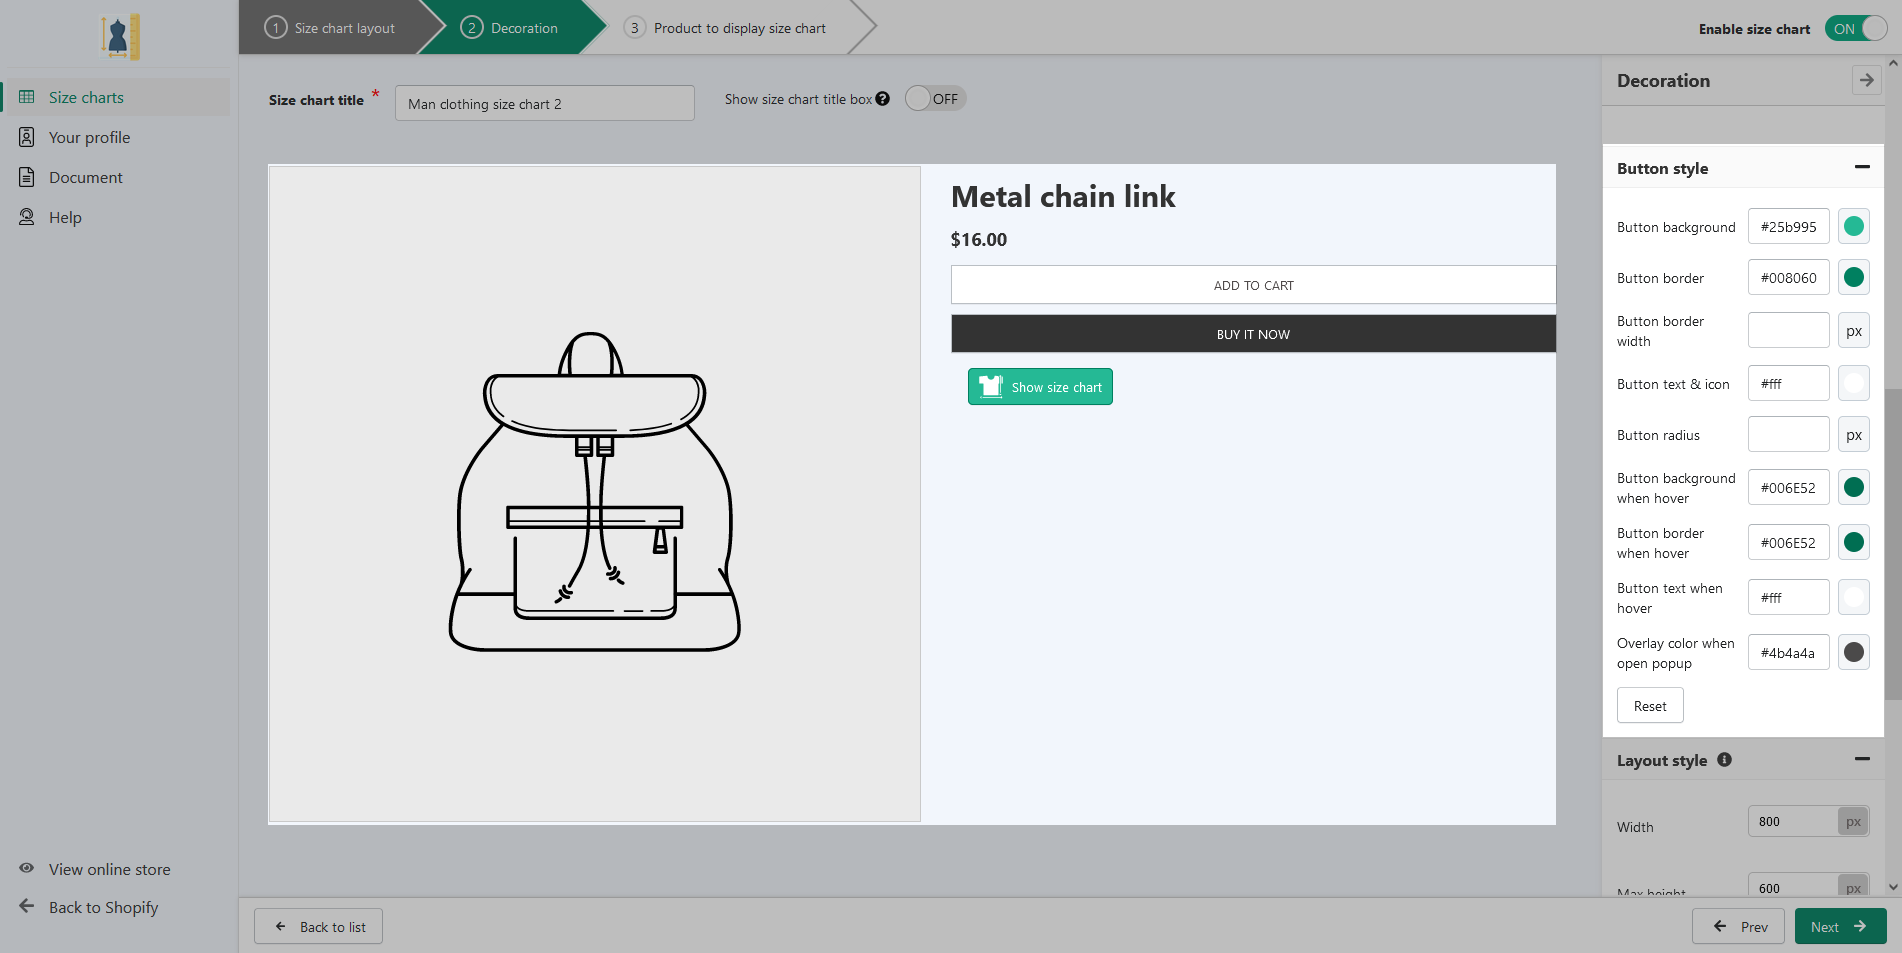
(4) Layout style:
Feel free to customize the layout for all the size chart elements by filling the width, height, box padding, border width, border radius, shadow size, and choosing the color for text and background.

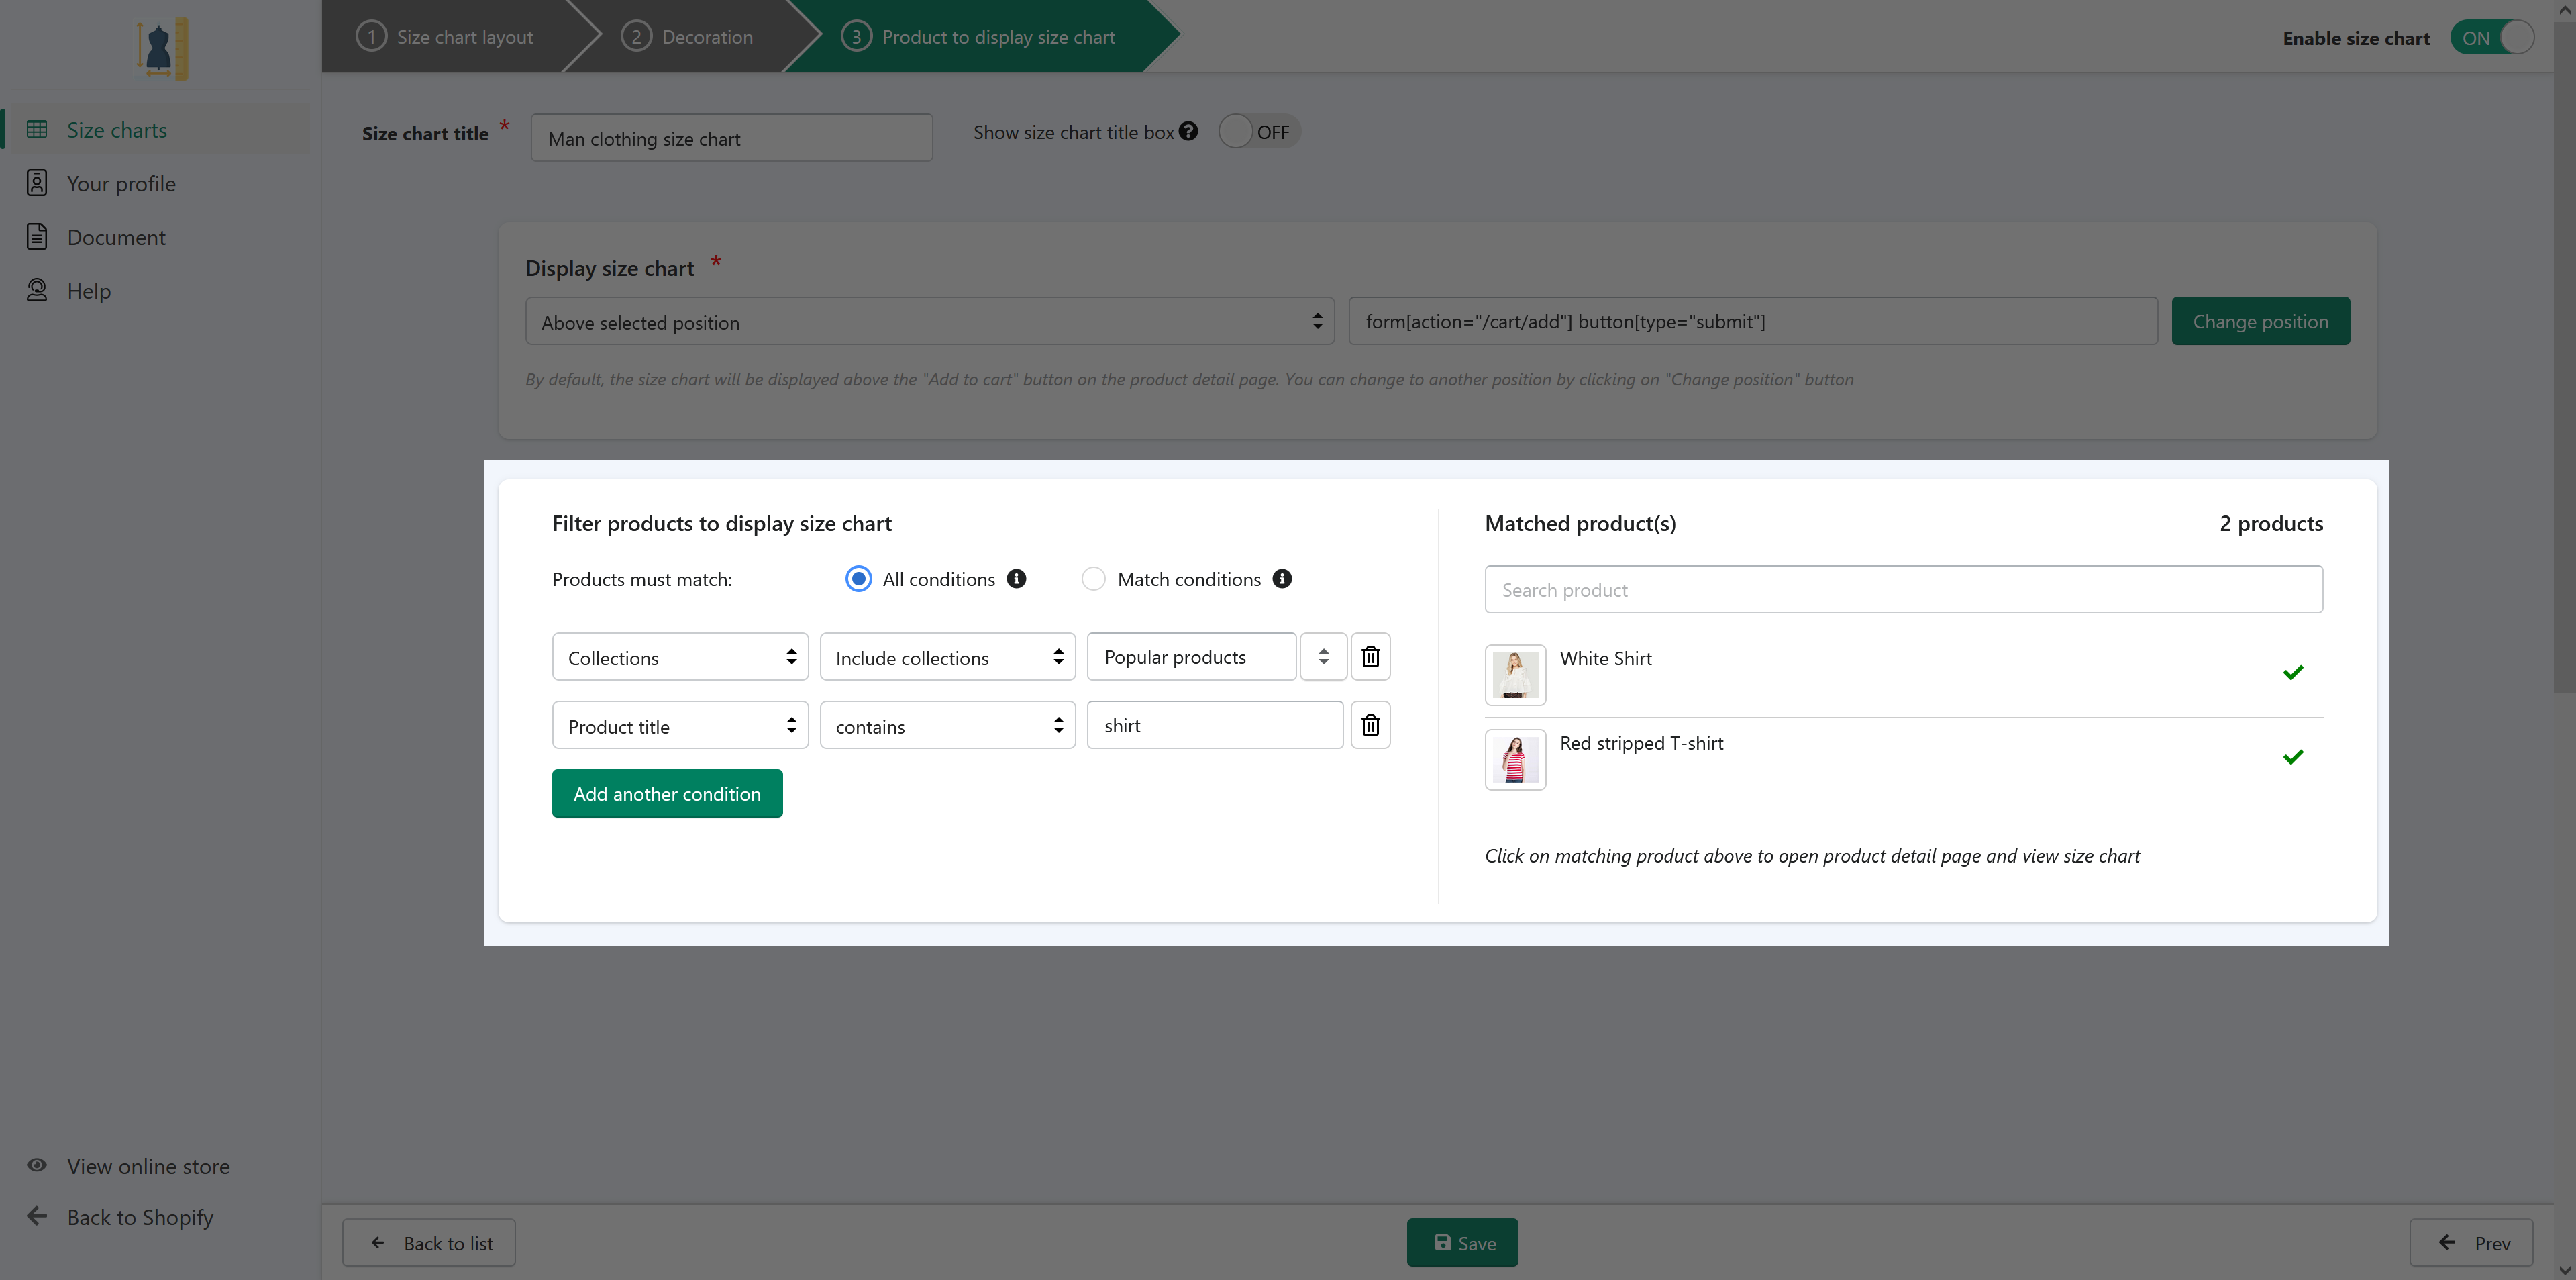
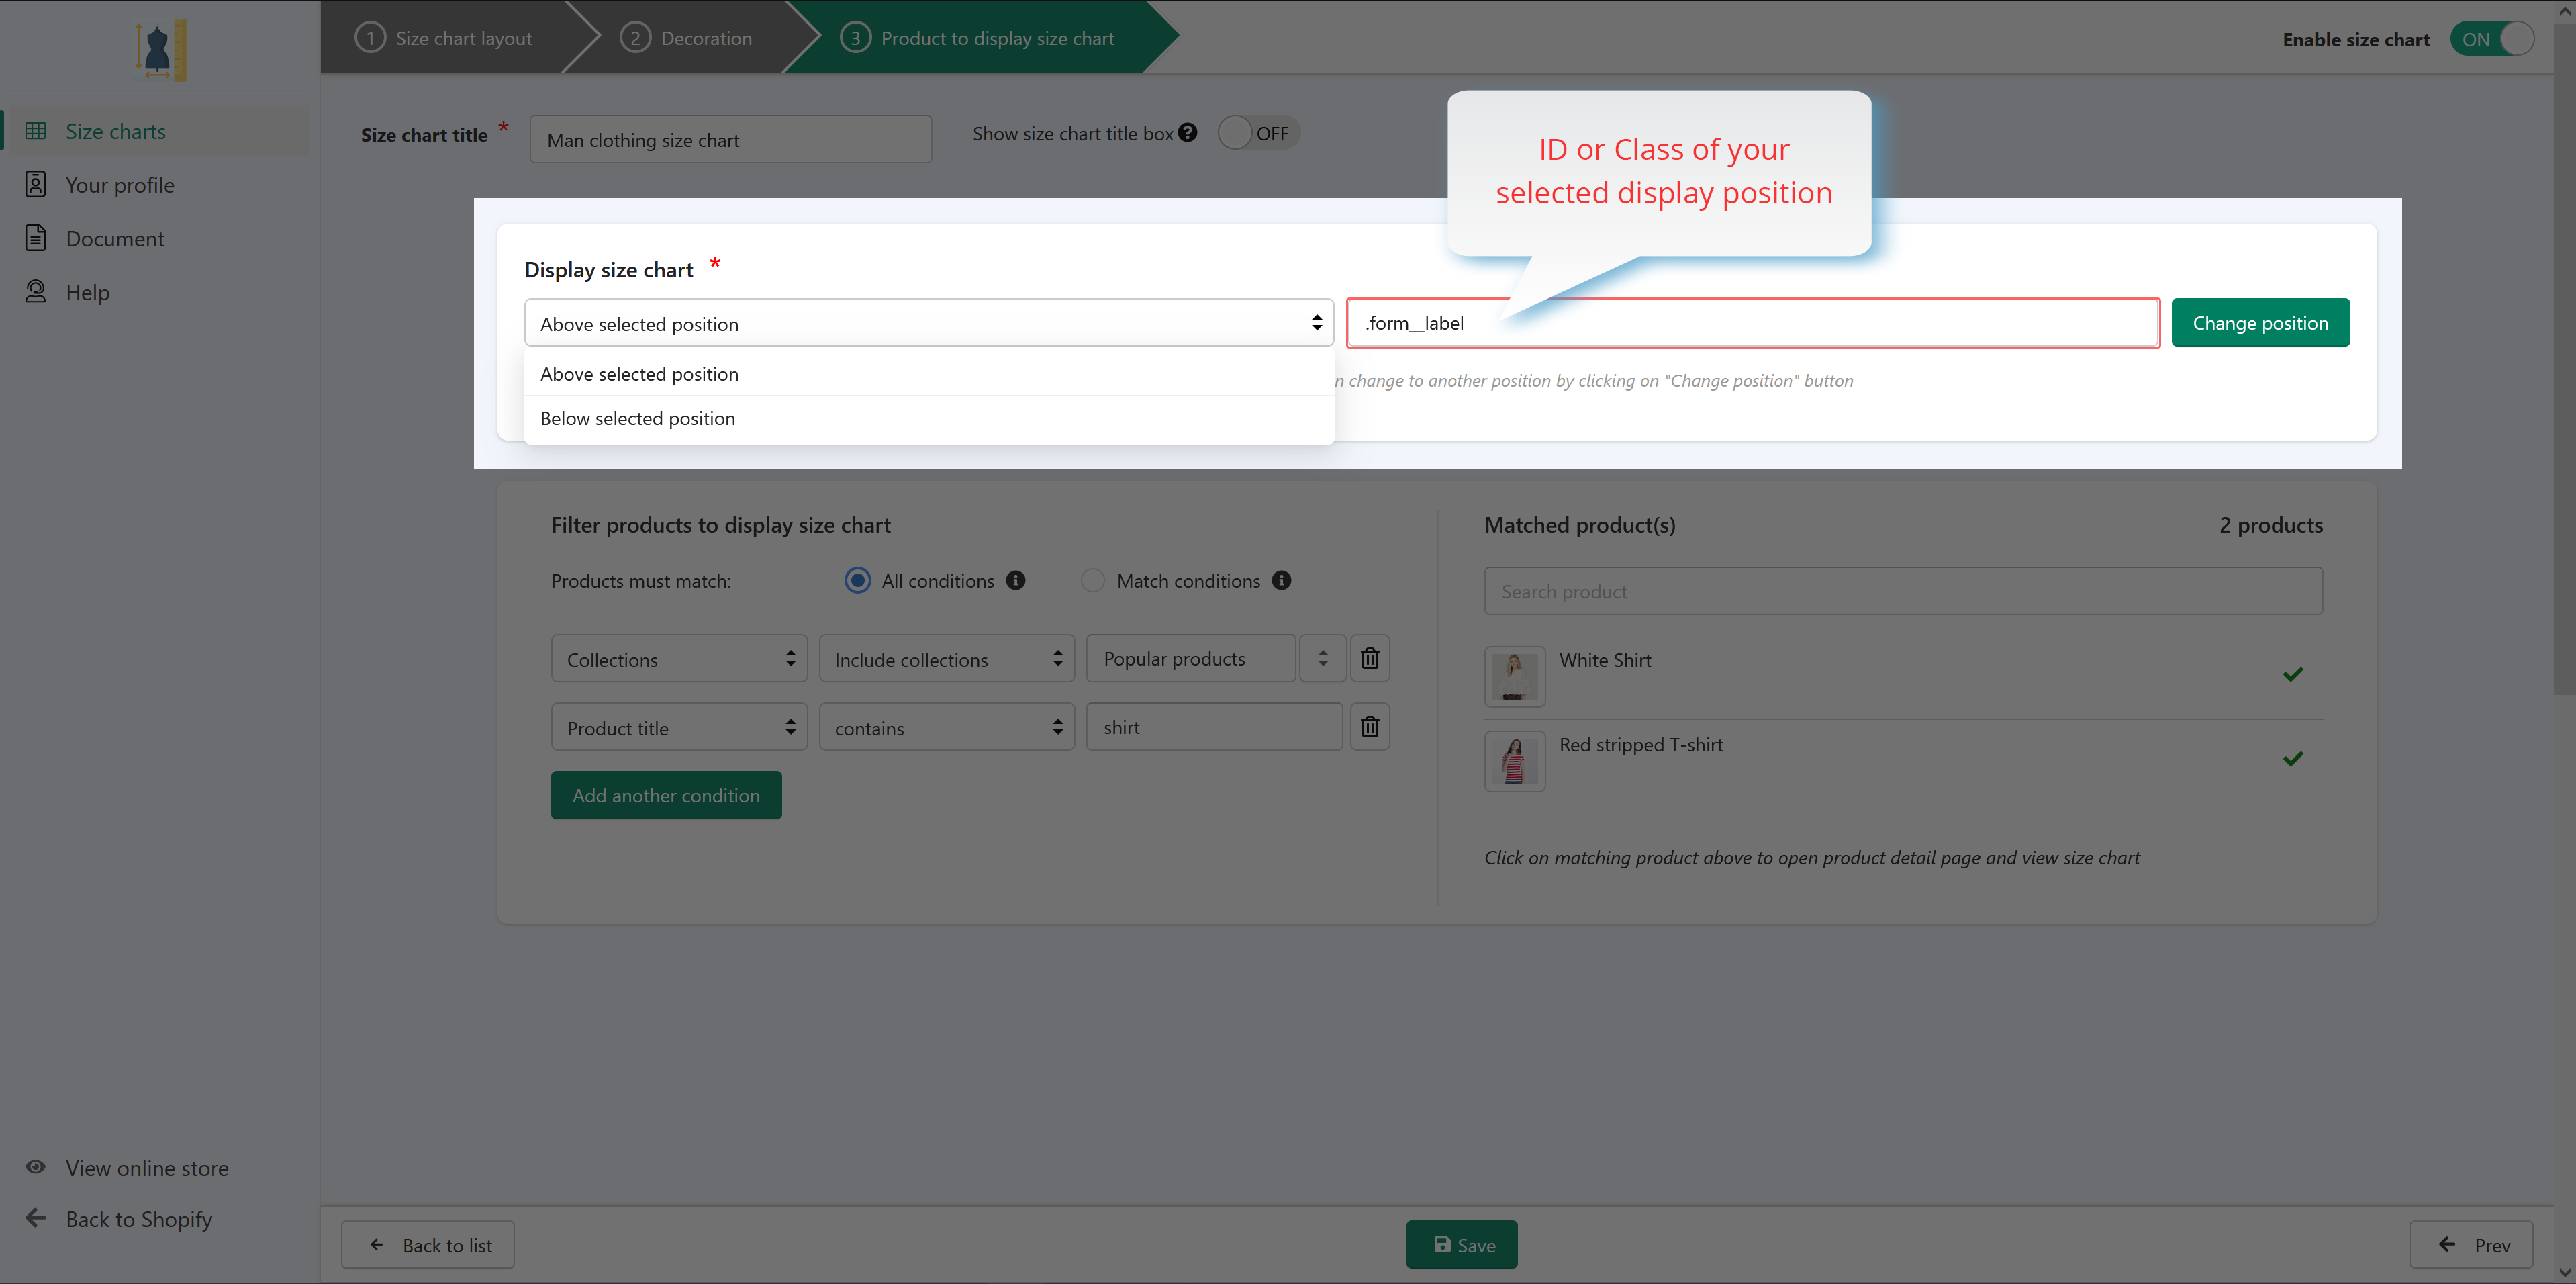
Step 3: Product to display size chart
You can choose to display the size chart for all products or only for specific products by searching for suitable products using the smart filter provided by this app.
You can add conditions to filter and easily search for products that match the conditions you want to apply a size chart.
Now, it’s time to choose a position to display the size chart. Click on the “Change position” button to open an instruction popup and follow the instructions.
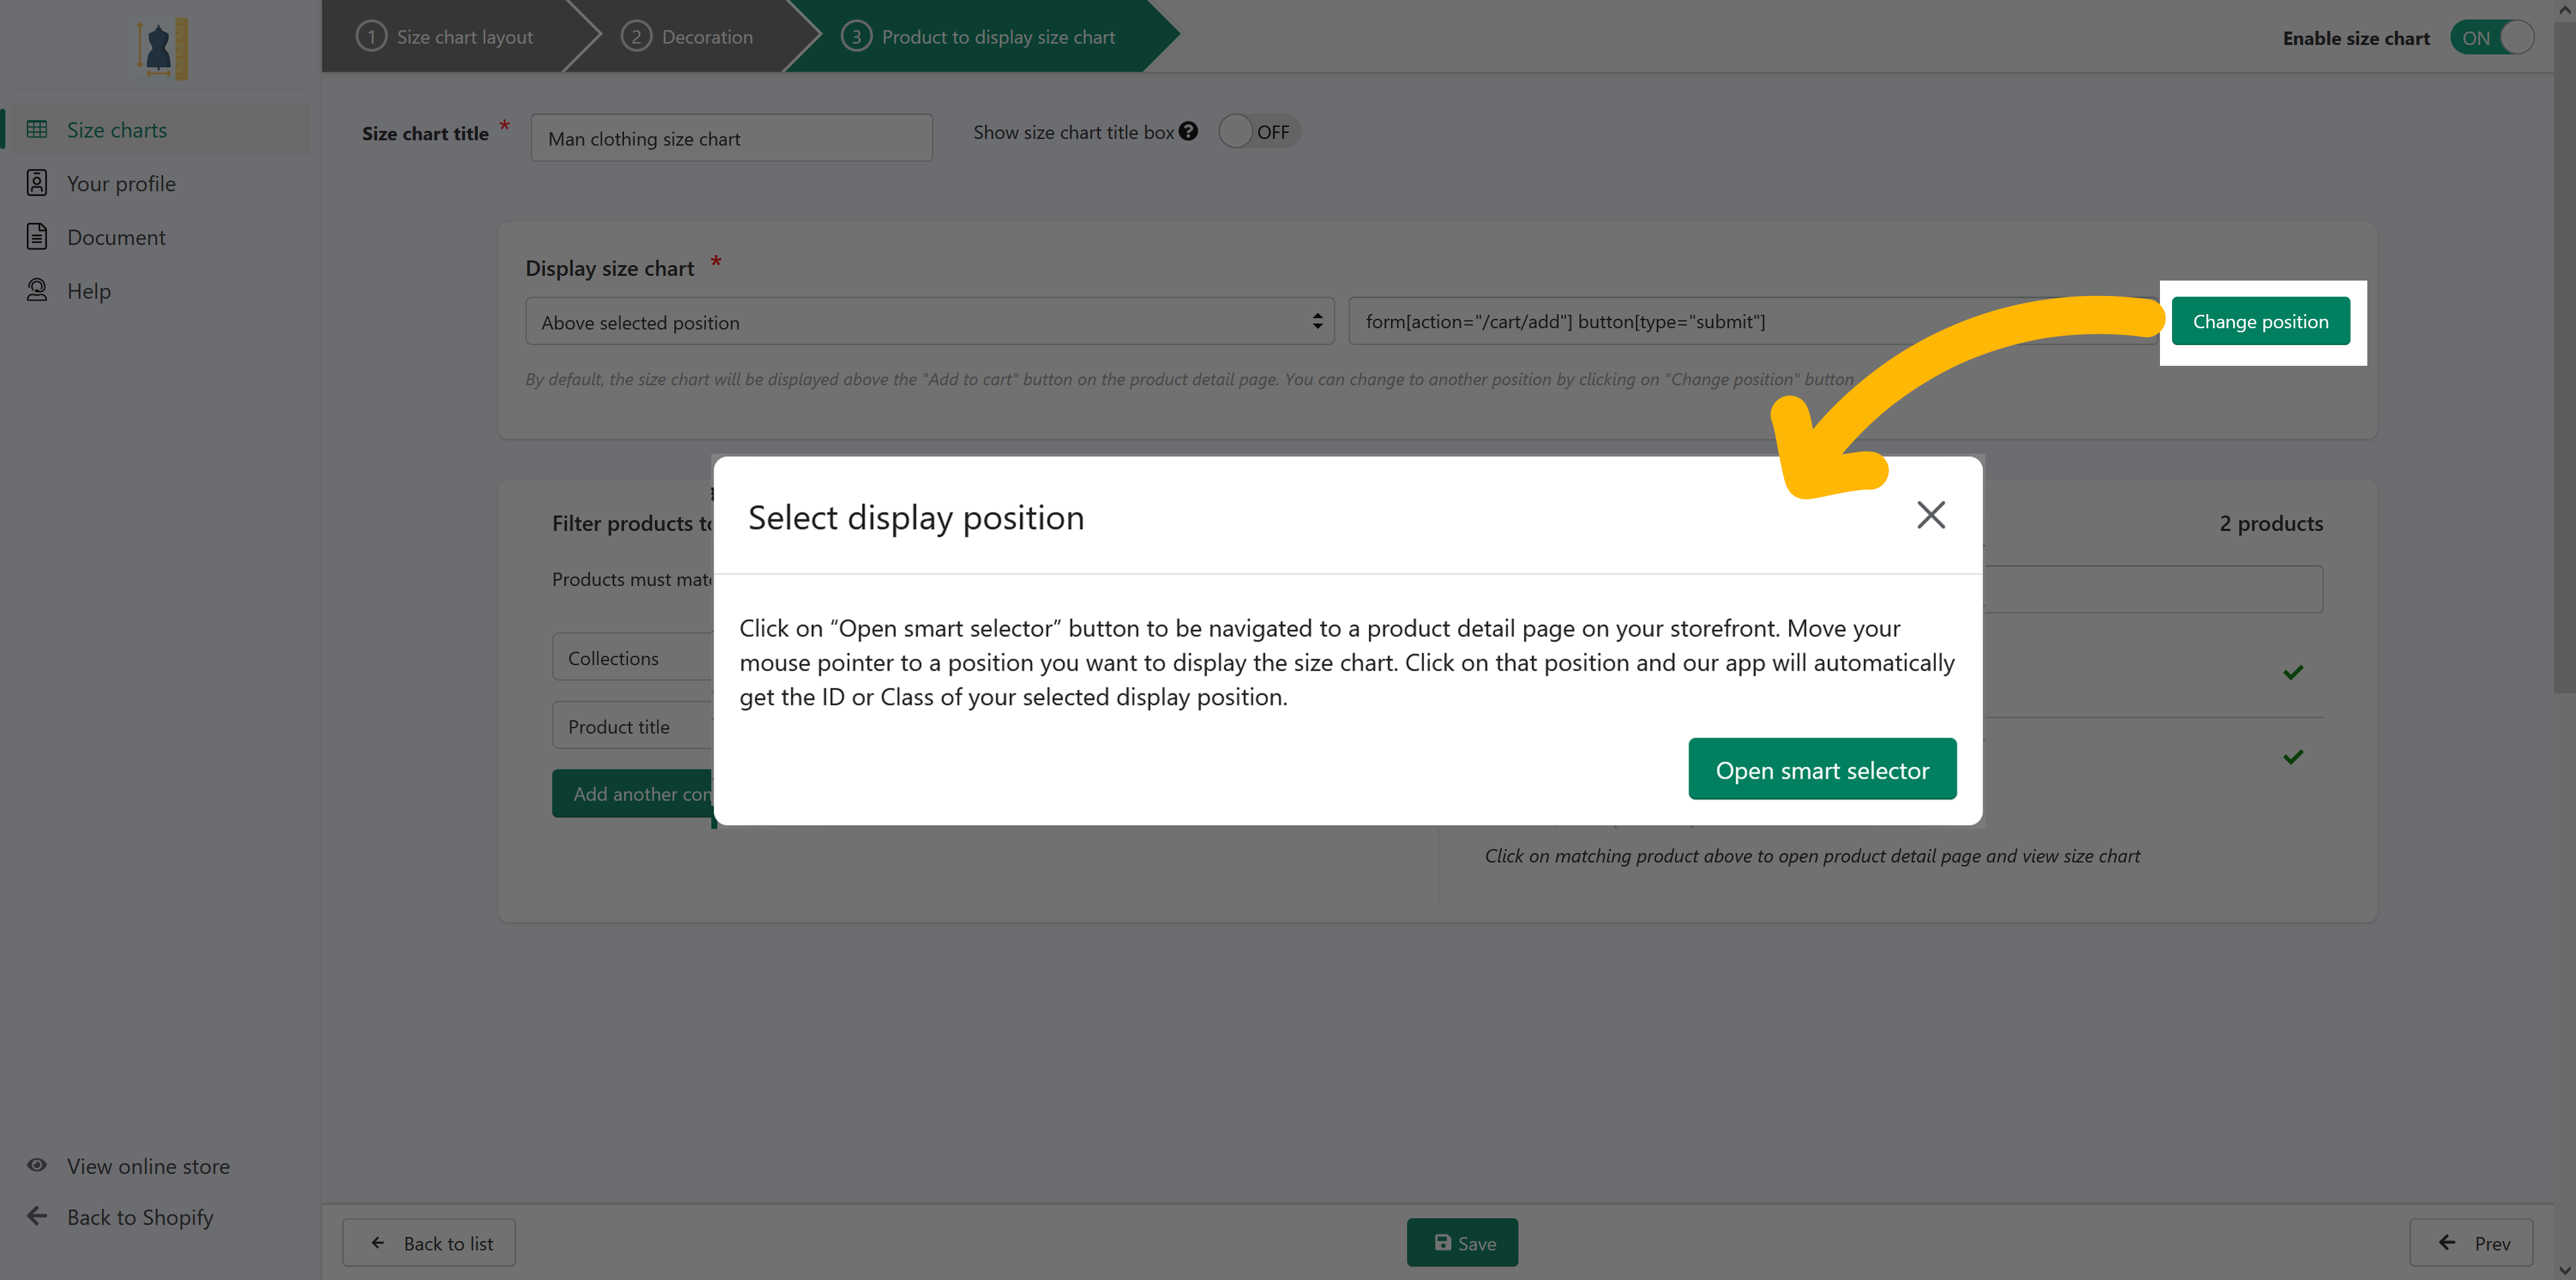
Hover your mouse and choose the place you want on the product page.
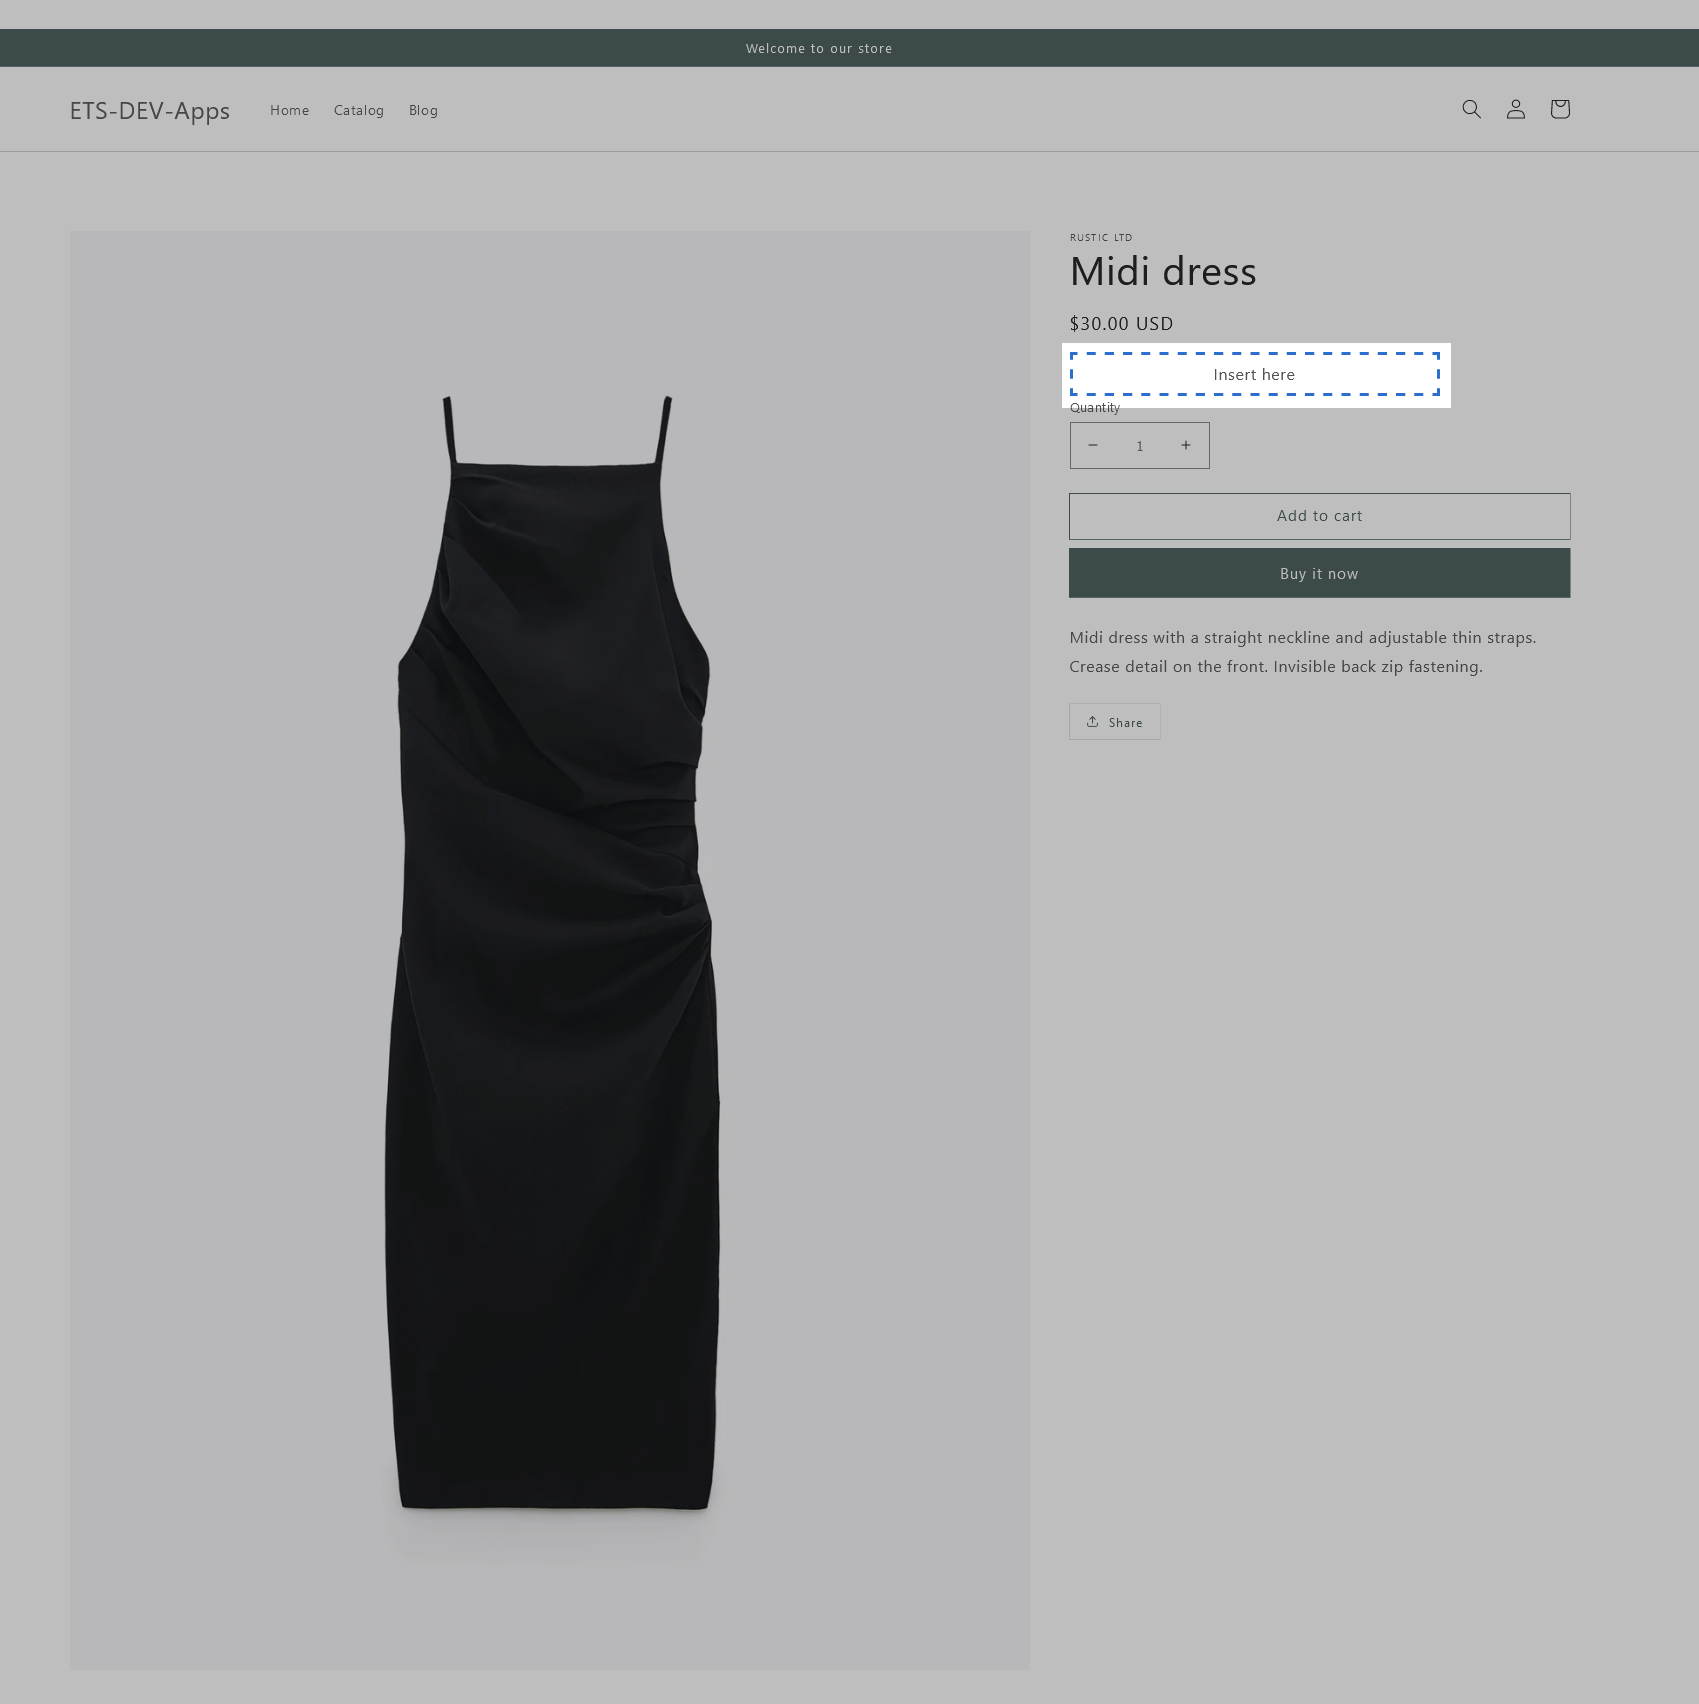
After selecting a position, our app will automatically get the ID or Class of your selected display position. Then, you should choose to display the size chart above or below the position you selected on the product page.
Click on “Save” button to finish.
Let’s see how it display on the storefront!

IMPORTANT NOTE:
You need to enable the Size Chart app to display it on the storefront. Here are the instructions to enable the app:
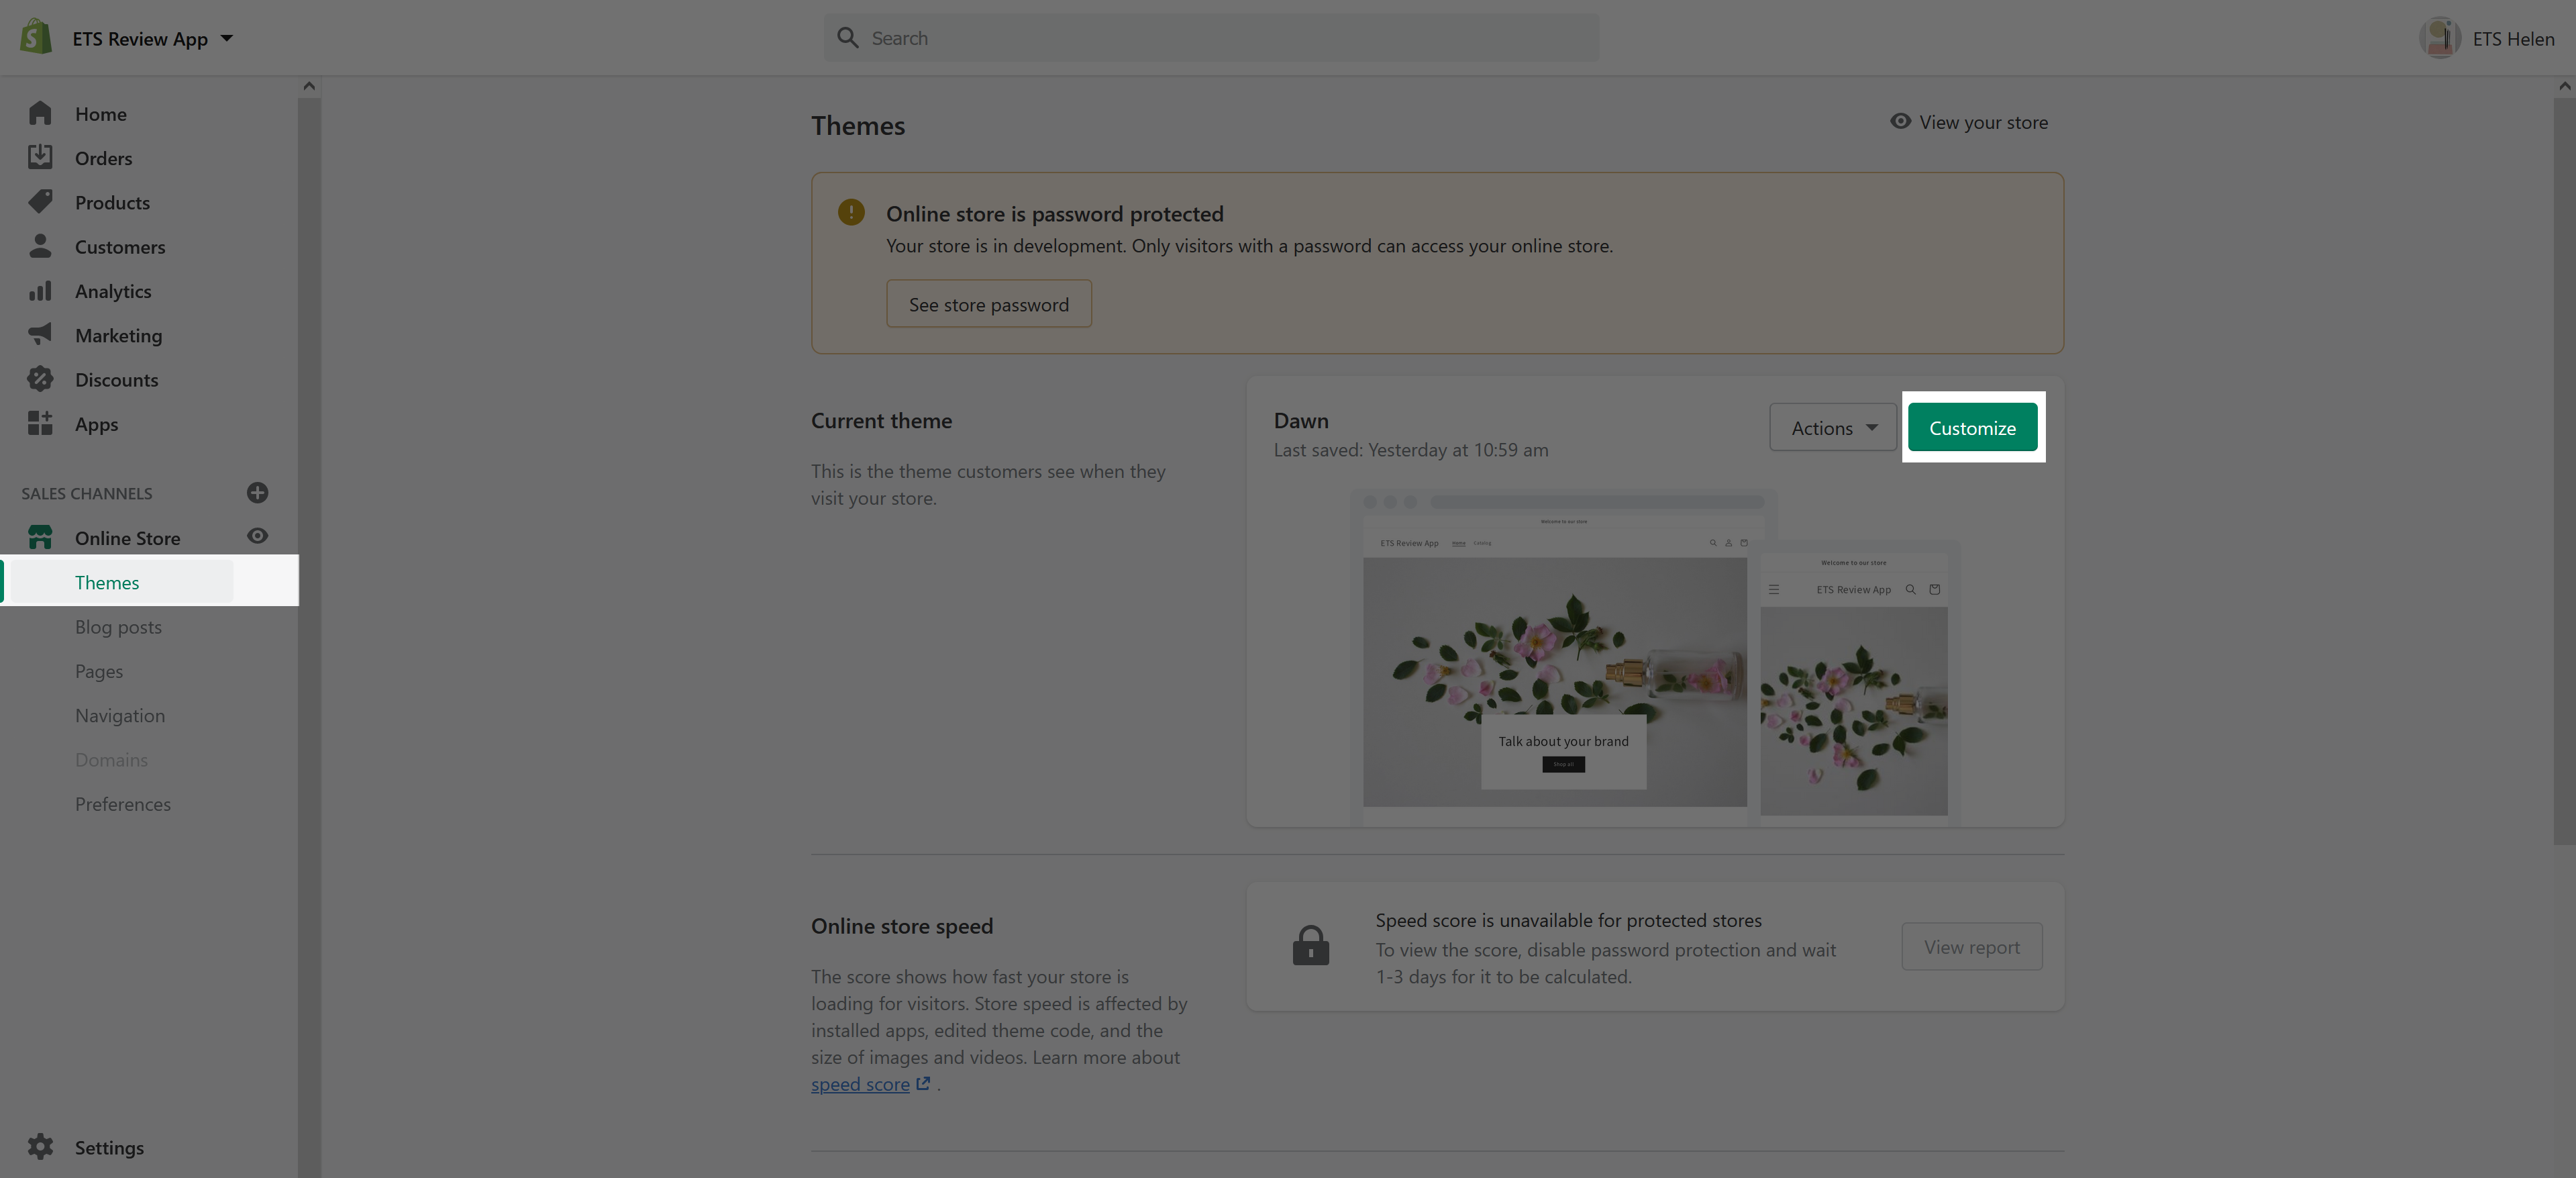
- Go to “Online Store” in your Shopify Admin Panel > On your “Current theme” select “Customize”.
- In the bottom left corner of the screen select “Theme settings” > click on “App embeds”.
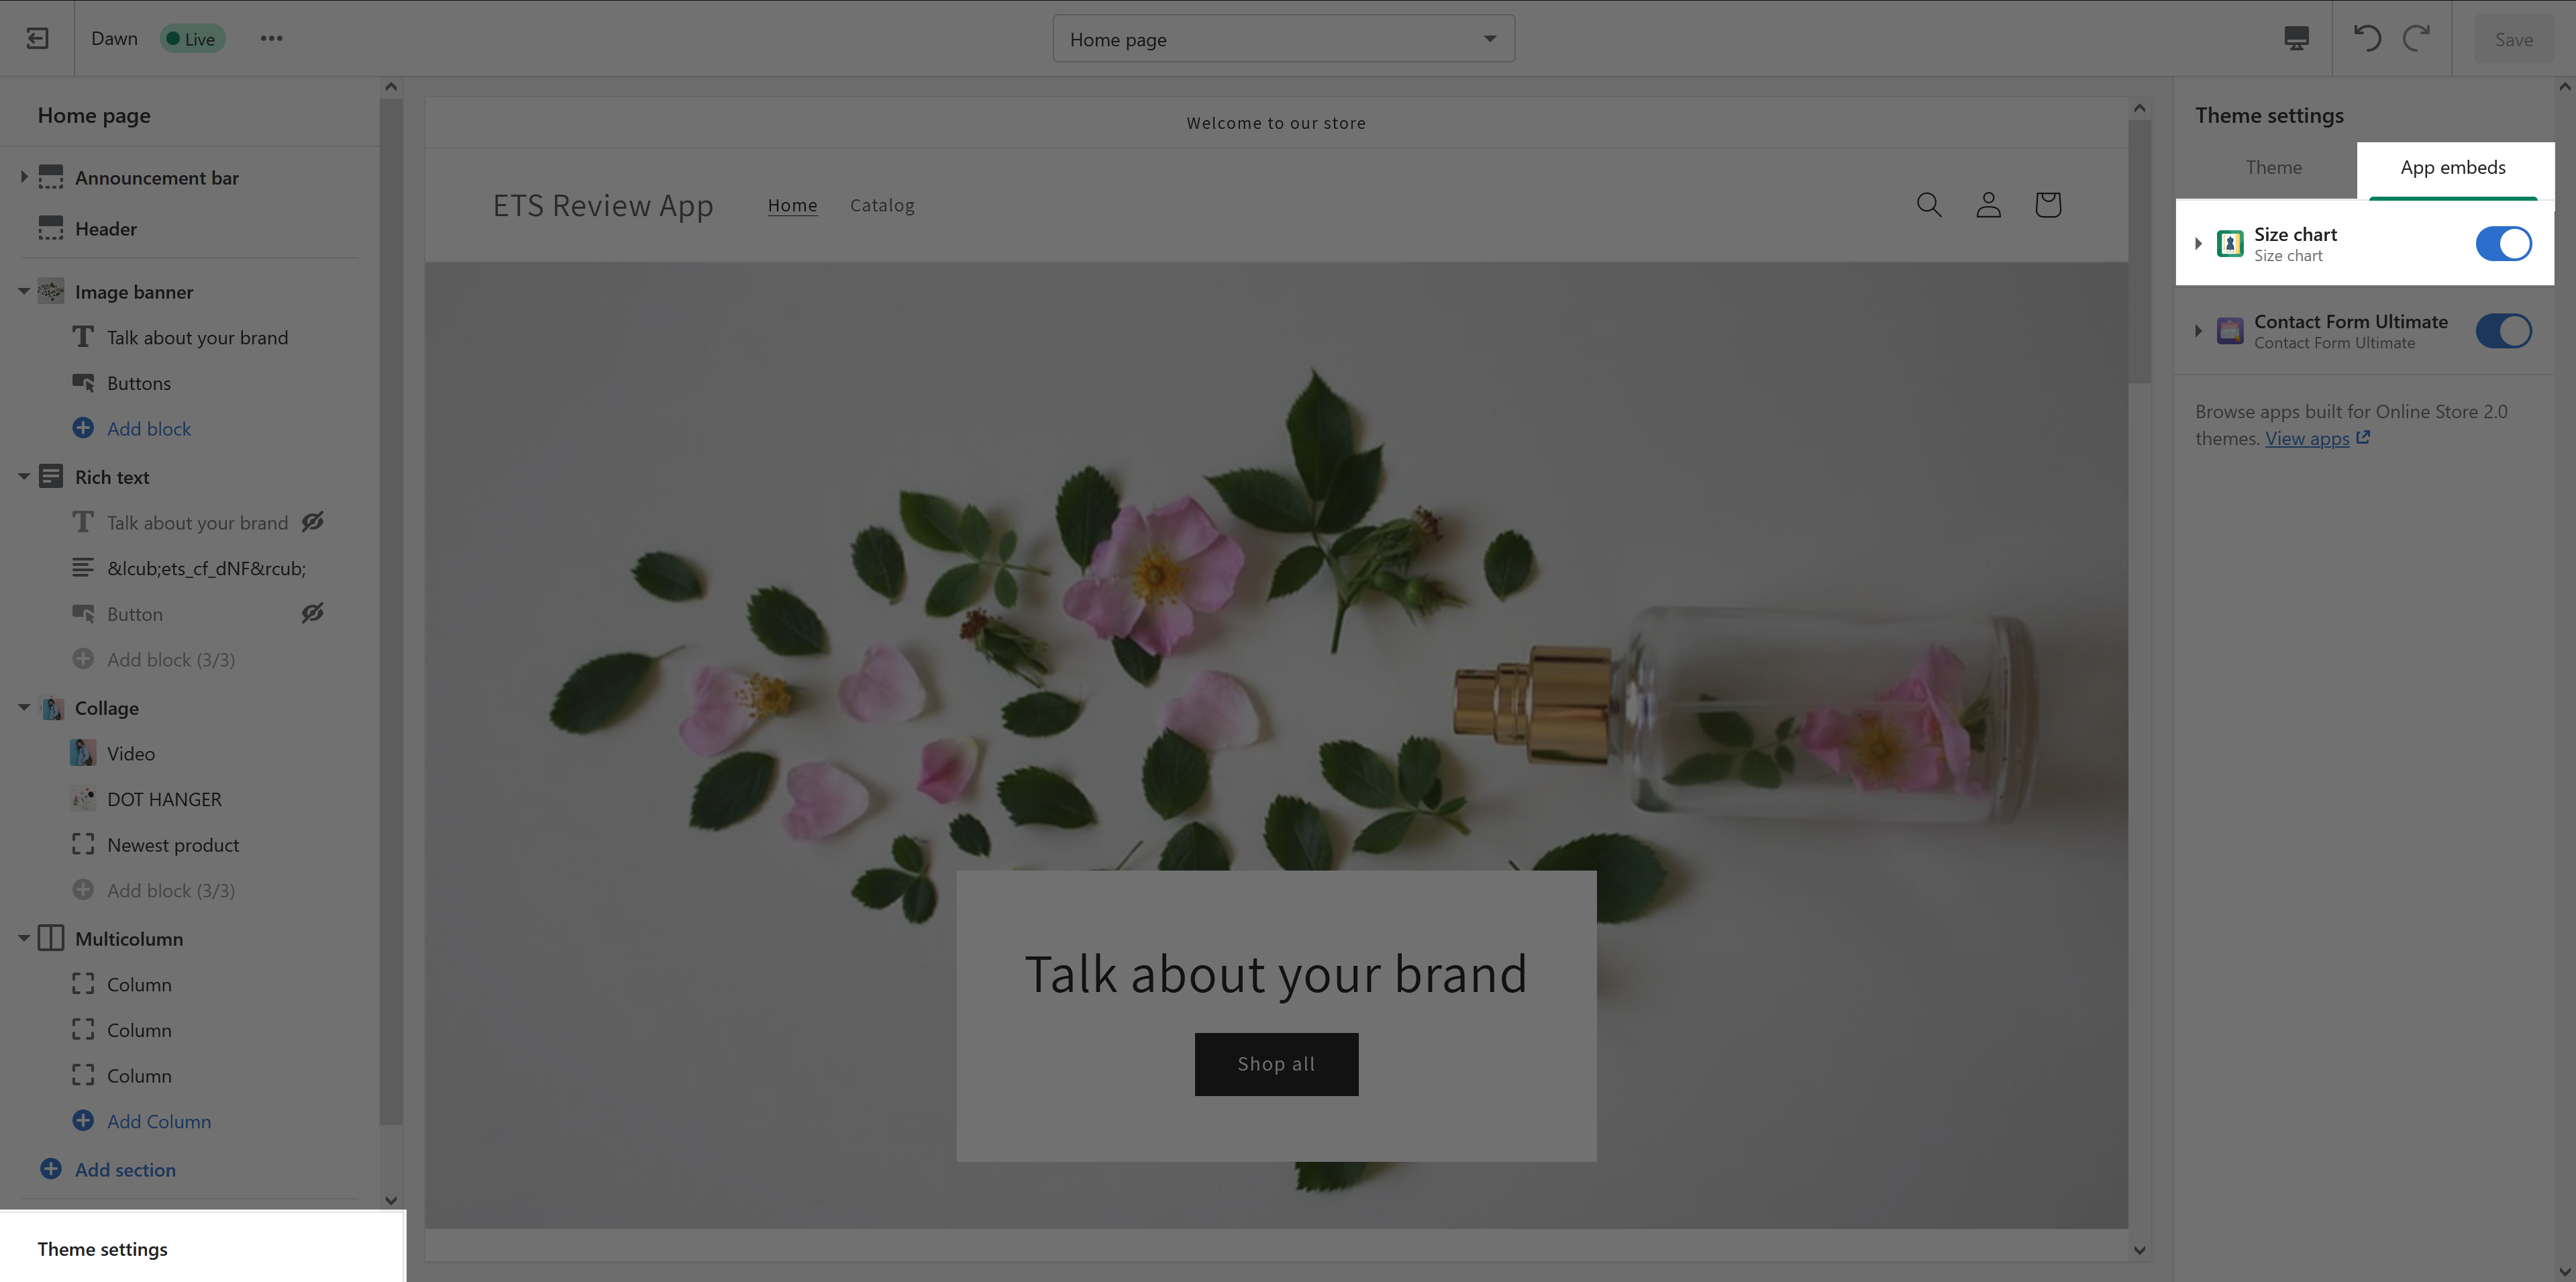
- Enable “Size chart app” and “Save”.