Besides the functions to help manage and restore abandoned carts, the application is also a powerful marketing tool to help you take care of your current customers and nurture potential customers by automatically sending emails according to your pre-set schedule.
Navigate to “Marketing Campaign” page to create automated email campaigns for customer care.
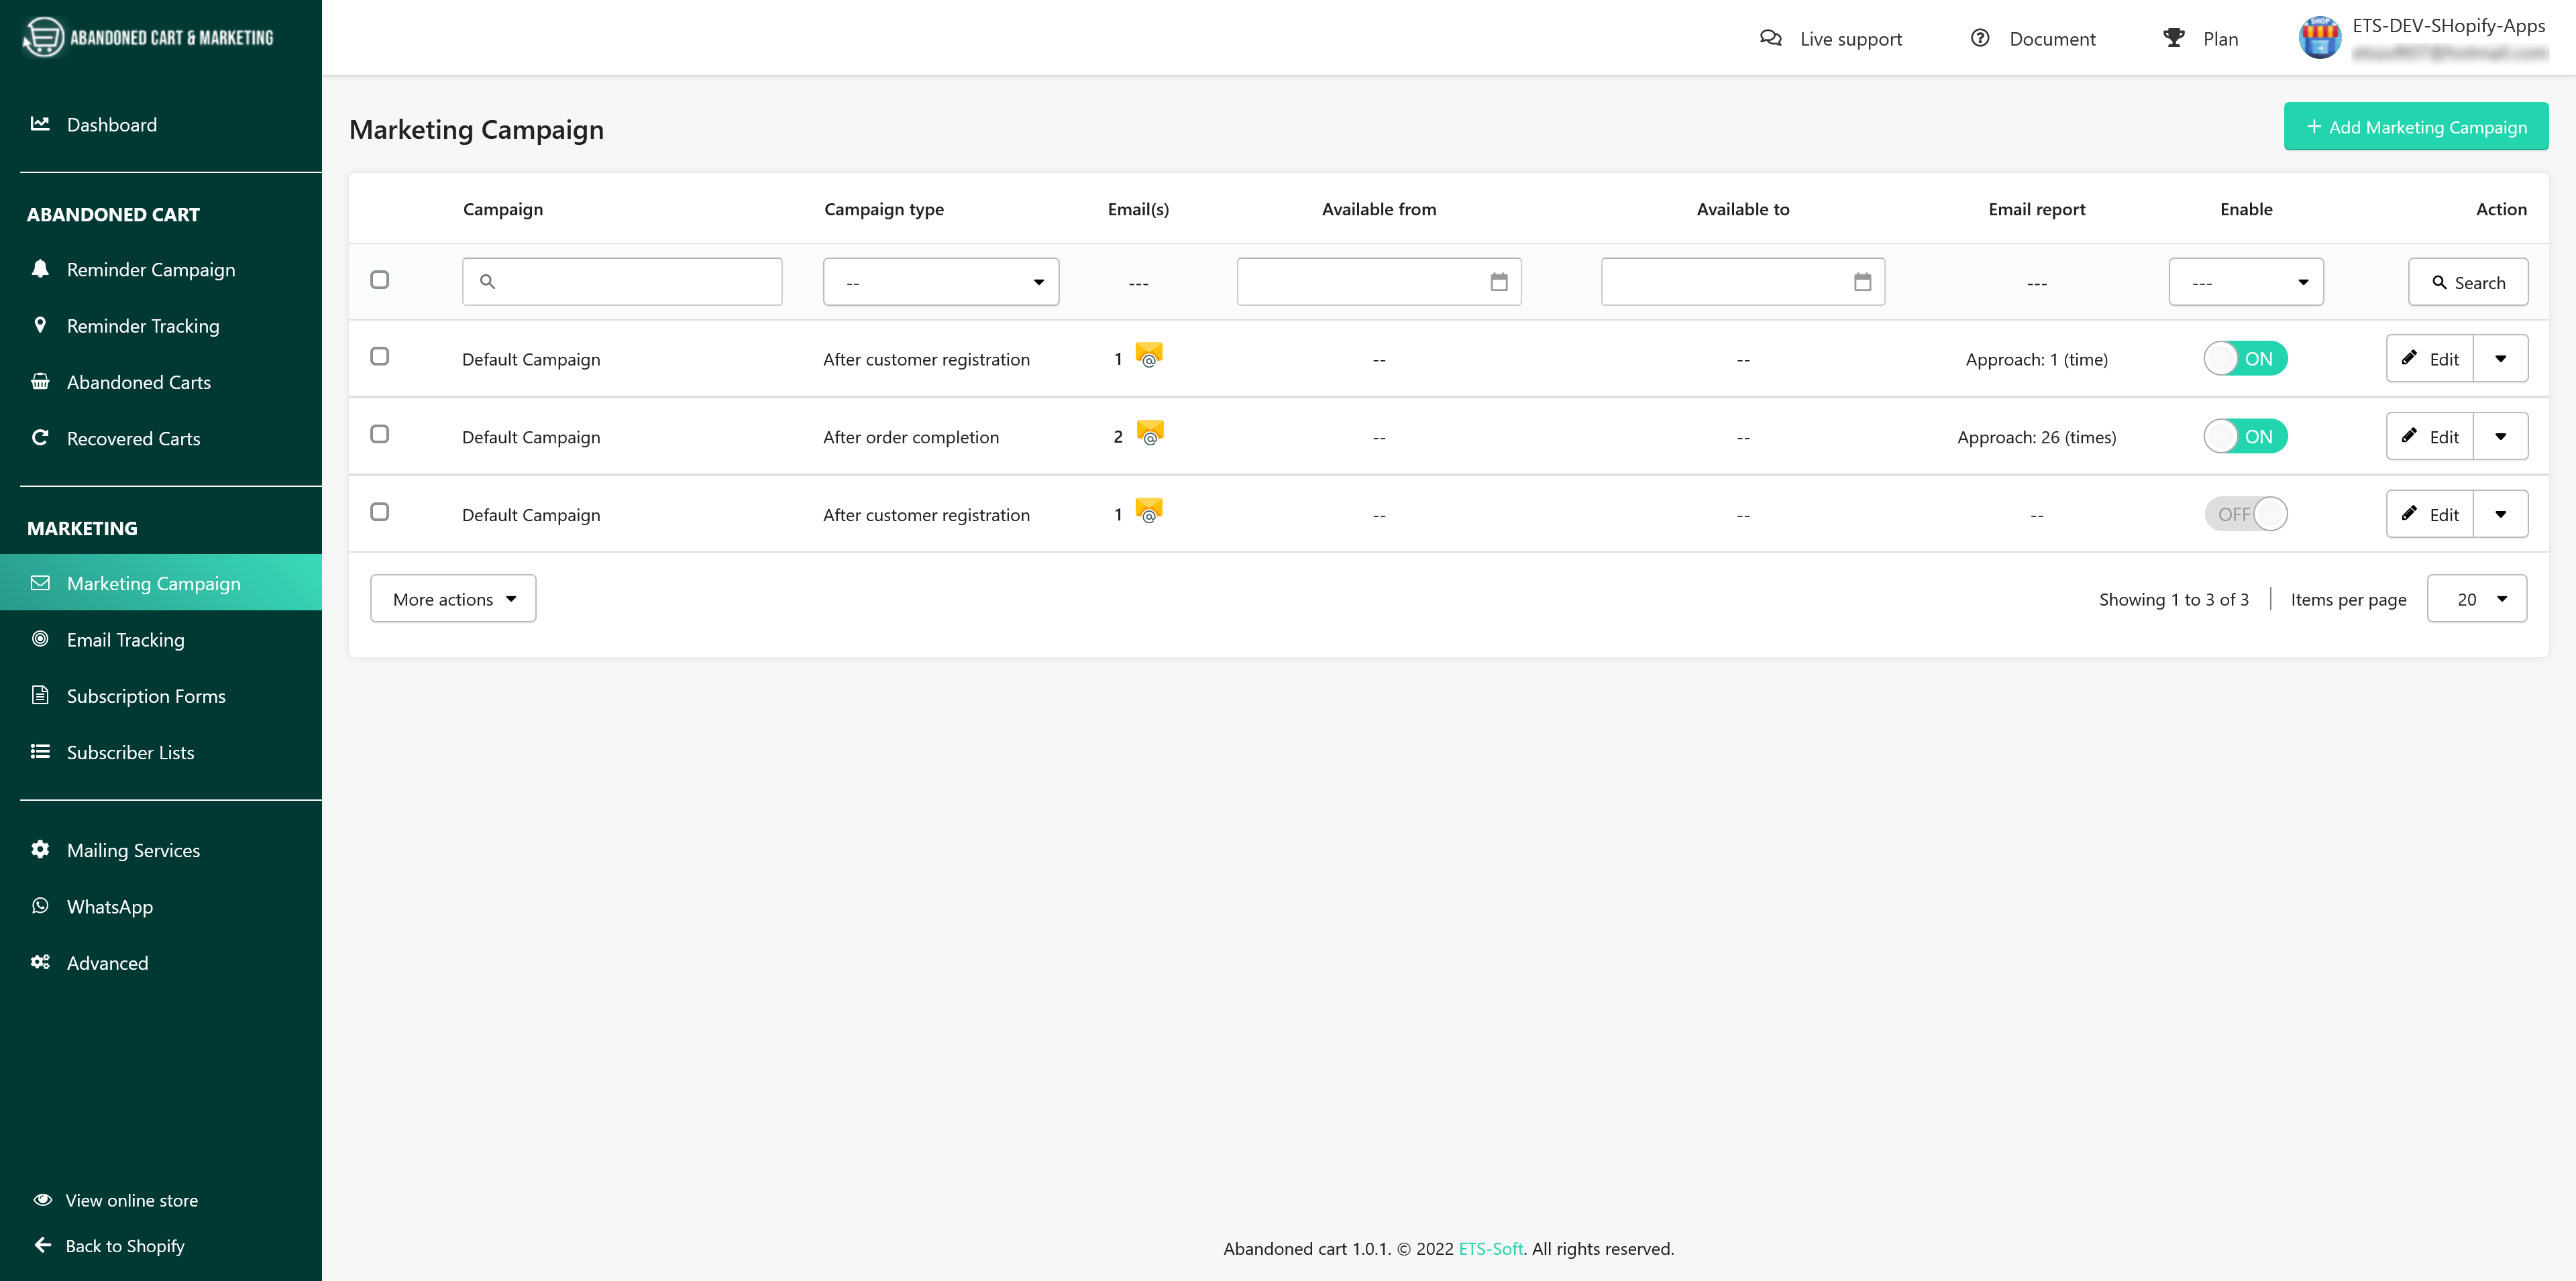
- Click on the “+ Add Marketing Campaign” button to start adding a new one.
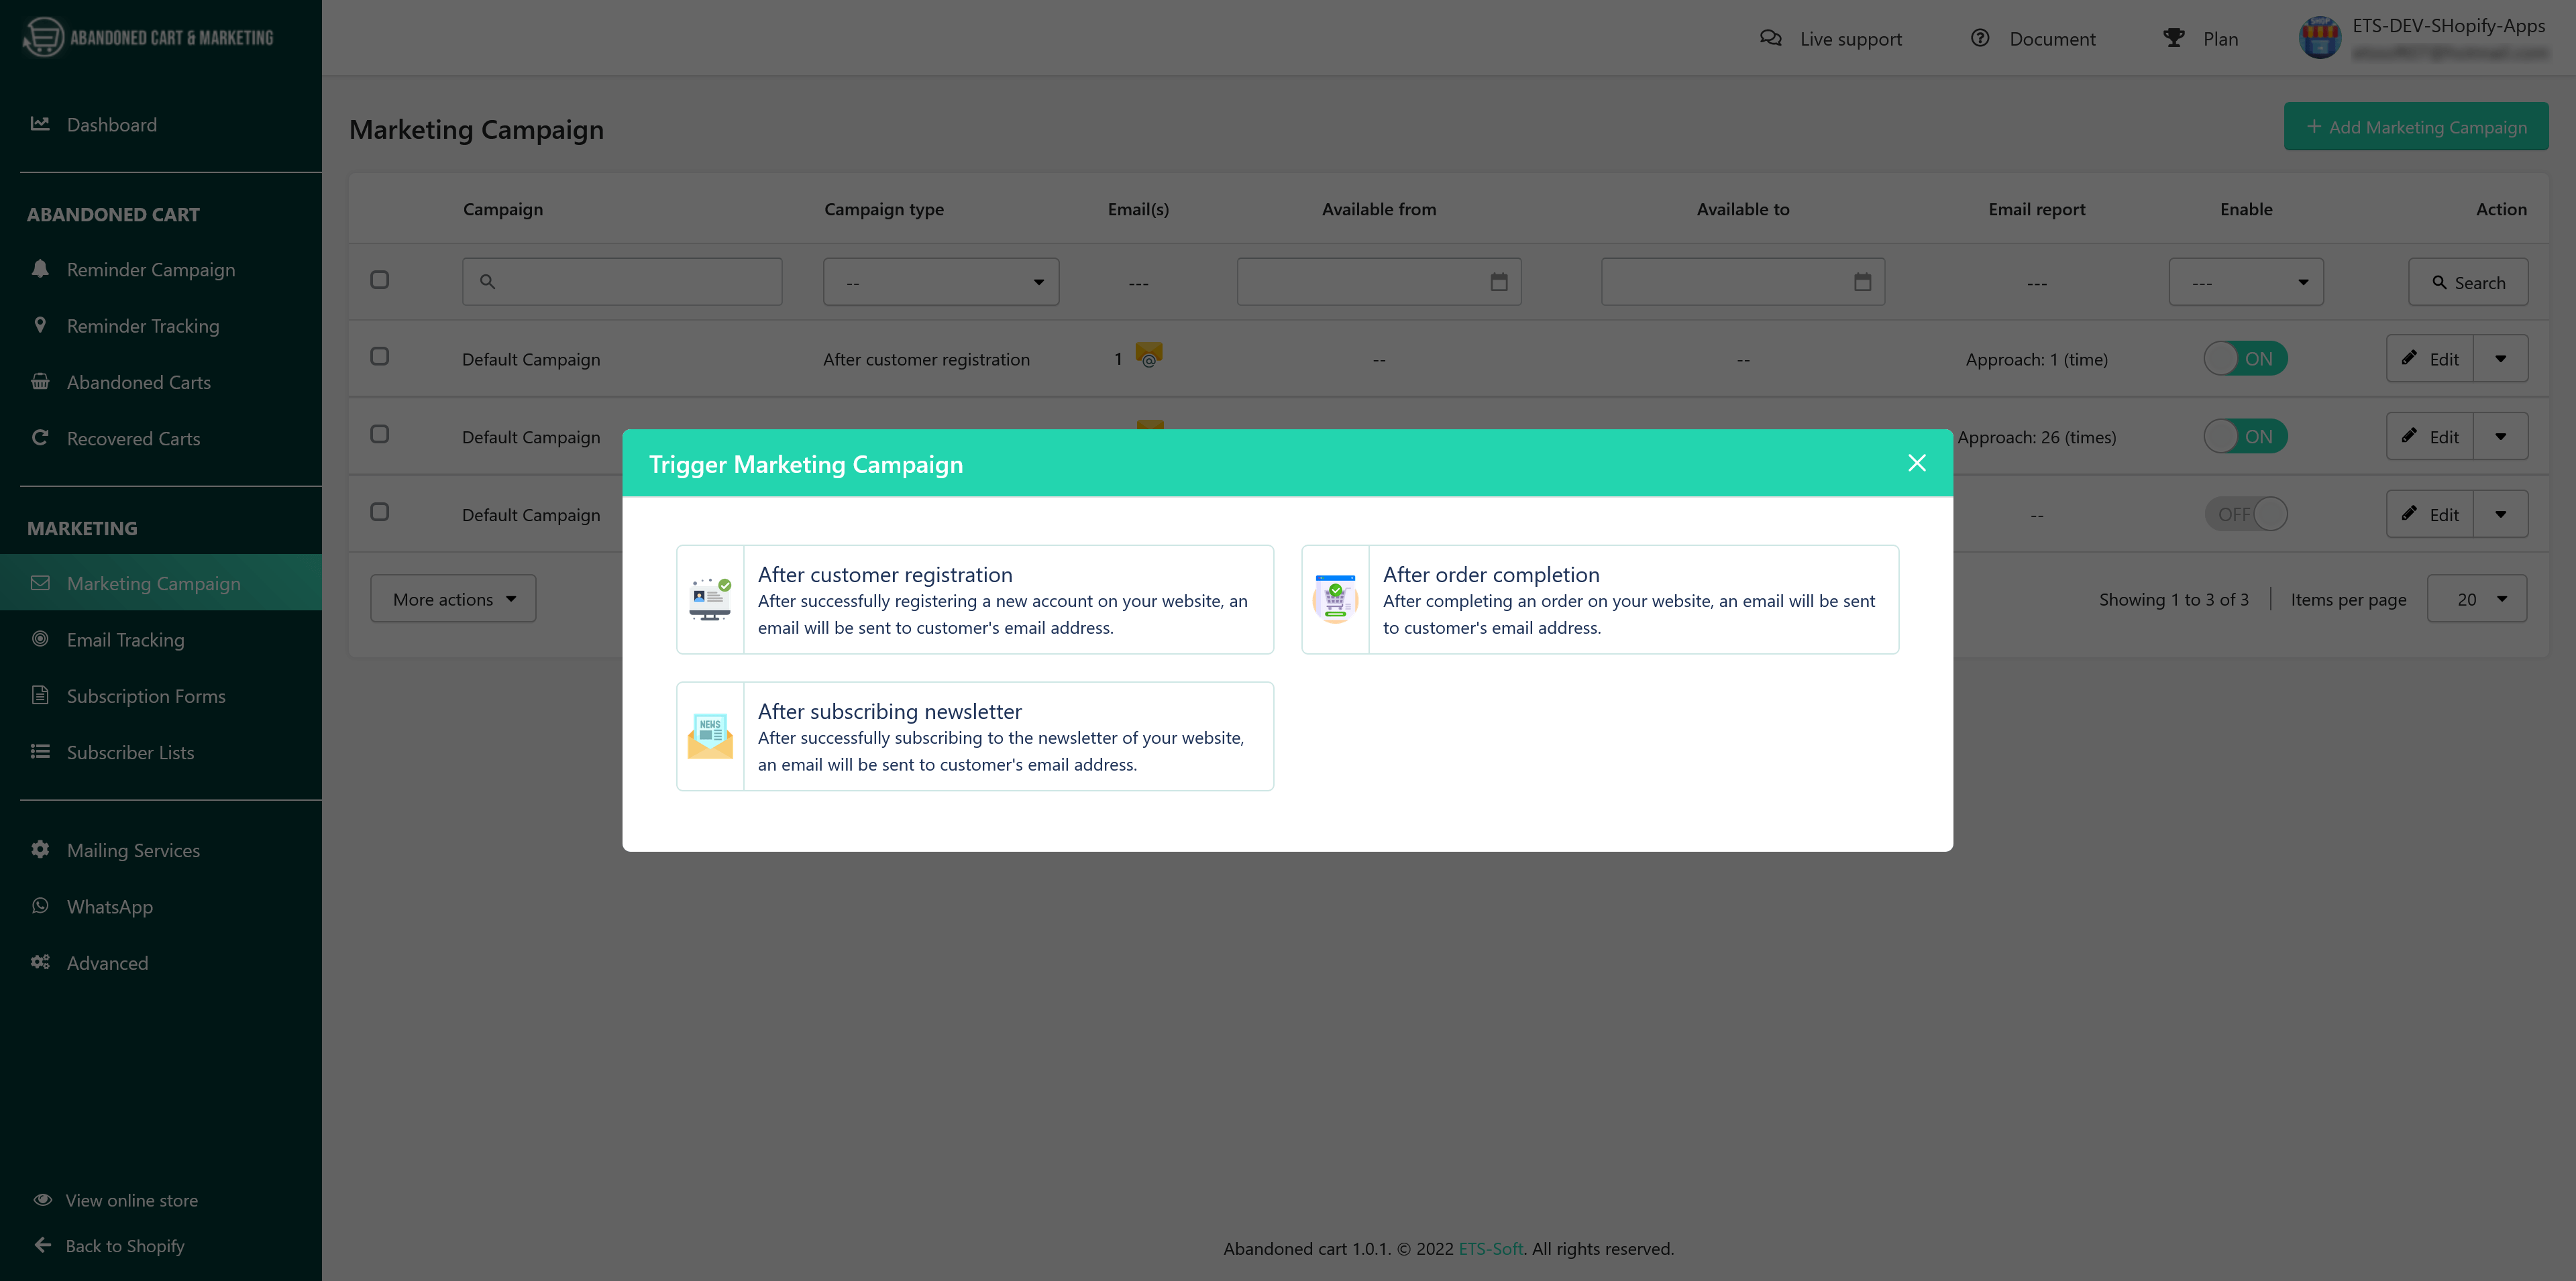
- On the “Trigger Marketing Campaign” popup, choose when you want to send marketing emails to customers. The app provides 3 important times when you should send emails to customers: after customer registration, after subscribing newsletter, and after order completion.
- Enter the campaign name. Turn on/off the switch to enable/disable your campaign.
- Use the slider on the top-left corner of the workspace to zoom in/zoom out.
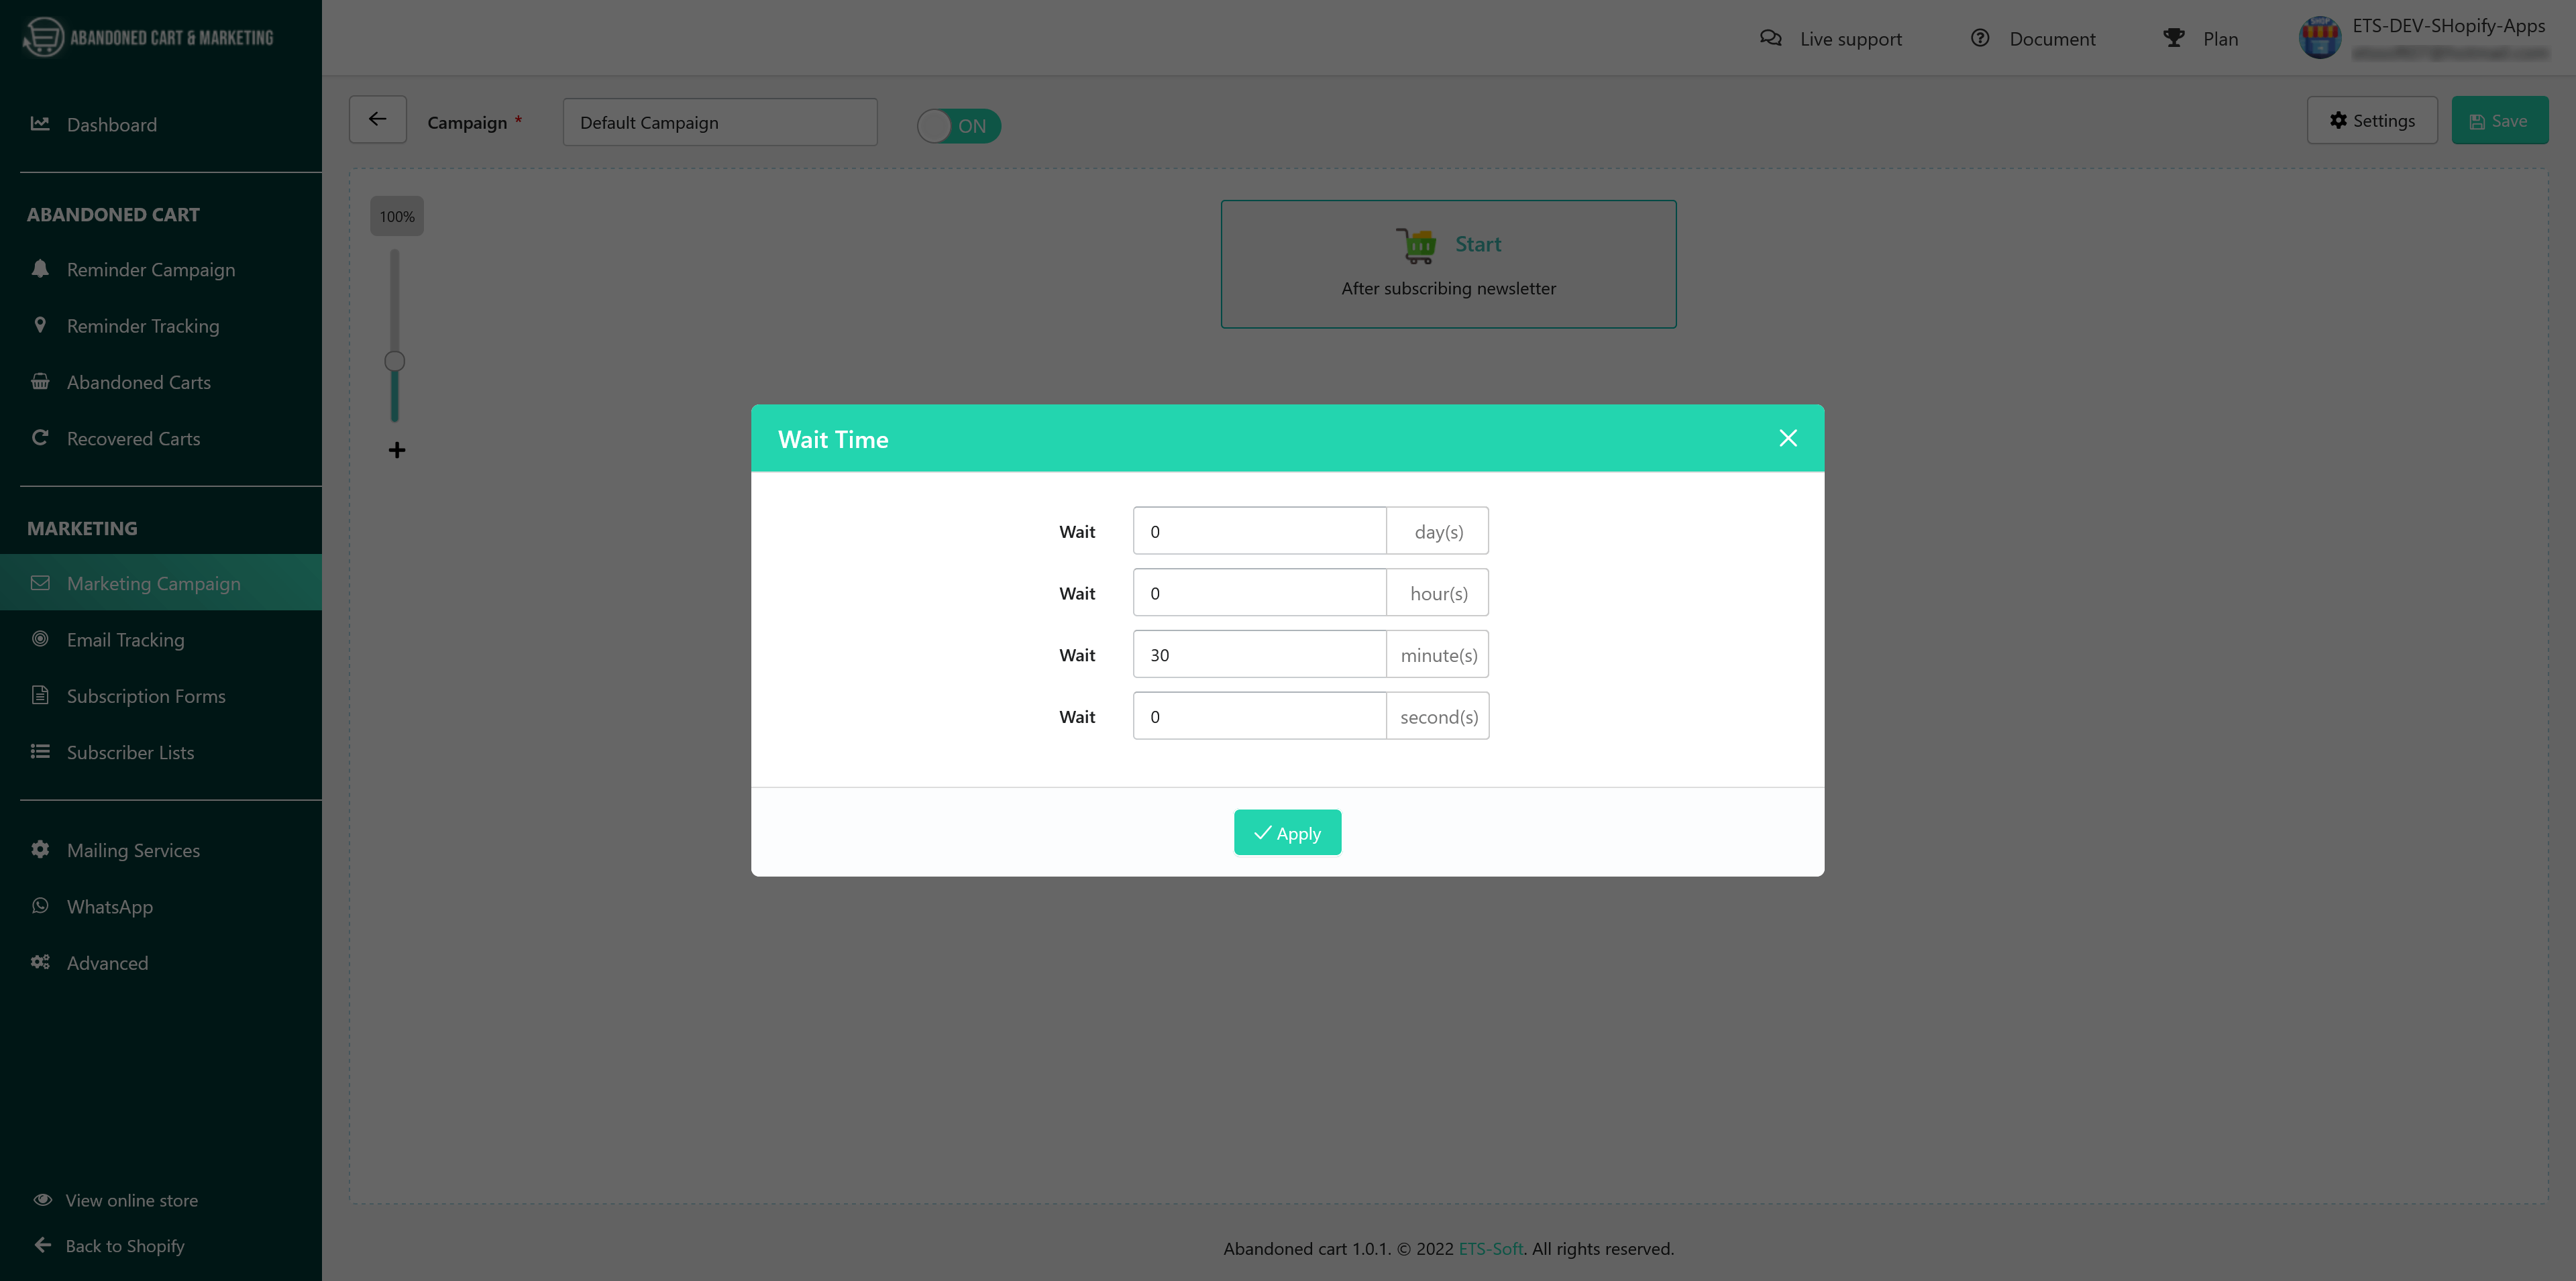
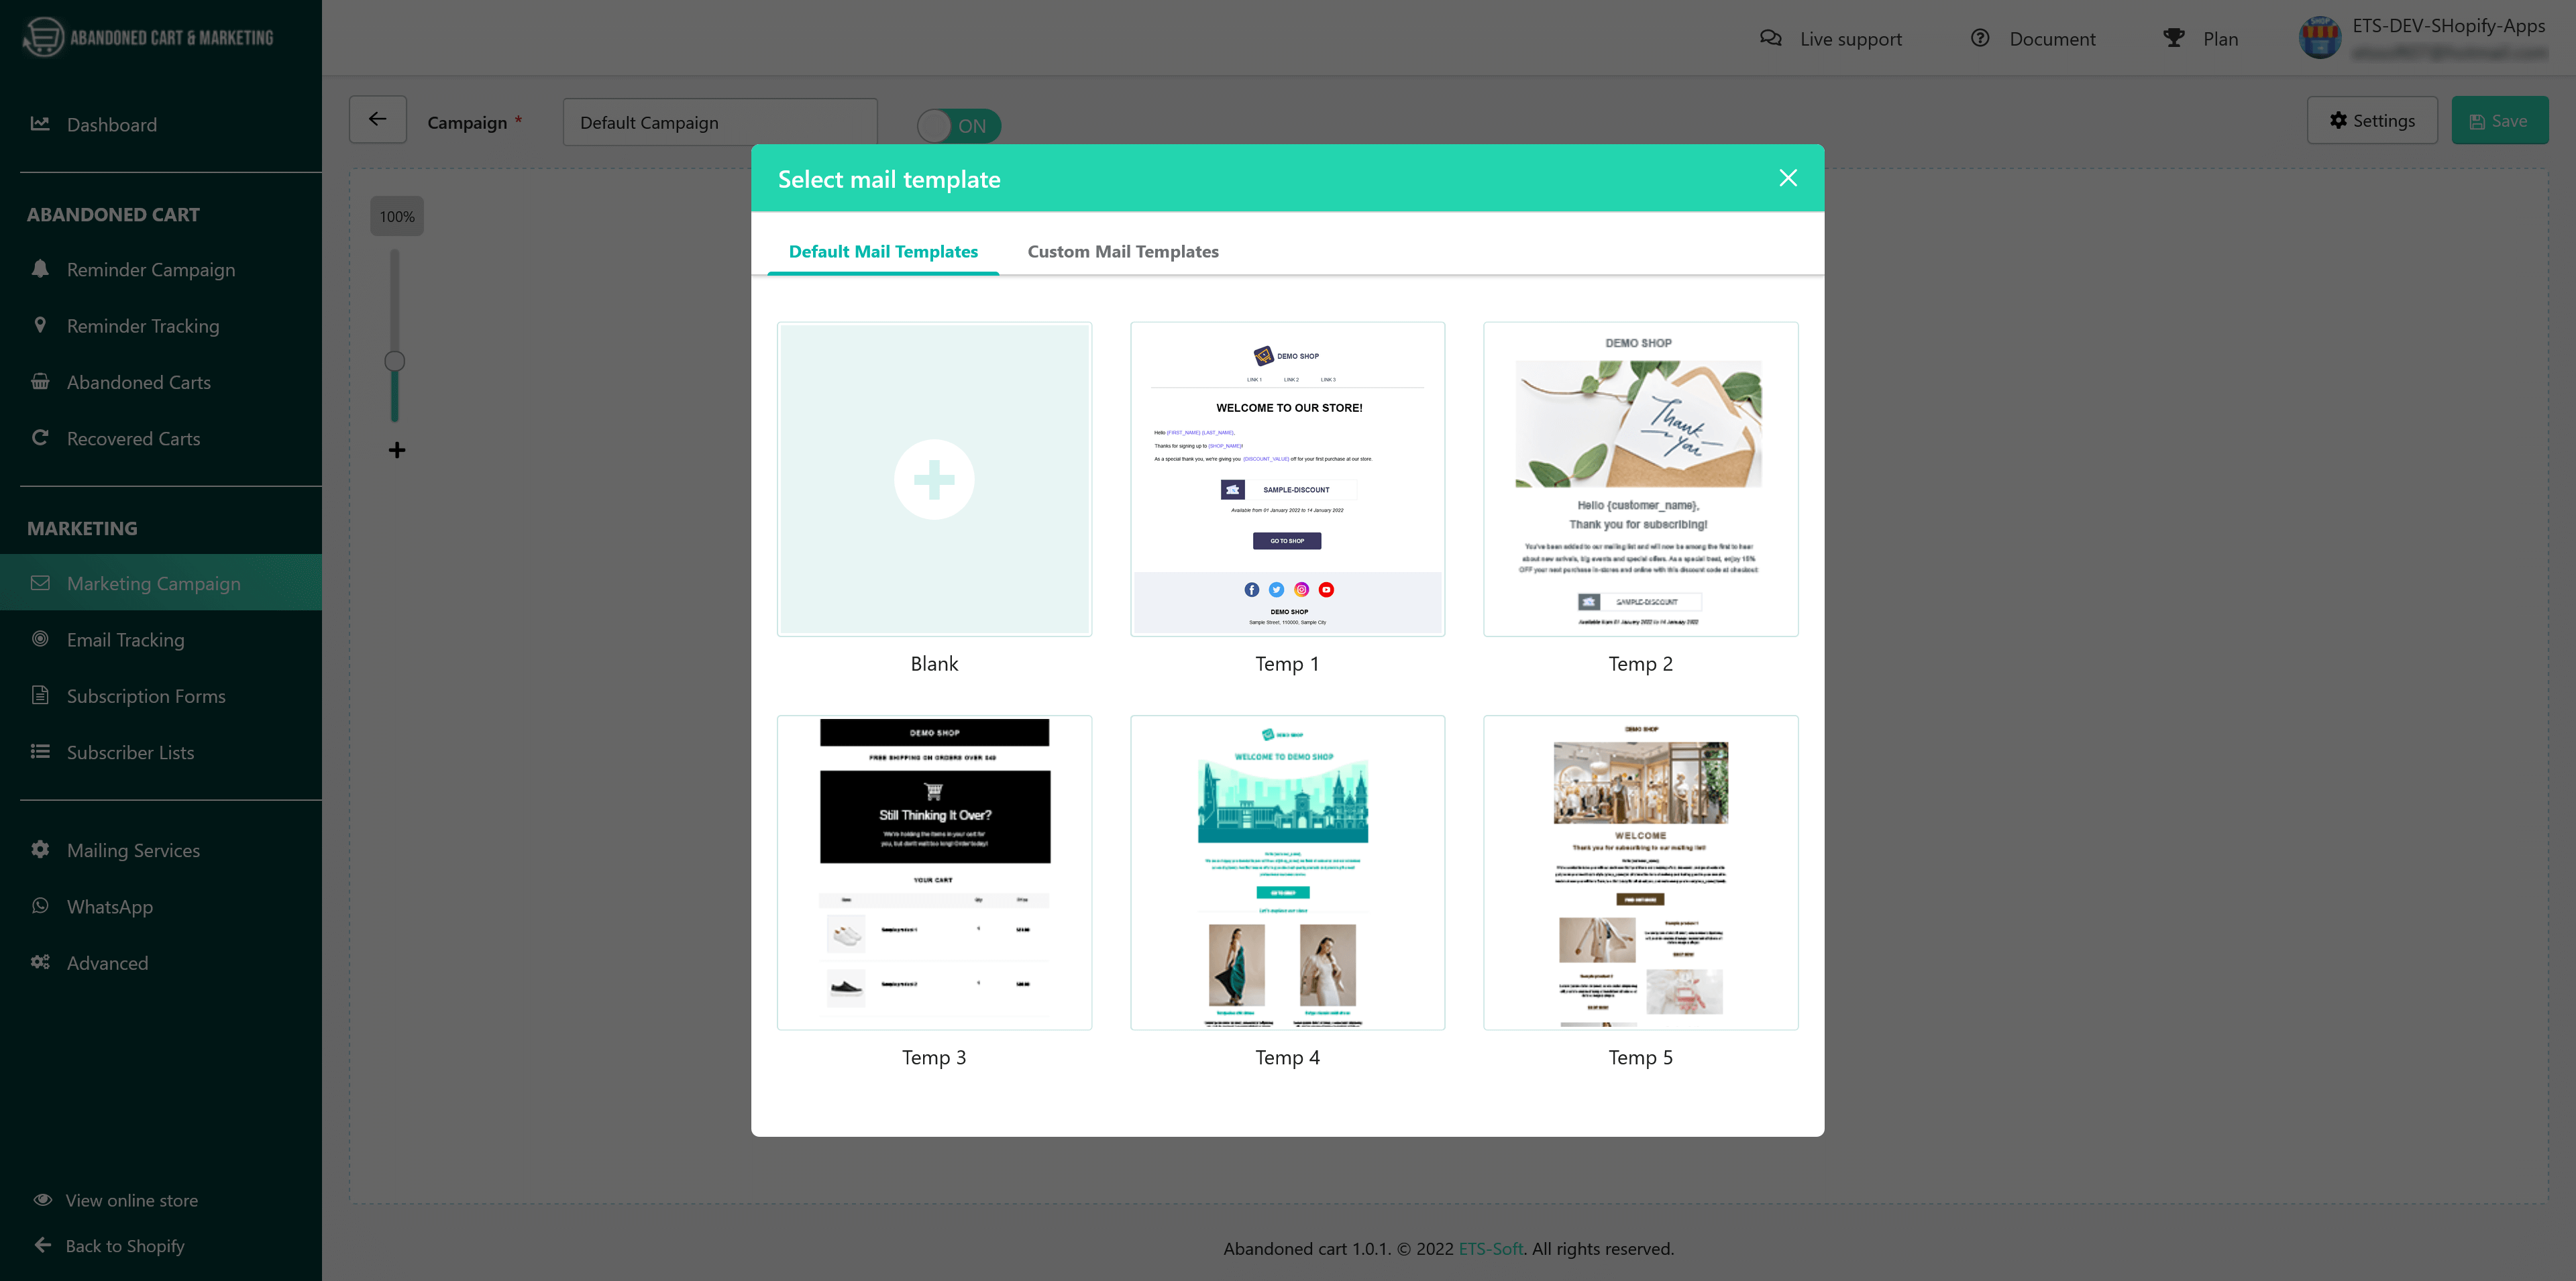
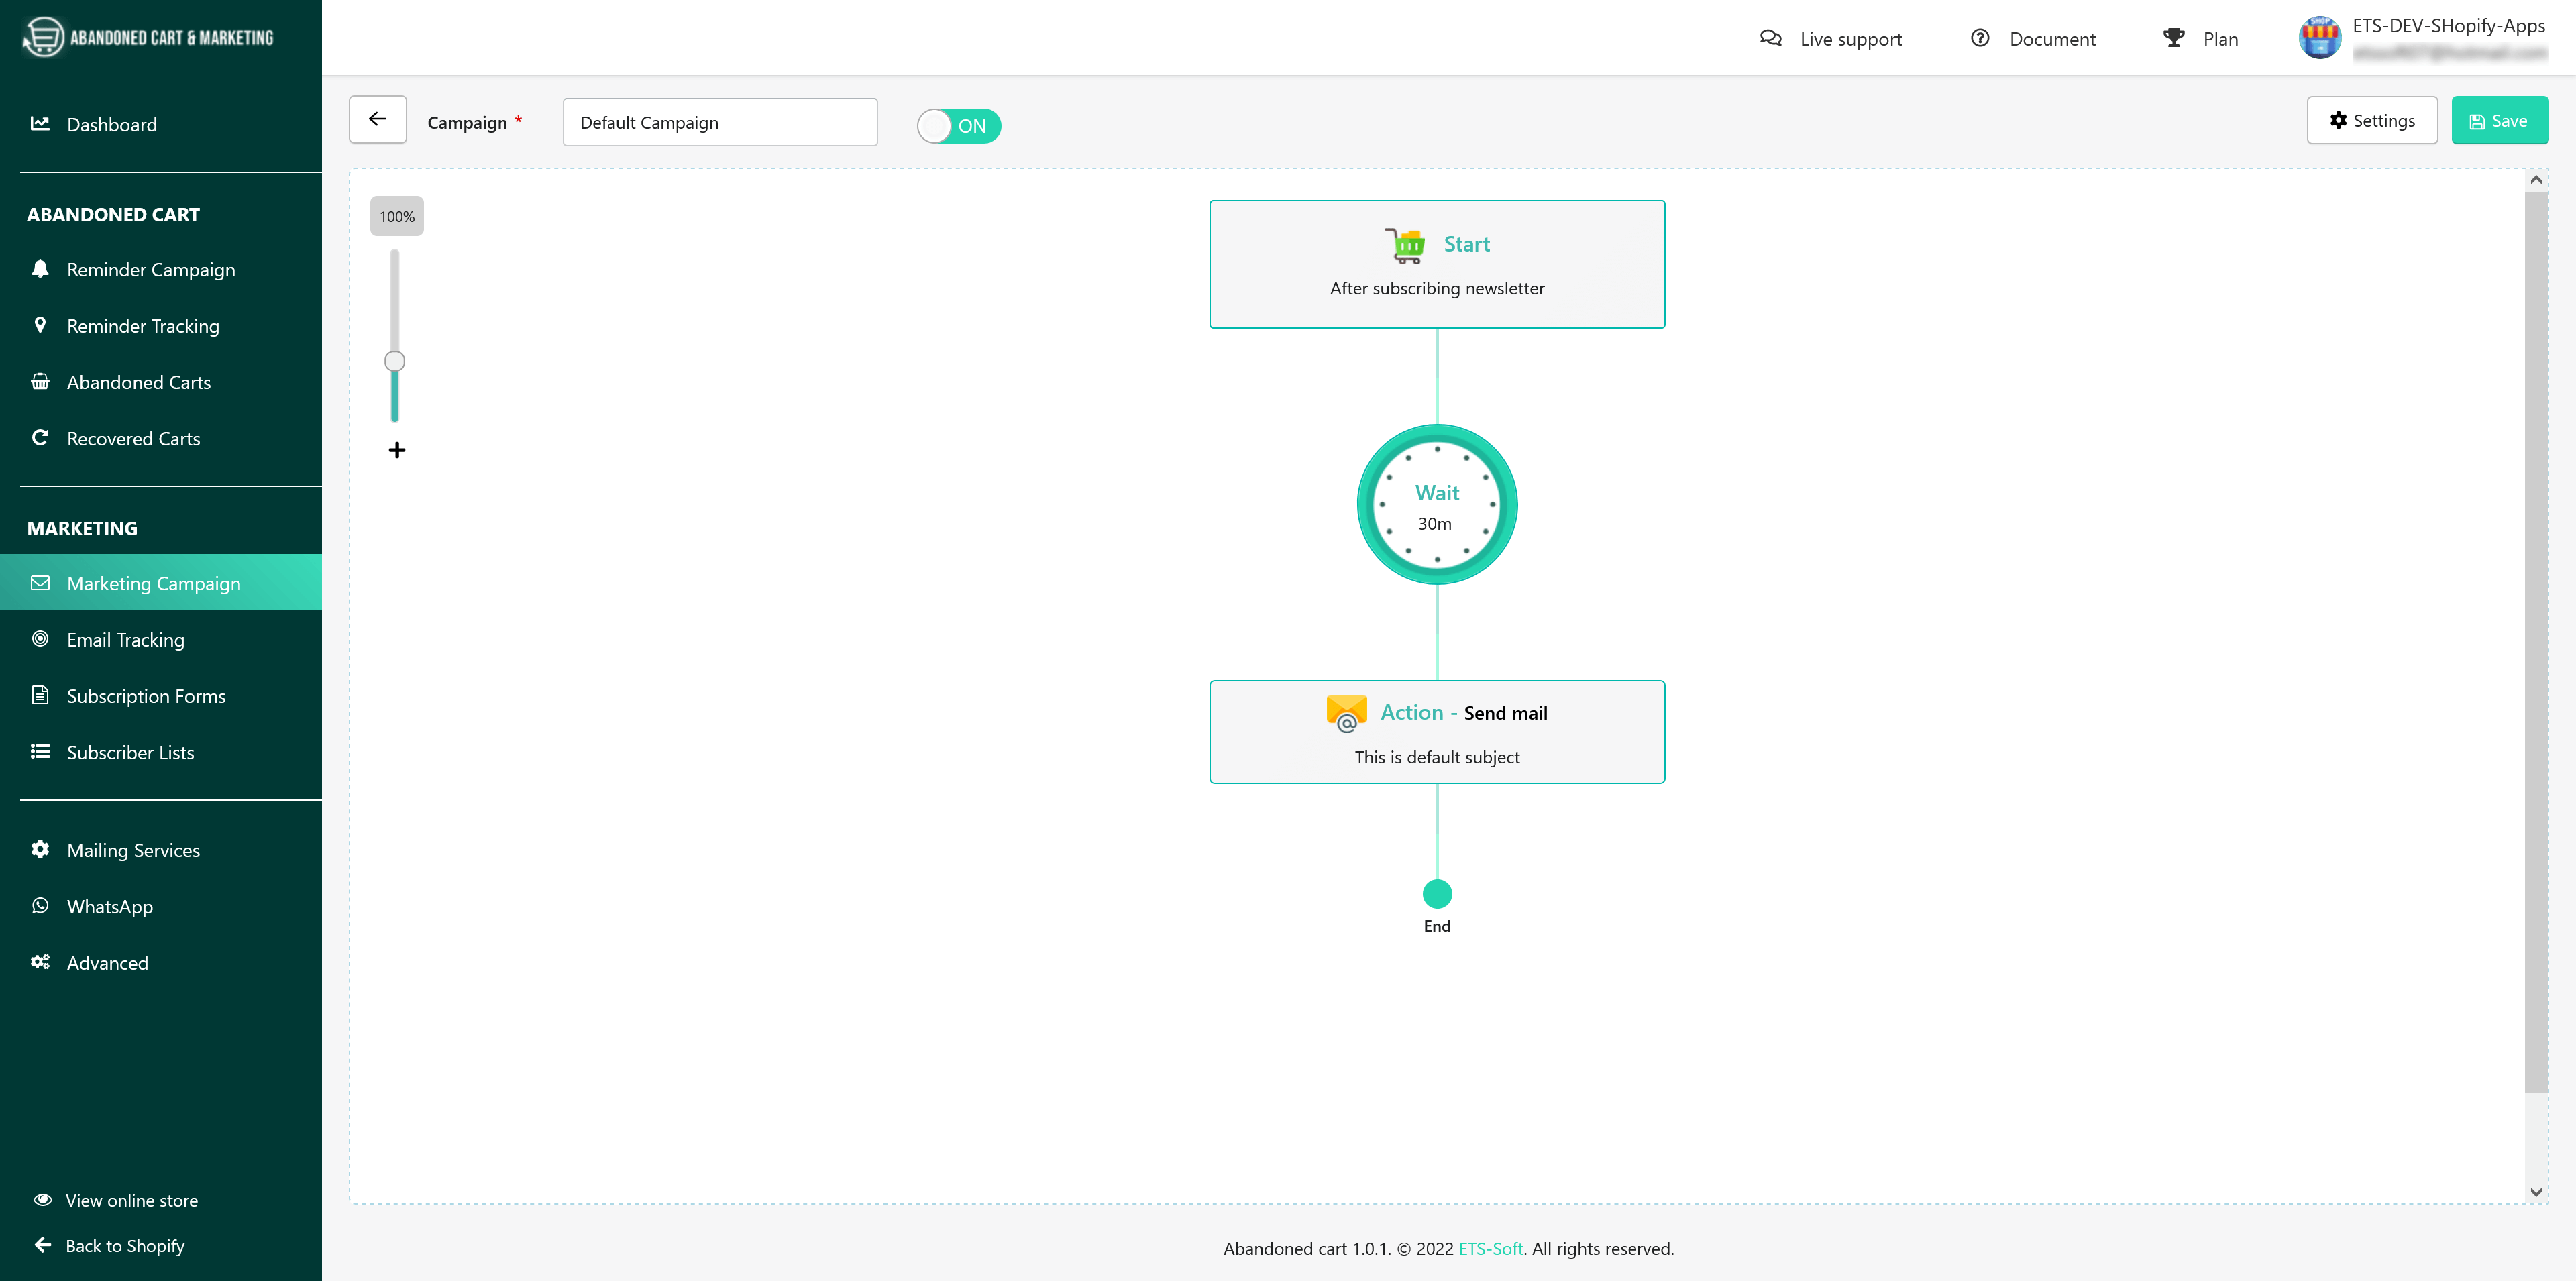
- Click on the “+” button to add new blocks and add options to set up your marketing campaign. The steps are the same as creating a new reminder campaign above (Wait time -> Send Email -> End workflow).
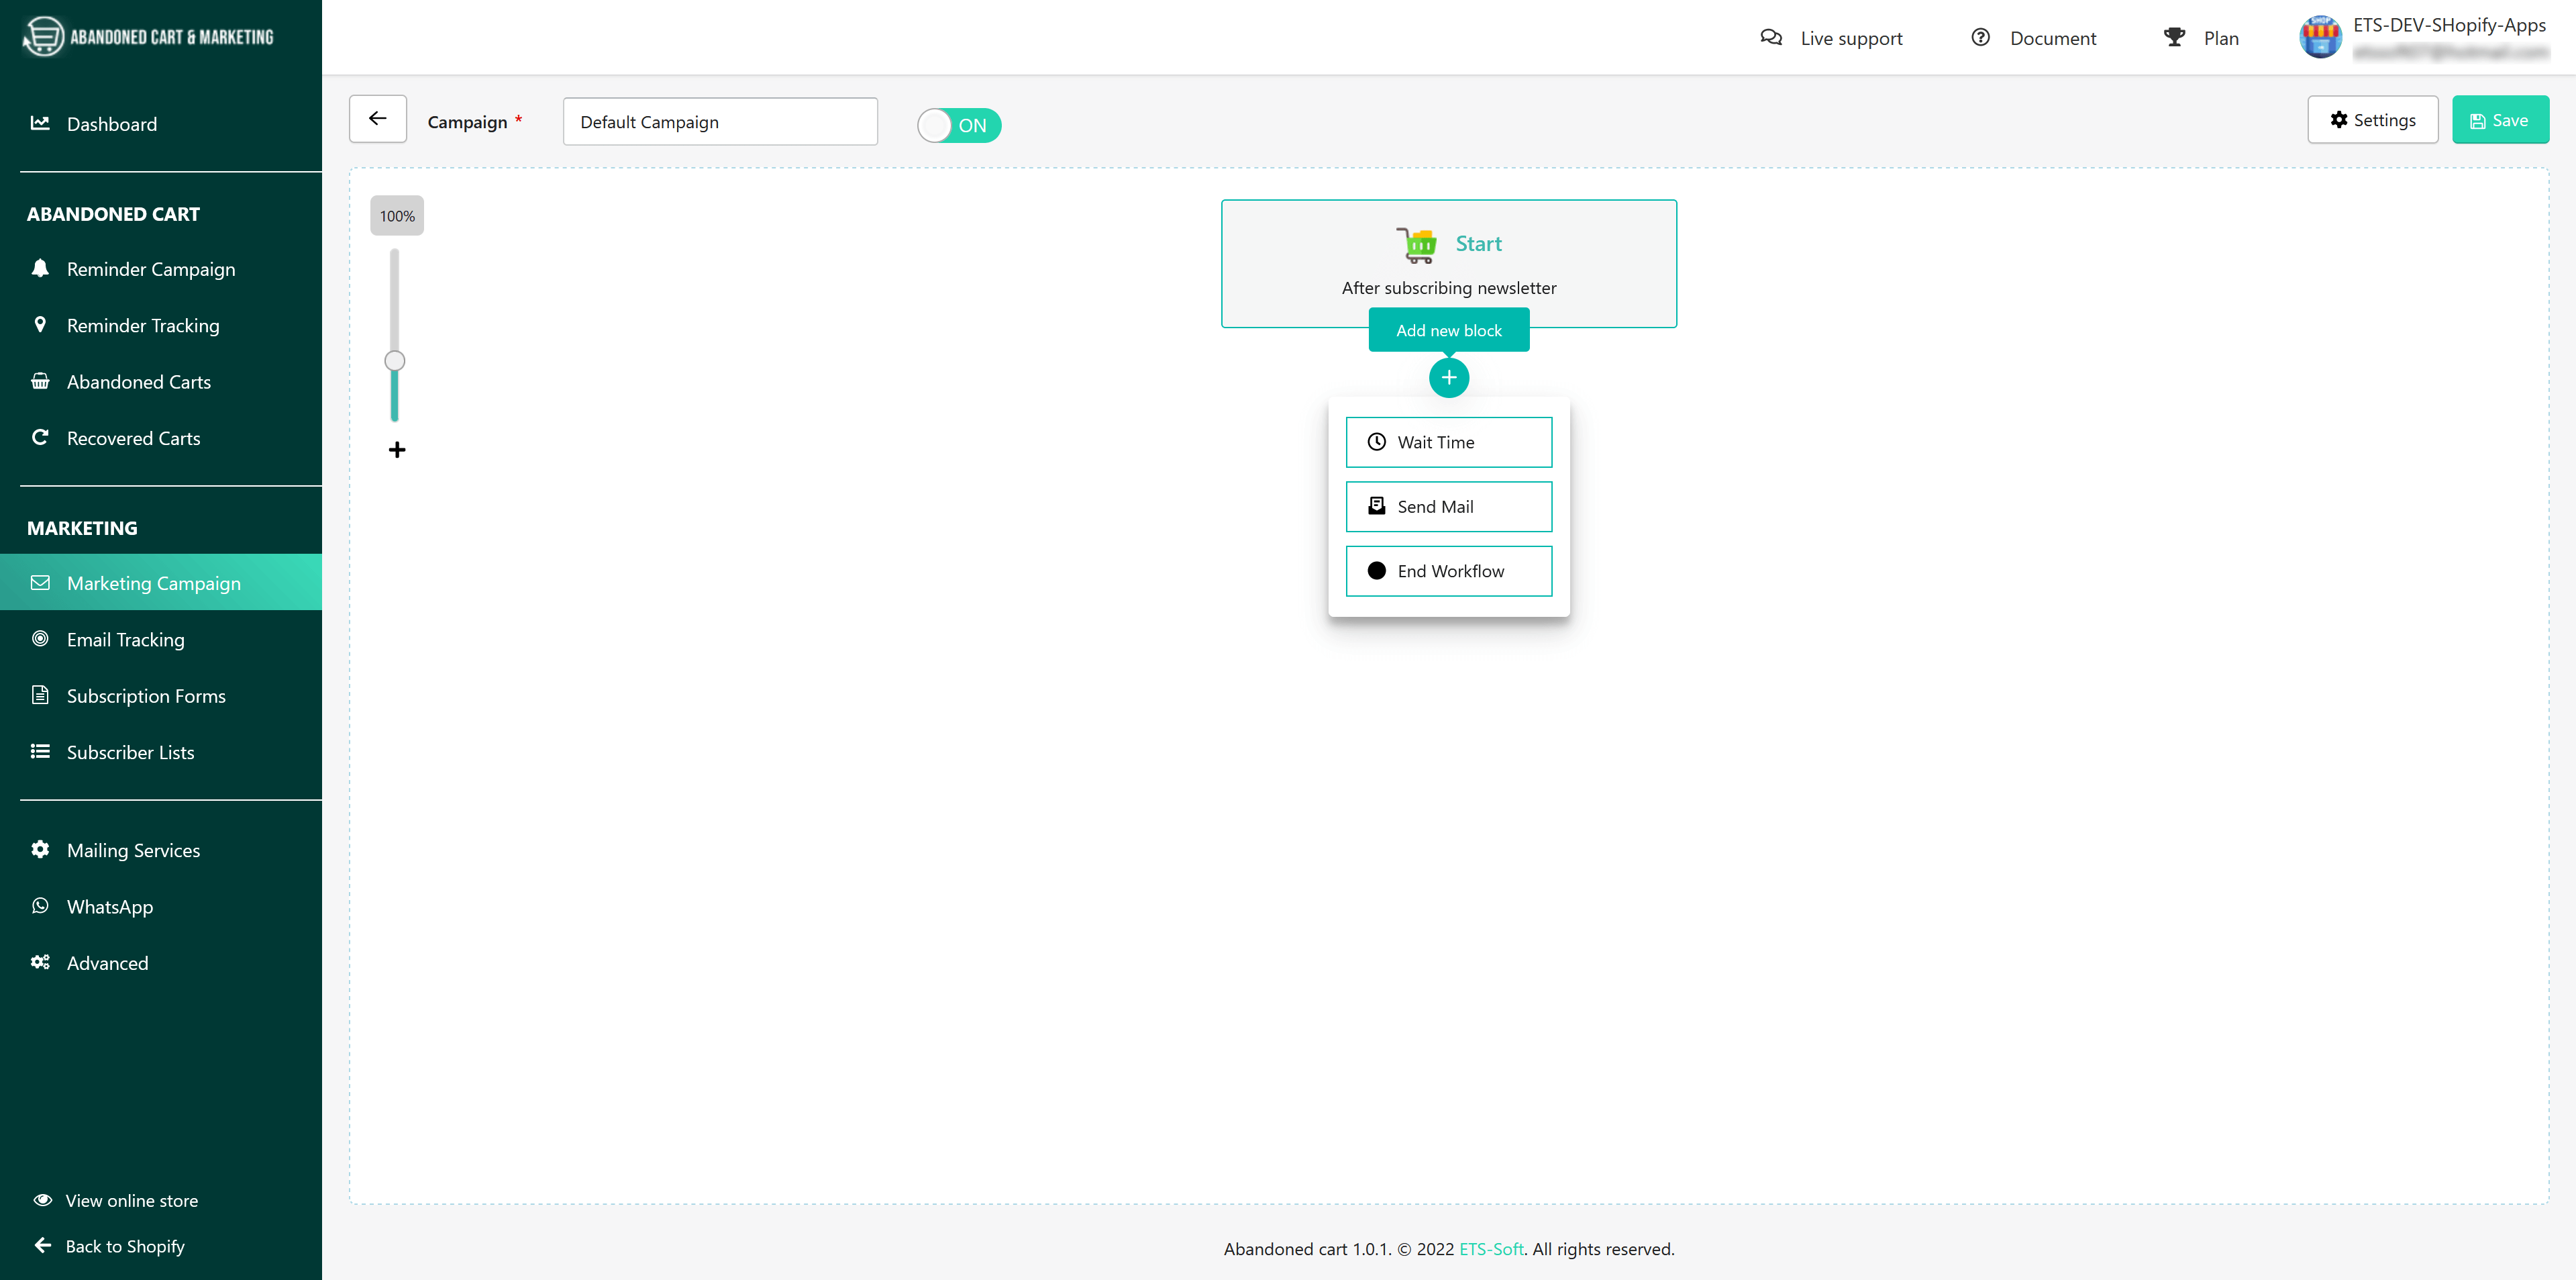

- After setting up the marketing campaign, click on the “Settings” button at the top right corner of the web page to select the mail host and set up the valid time for the marketing campaign you’ve created.

NOTE: Before sending marketing emails you need to select and enable the mail service you want to use. Go to the “Mailing Services” tab and see the instructions in the “Mailing Services” section in this documentation.
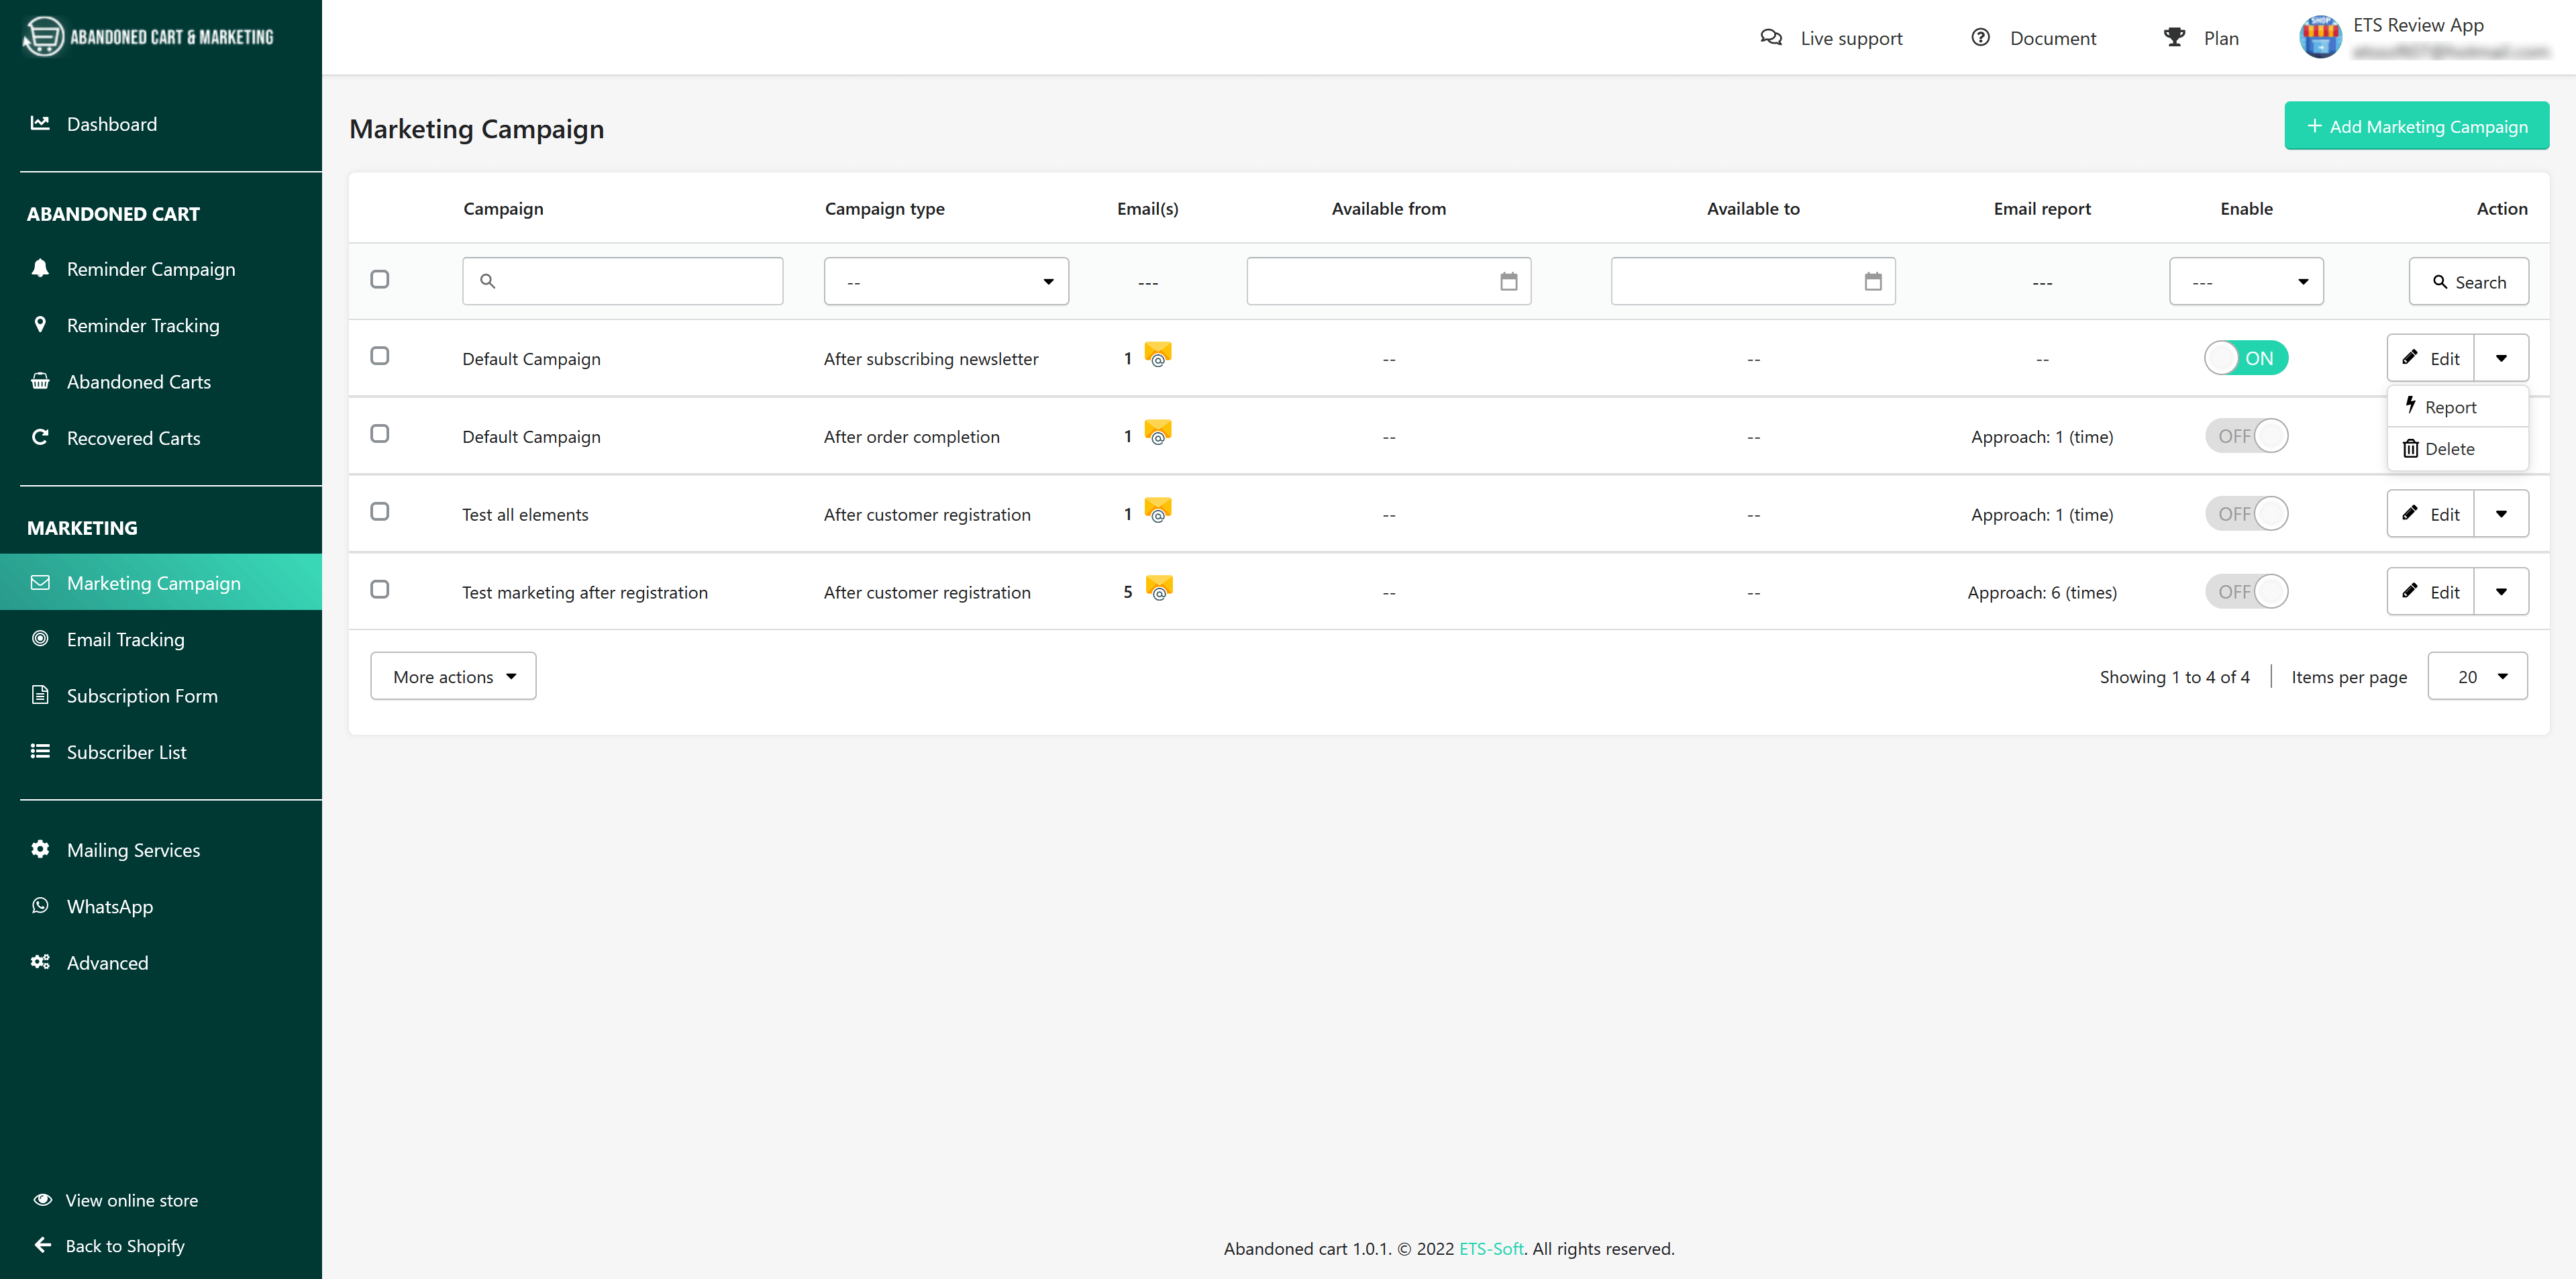
Campaign list
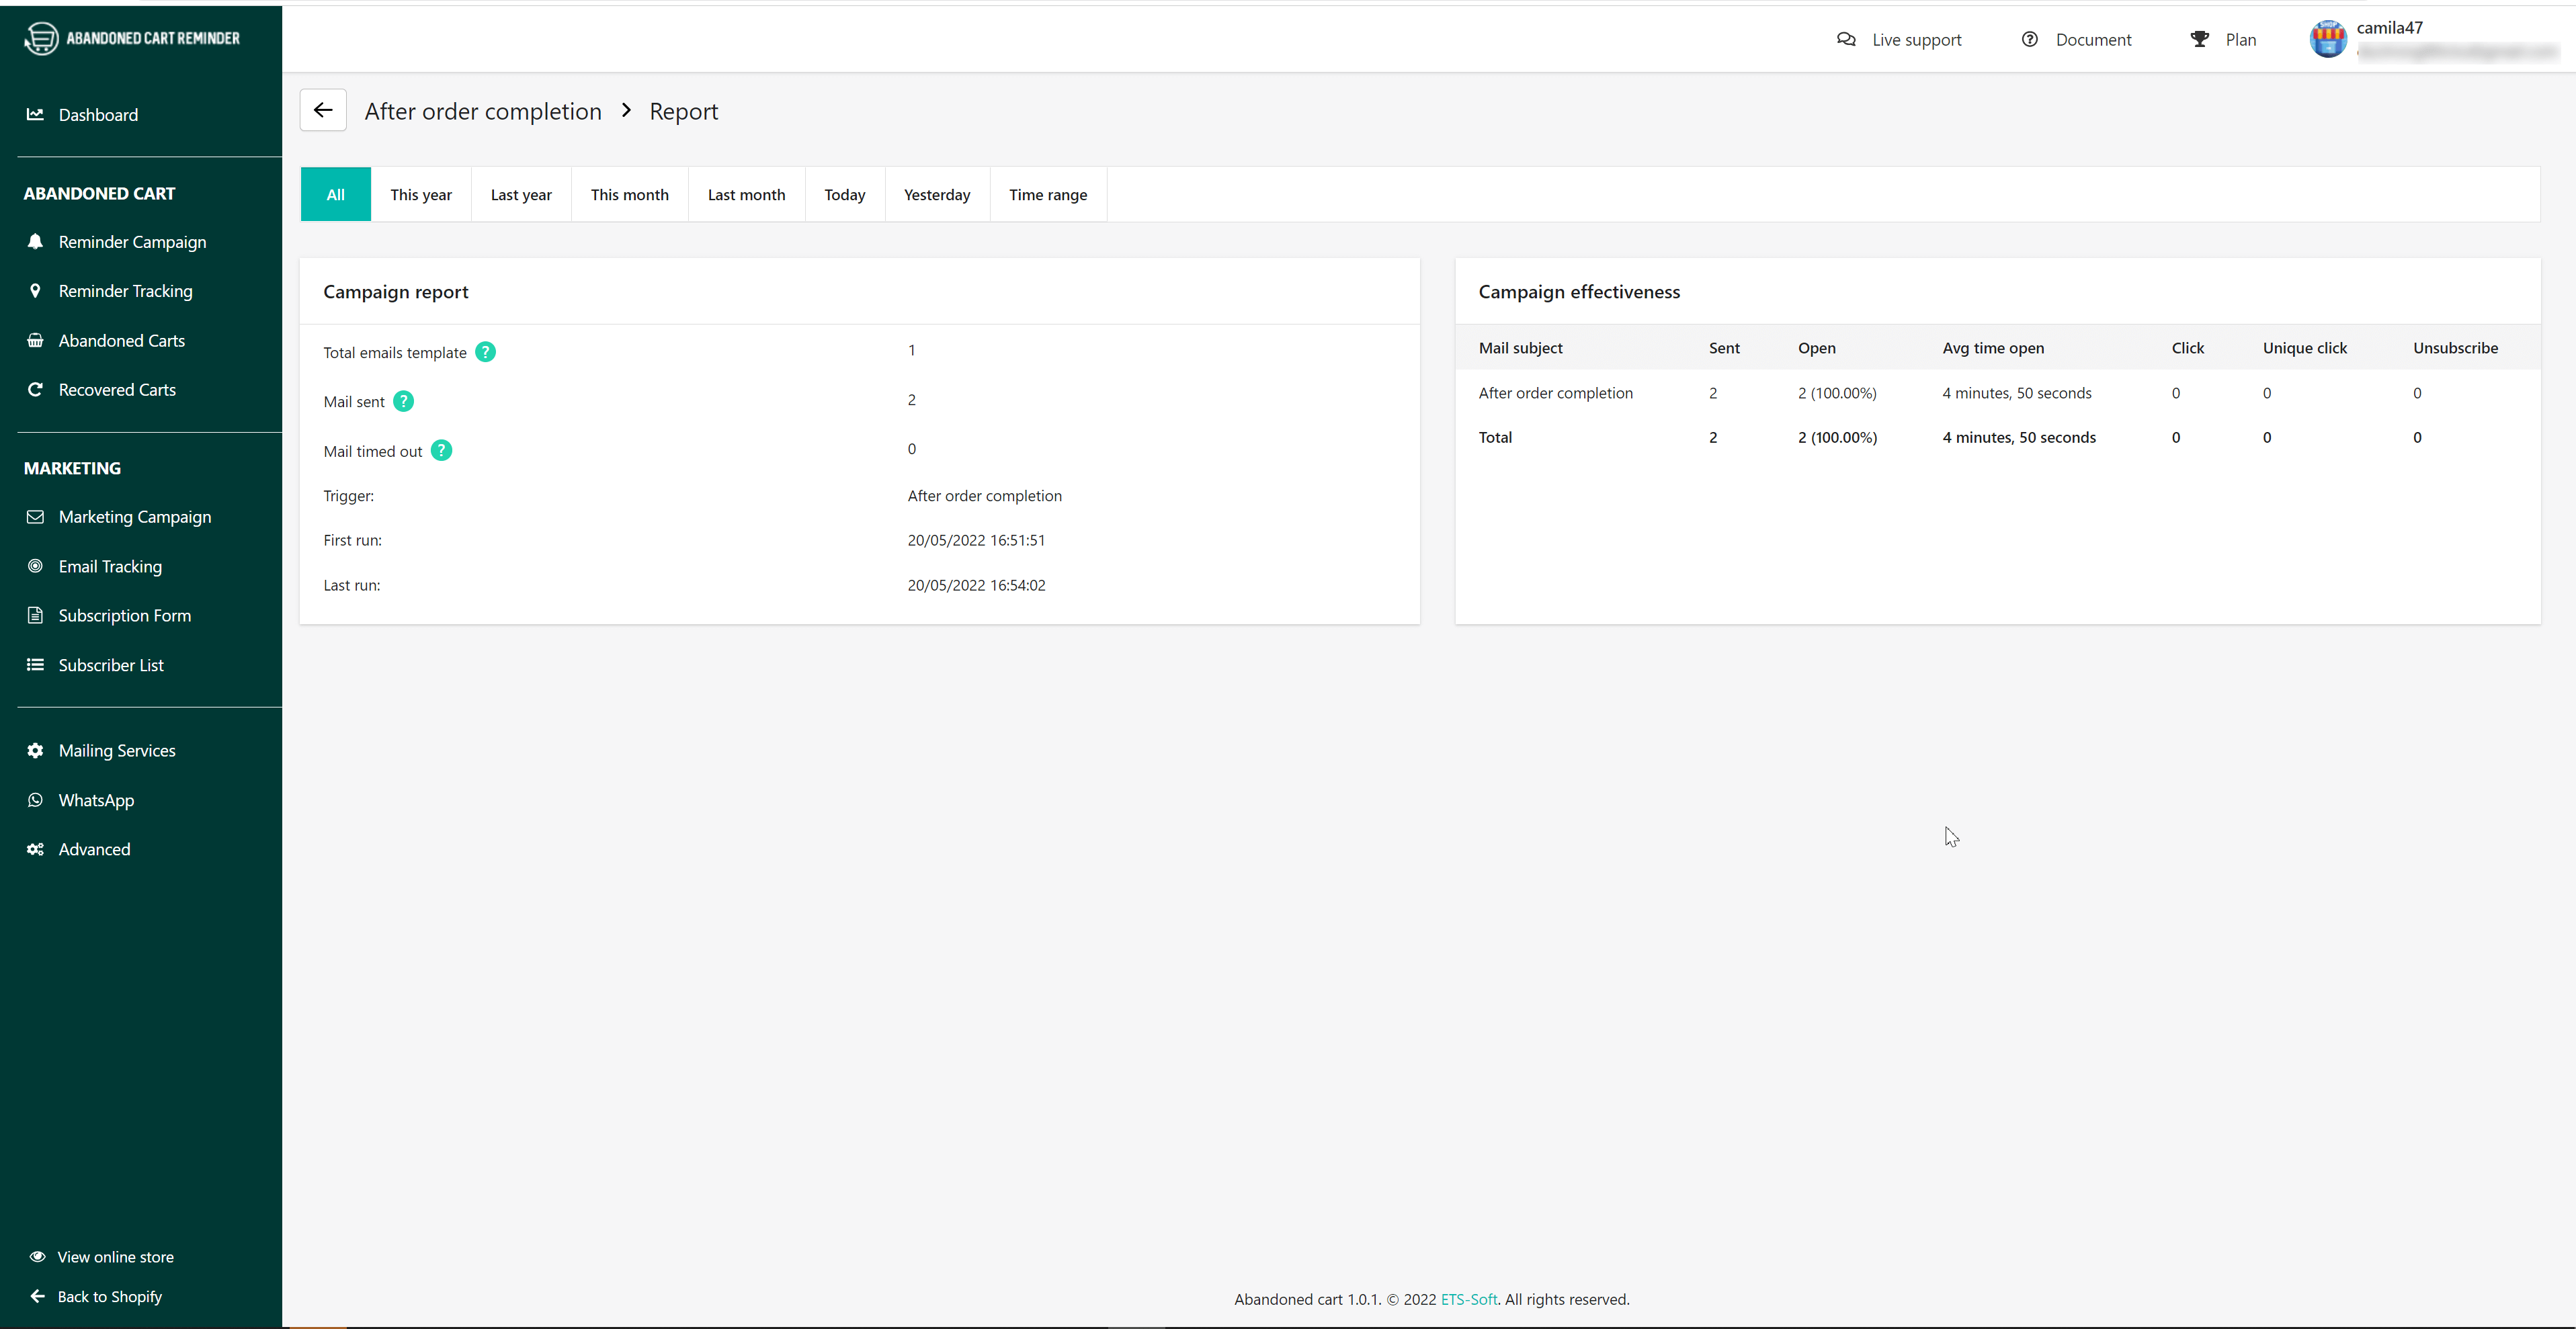
You can manage your marketing campaigns easily from the campaign list page. With each campaign, you can change the status (enable/disable campaign), edit, view the report, or delete a campaign.
This is a sample report of a marketing campaign: